Refinishing a table: Giving an old table new life.
Secondhand finds are sometimes overlooked or forgotten about. The truth is, they are golden opportunities to breathe new life into something. And sometimes, the ‘new life’ can even look way better than when it was actually brand new.
living room design
Redoing a space in your home? Needing a little guidance or to be able to SEE your space before you begin your project?
Let’s work together! I’d love to help you!
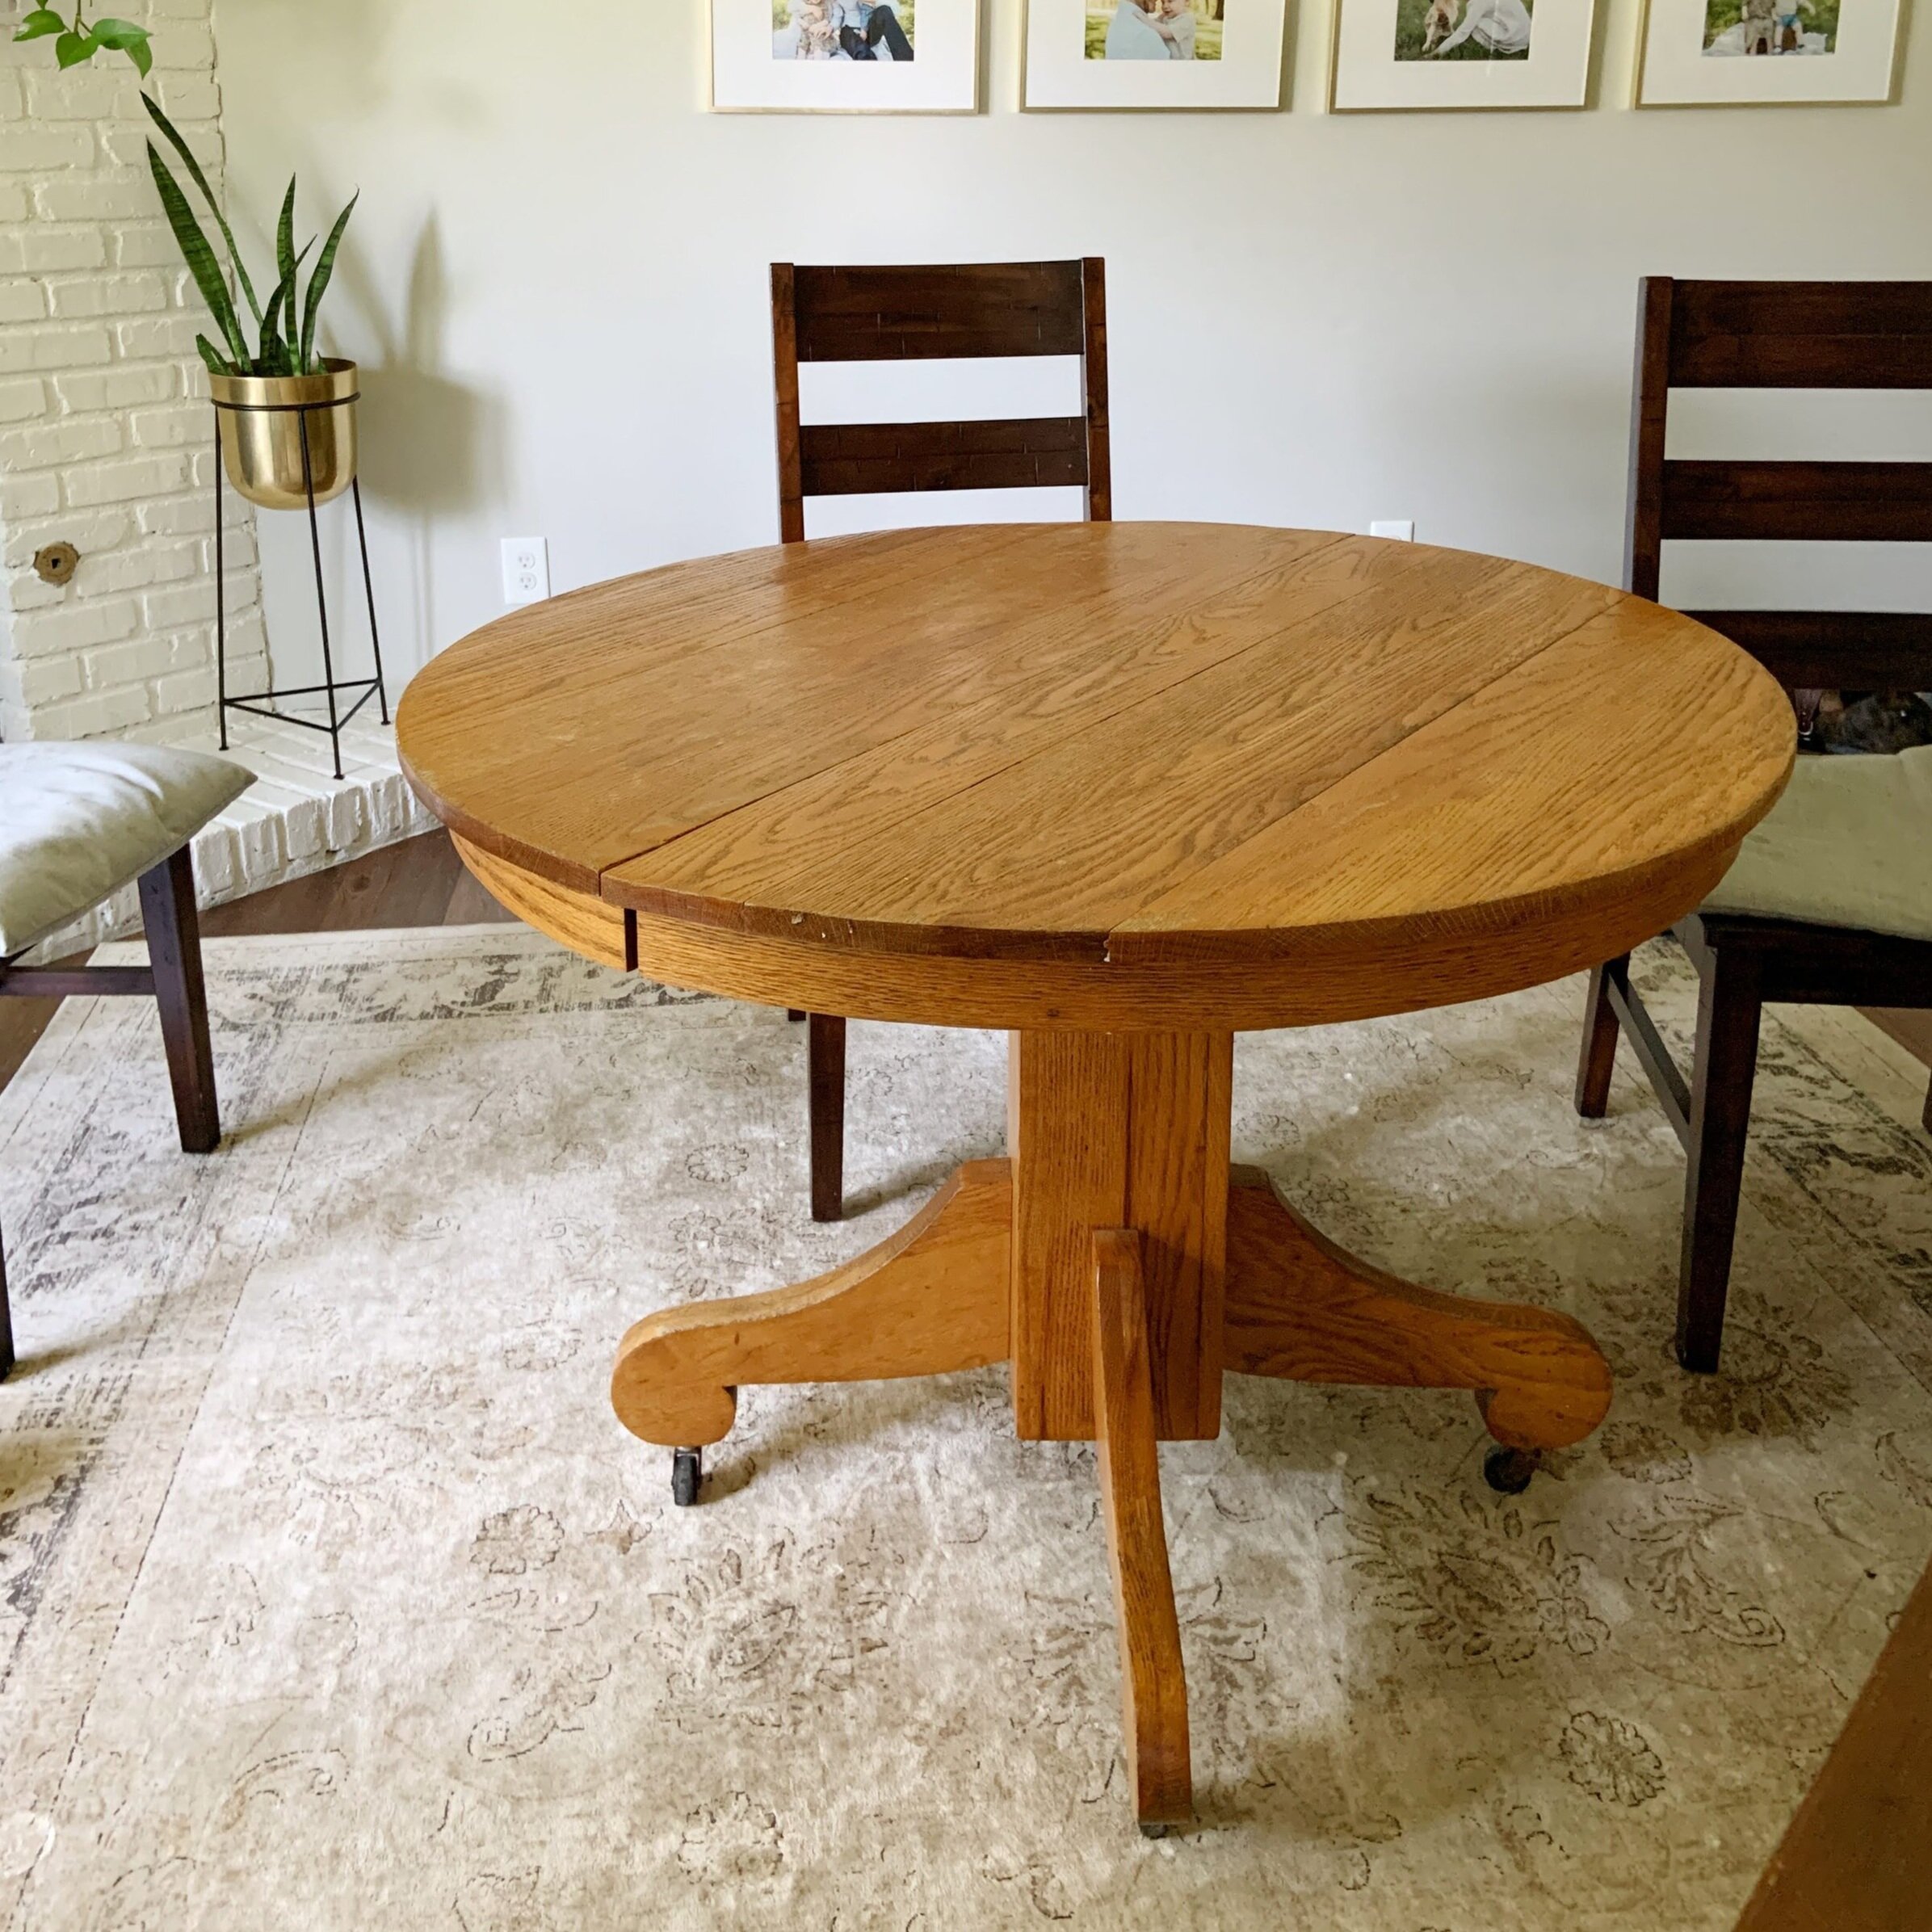
This was the listing photo on FB Marketplace. Sometimes the best pieces are hiding! I have been looking for the perfect round dining table for months, but honestly didn’t want to spend a lot of money on it. I finally discovered this for $40! DONE!
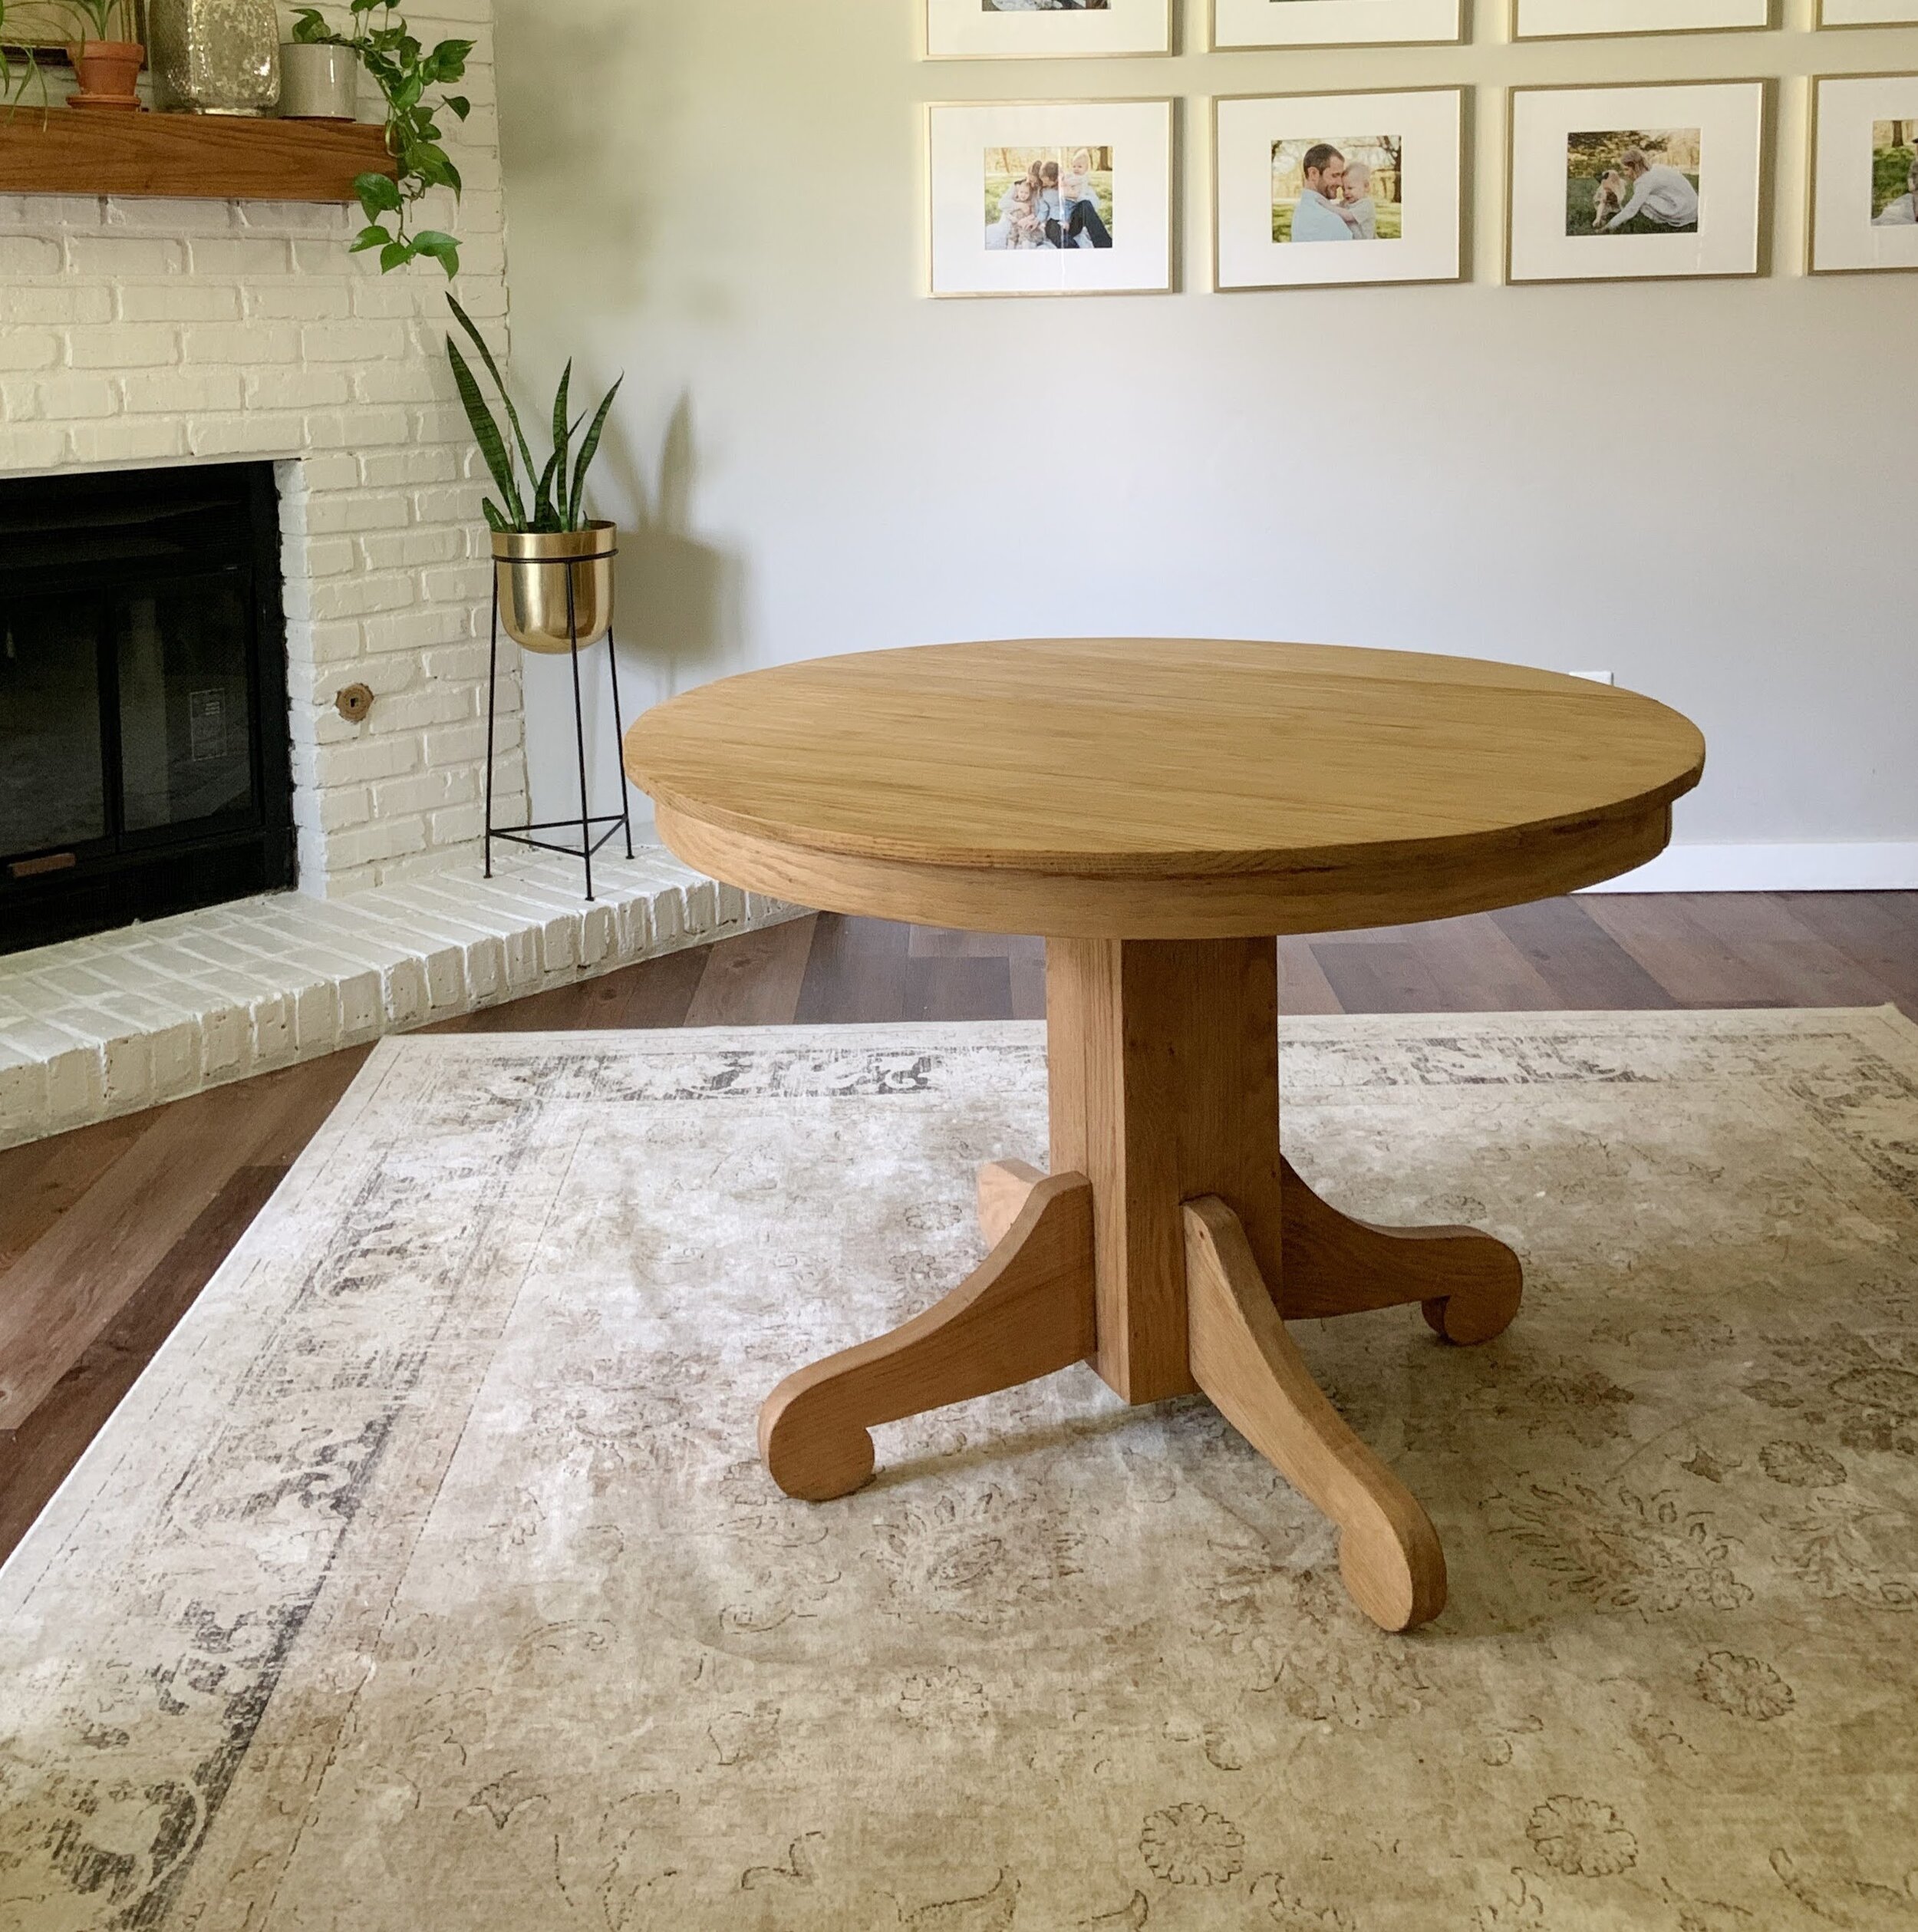
Here she is in all her glory! A stunning solid oak table. The golden oak isn’t quite my style, and this table needed a little love - so I got to work!
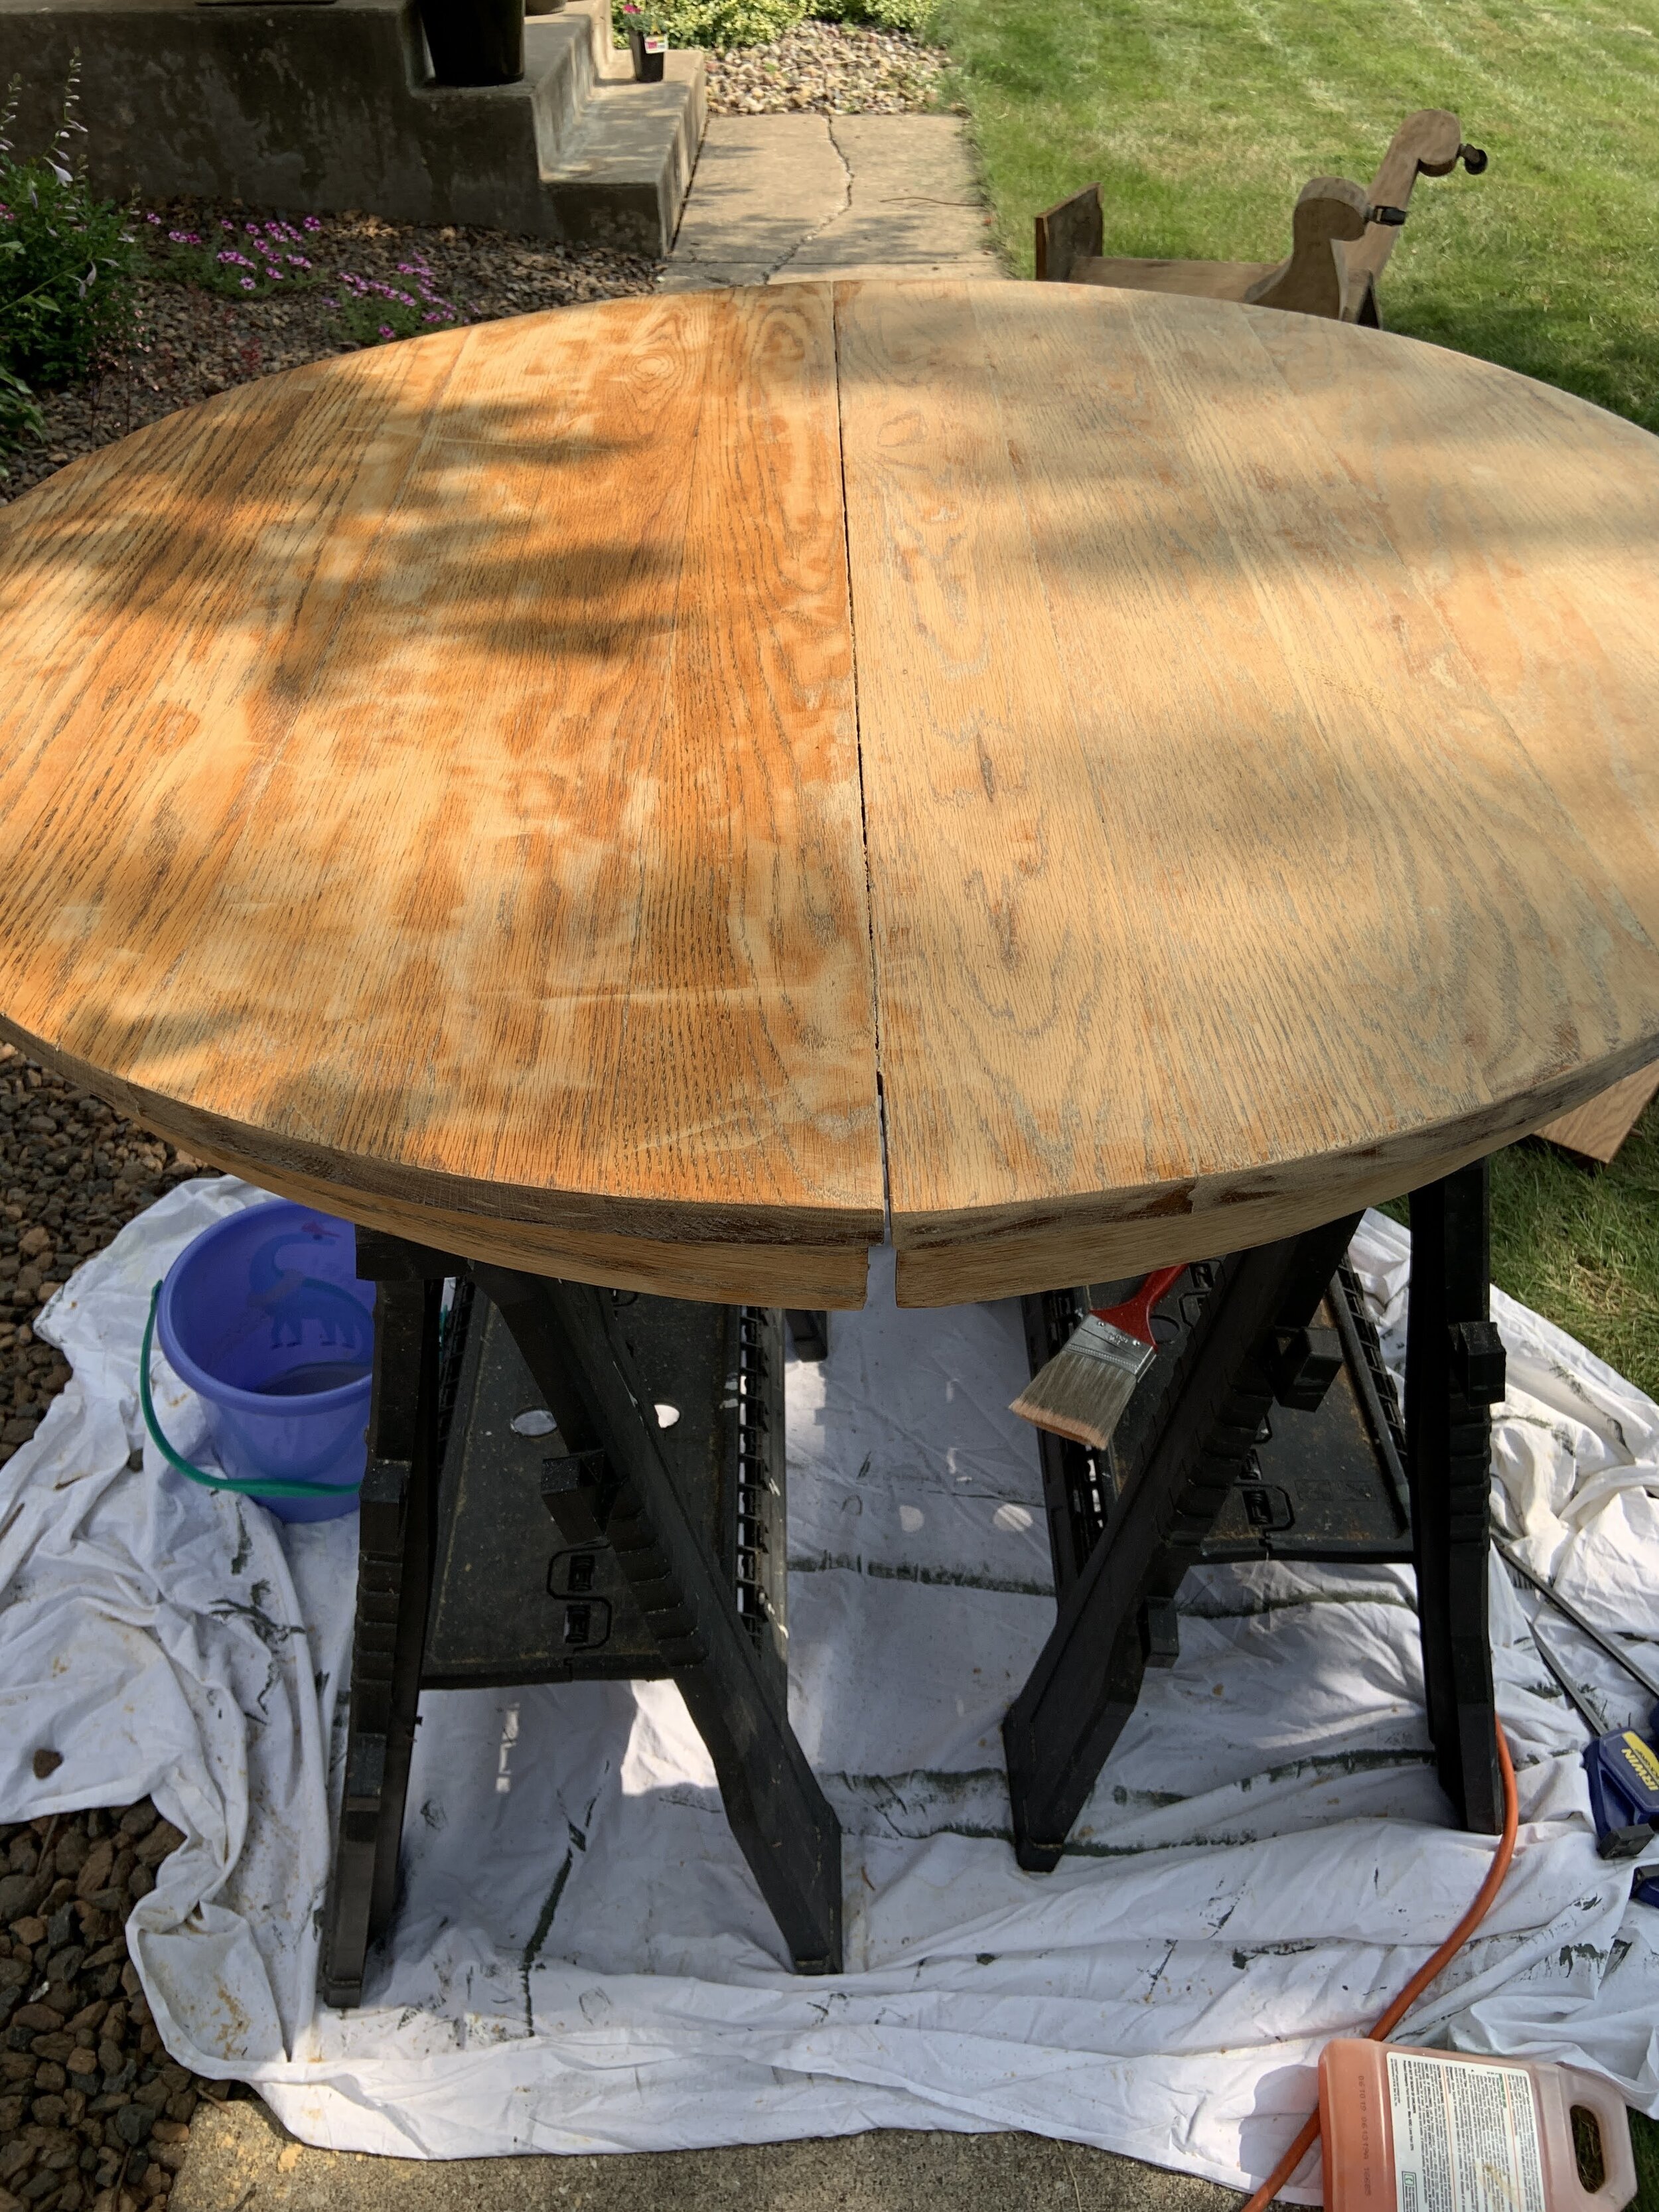
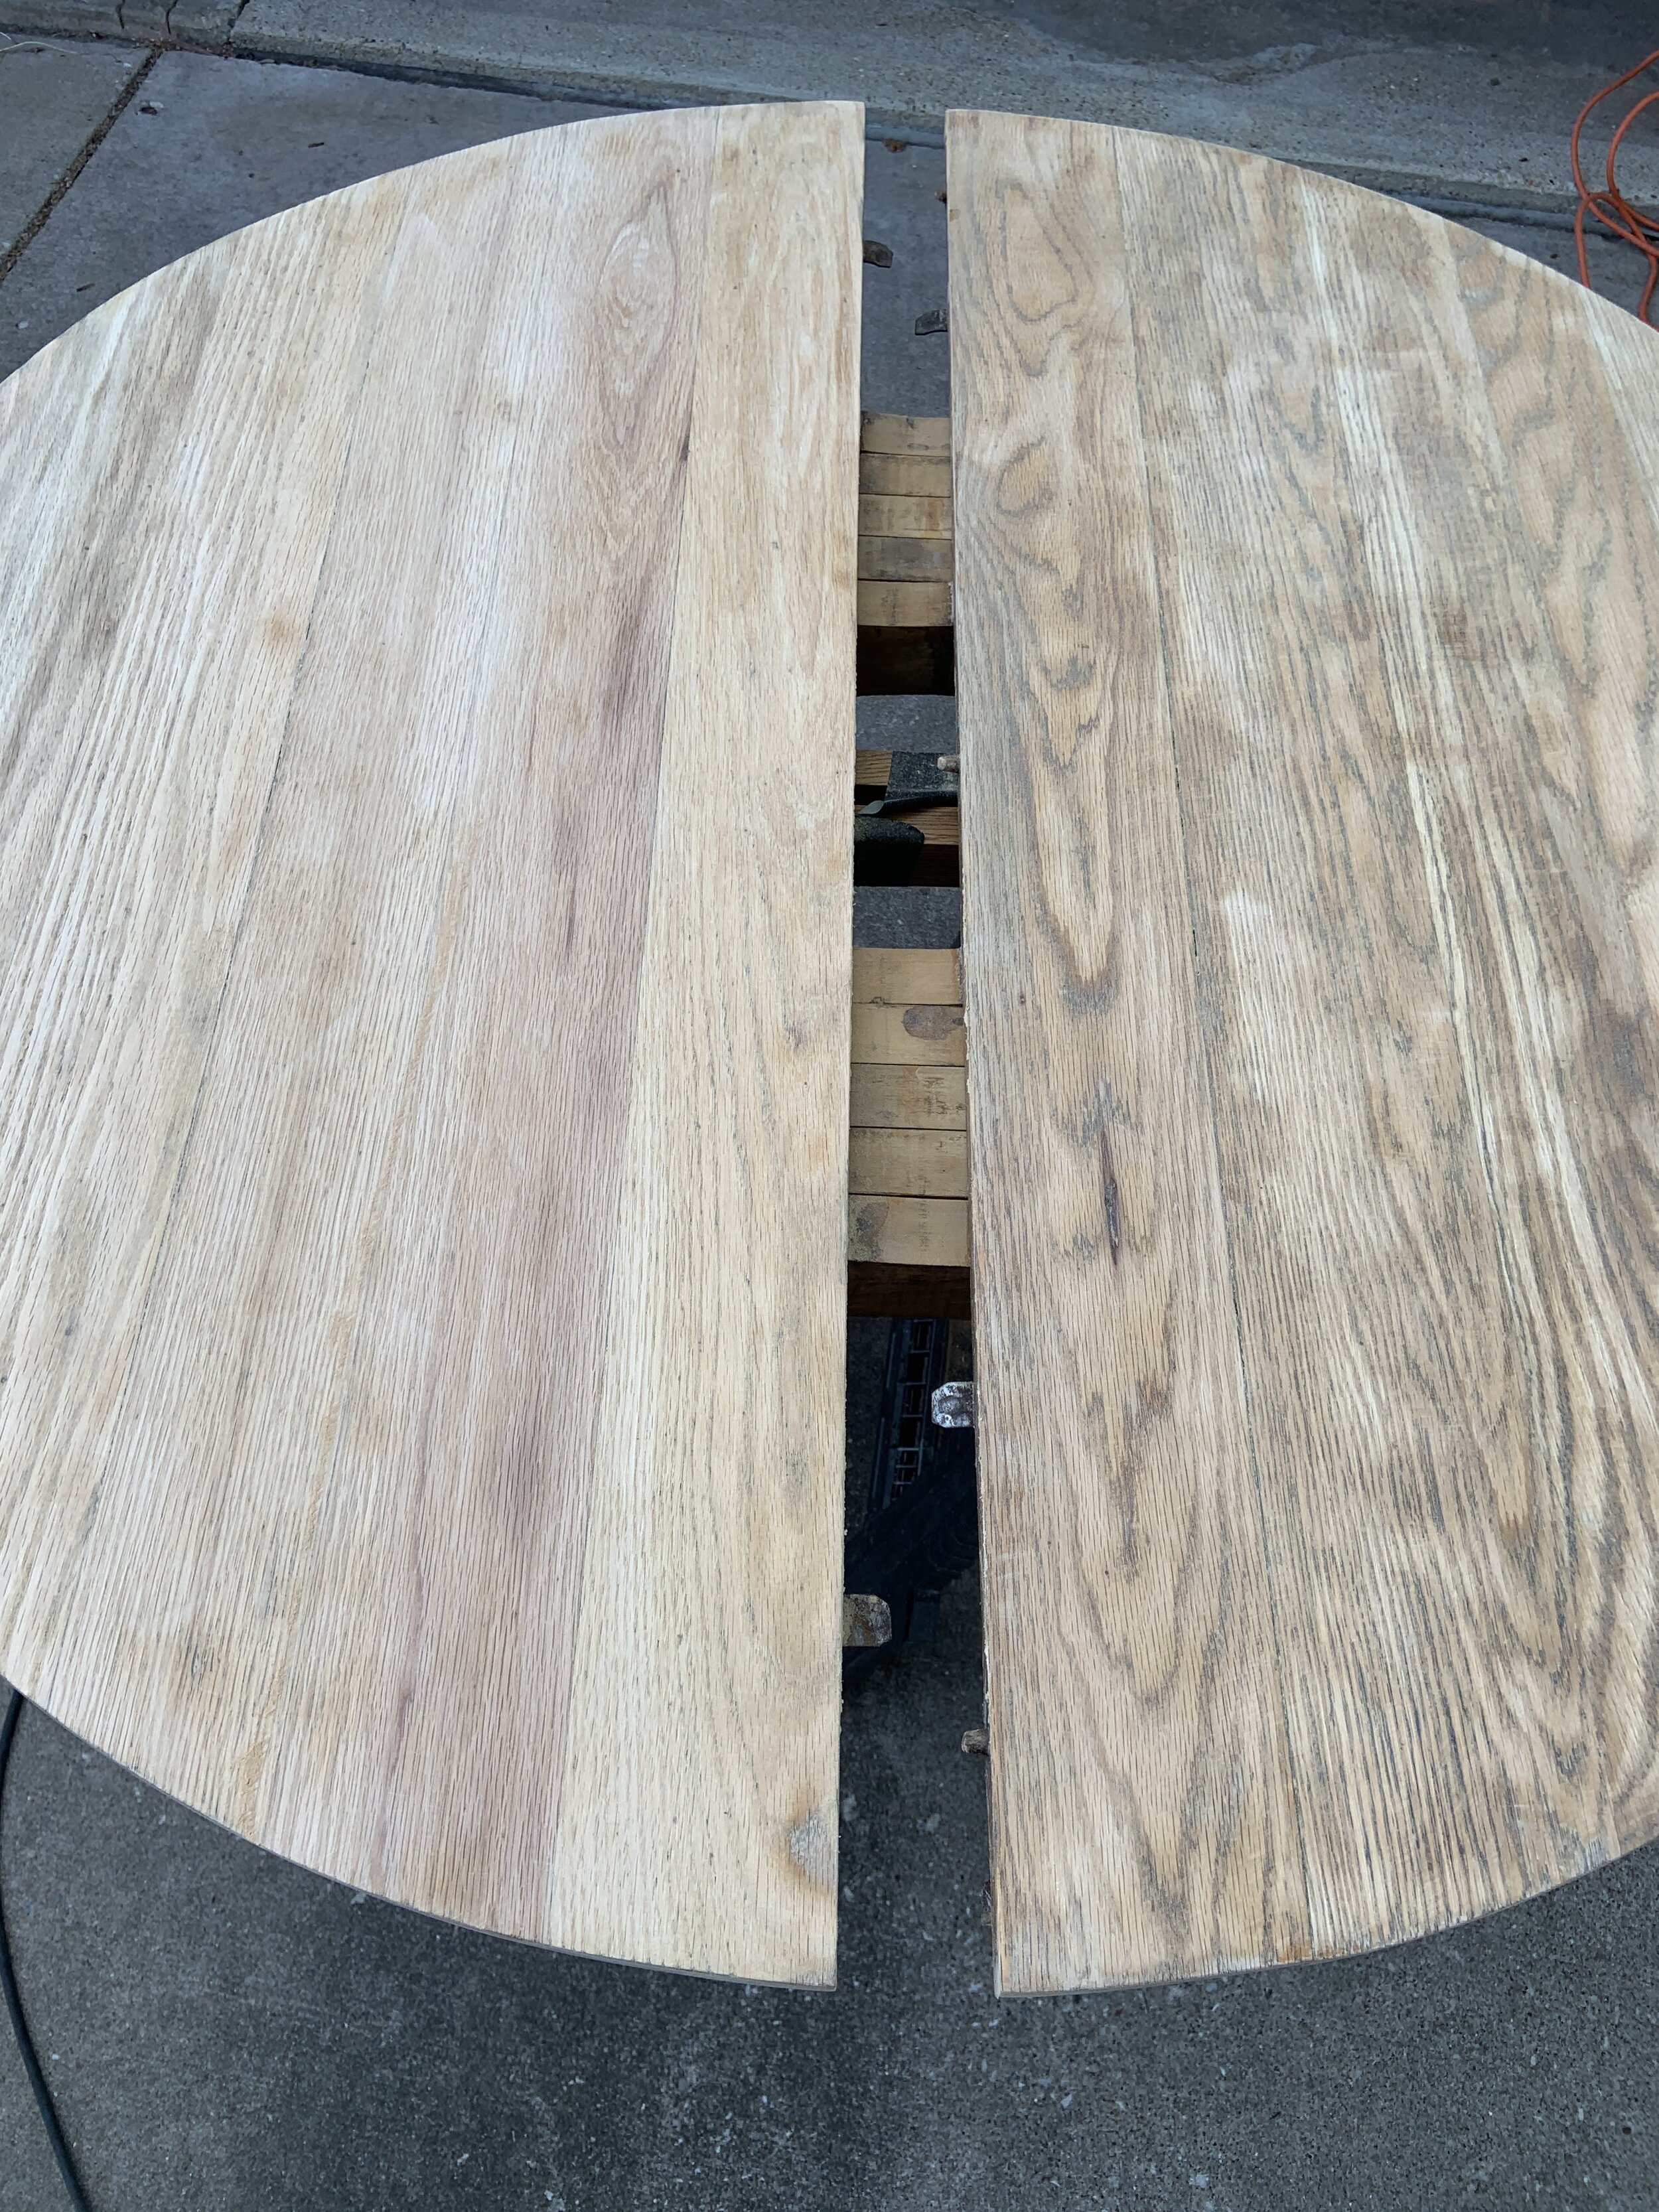
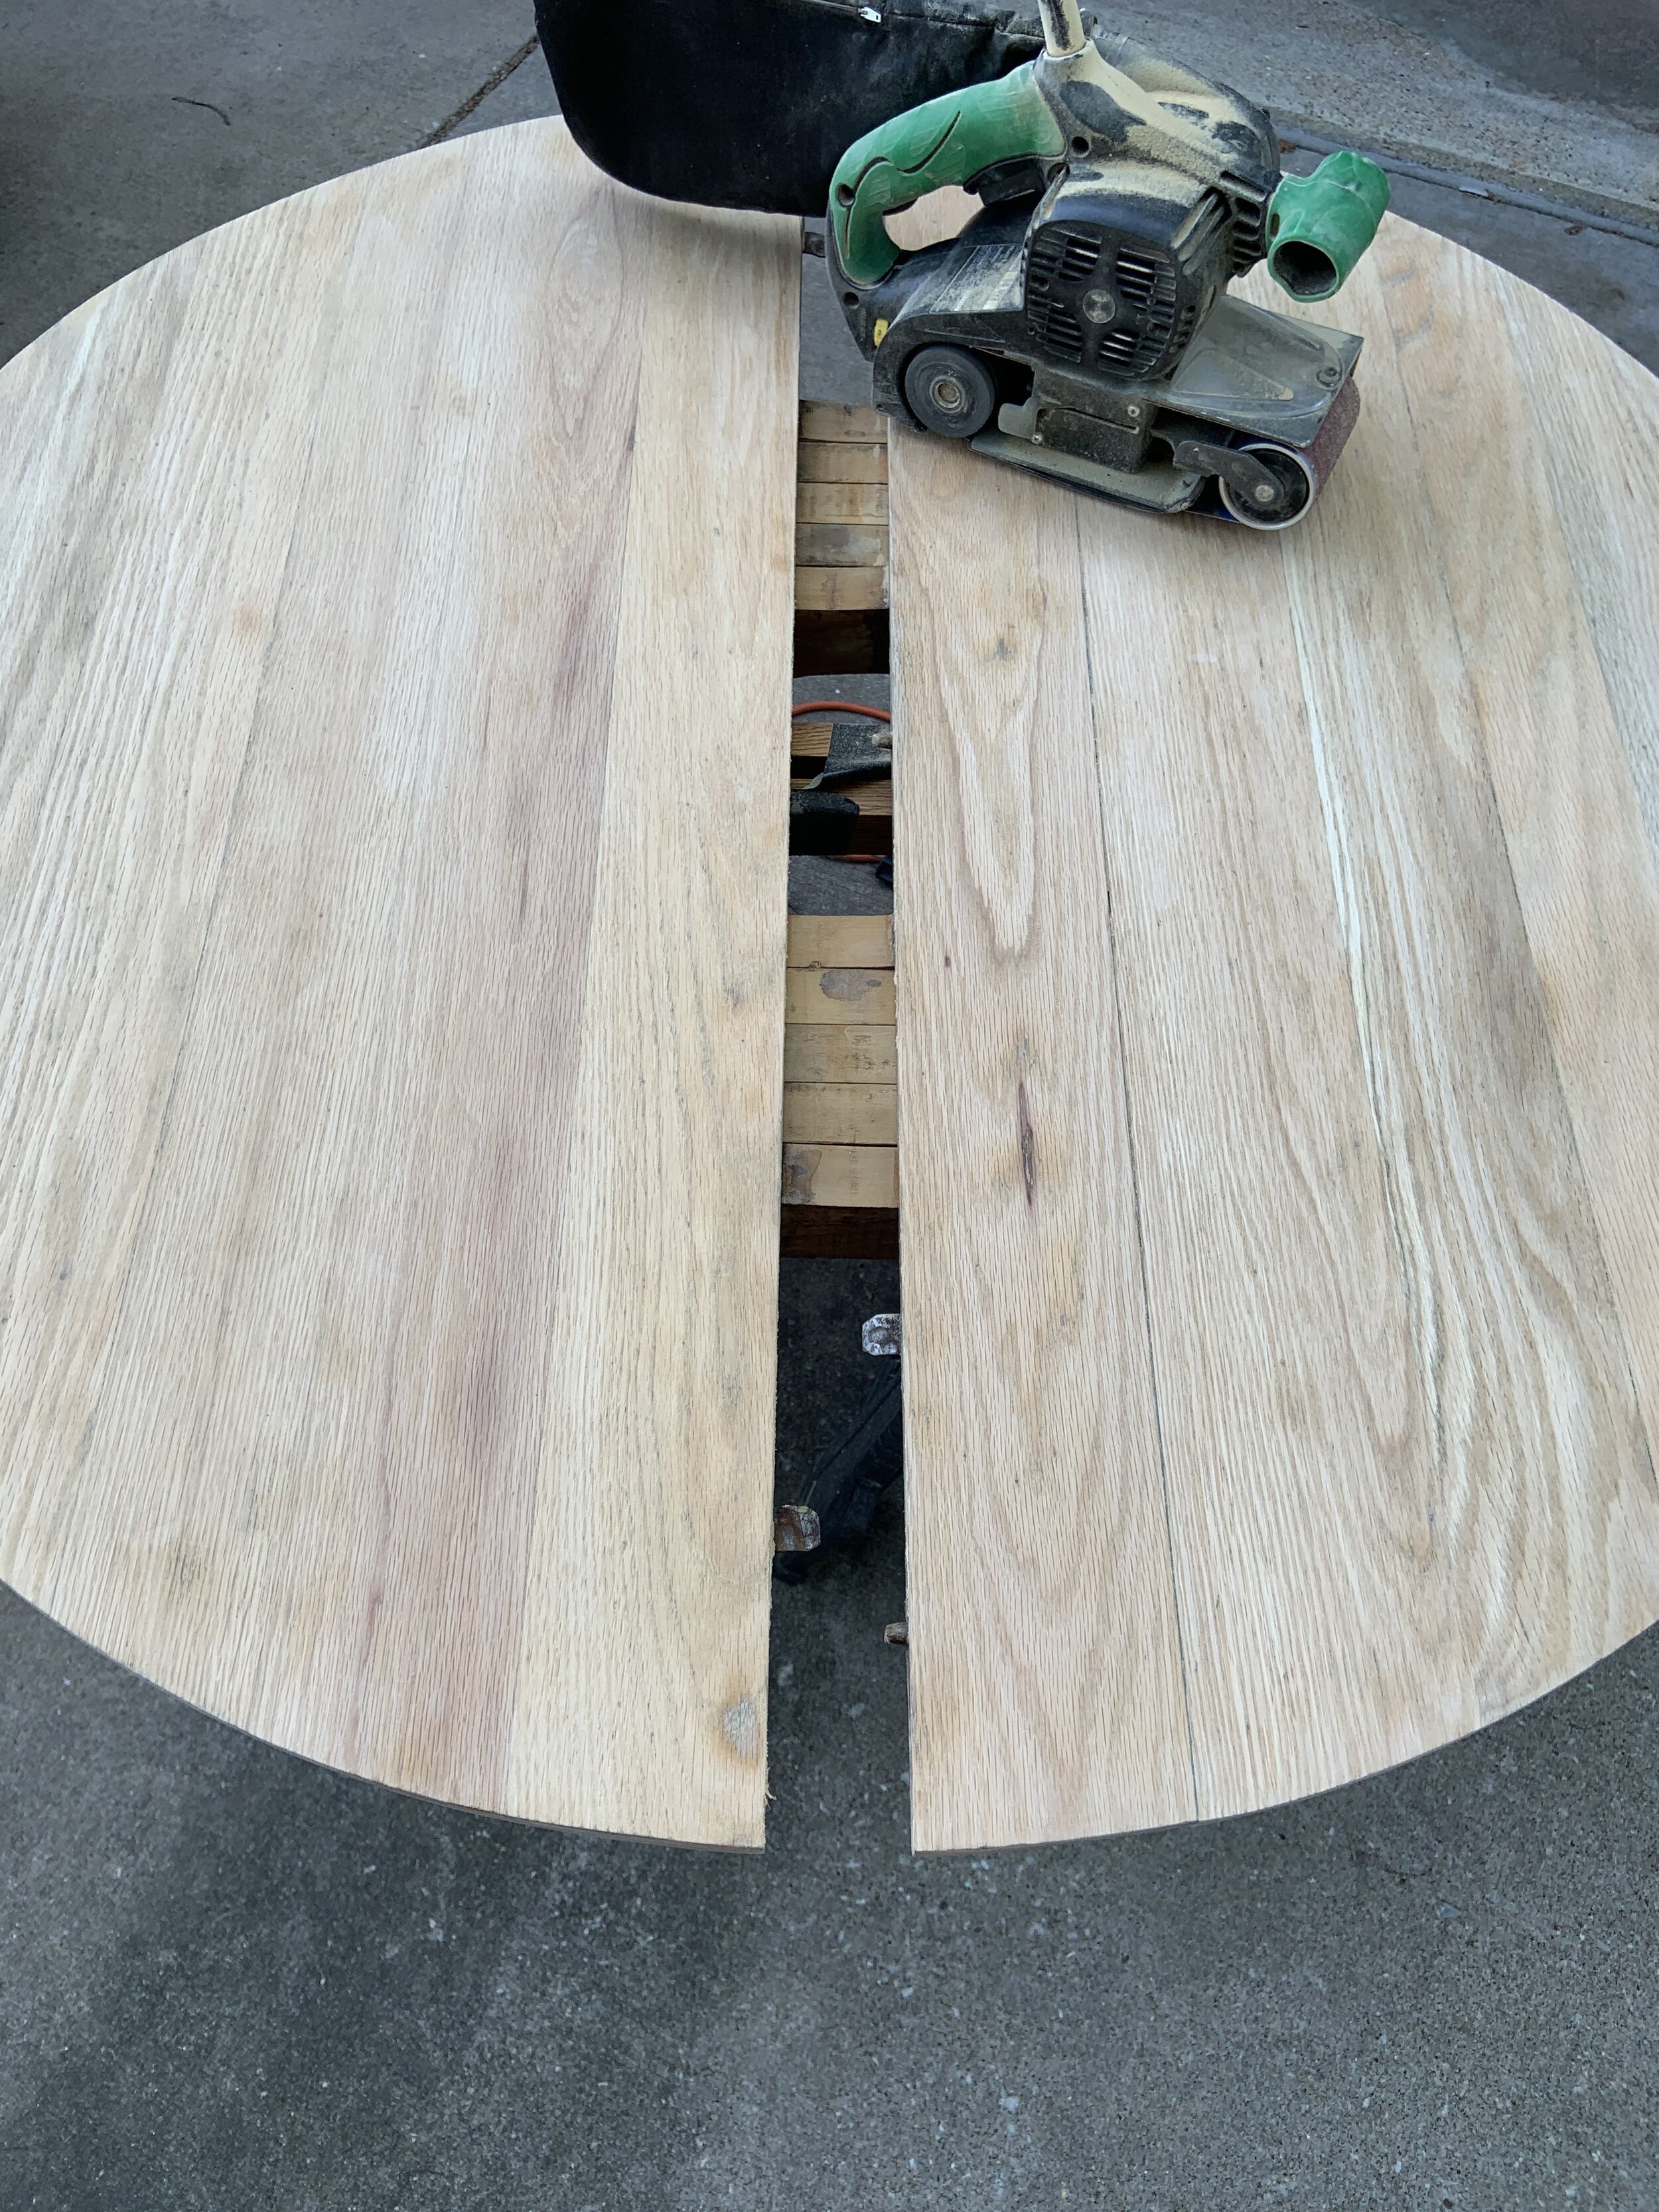
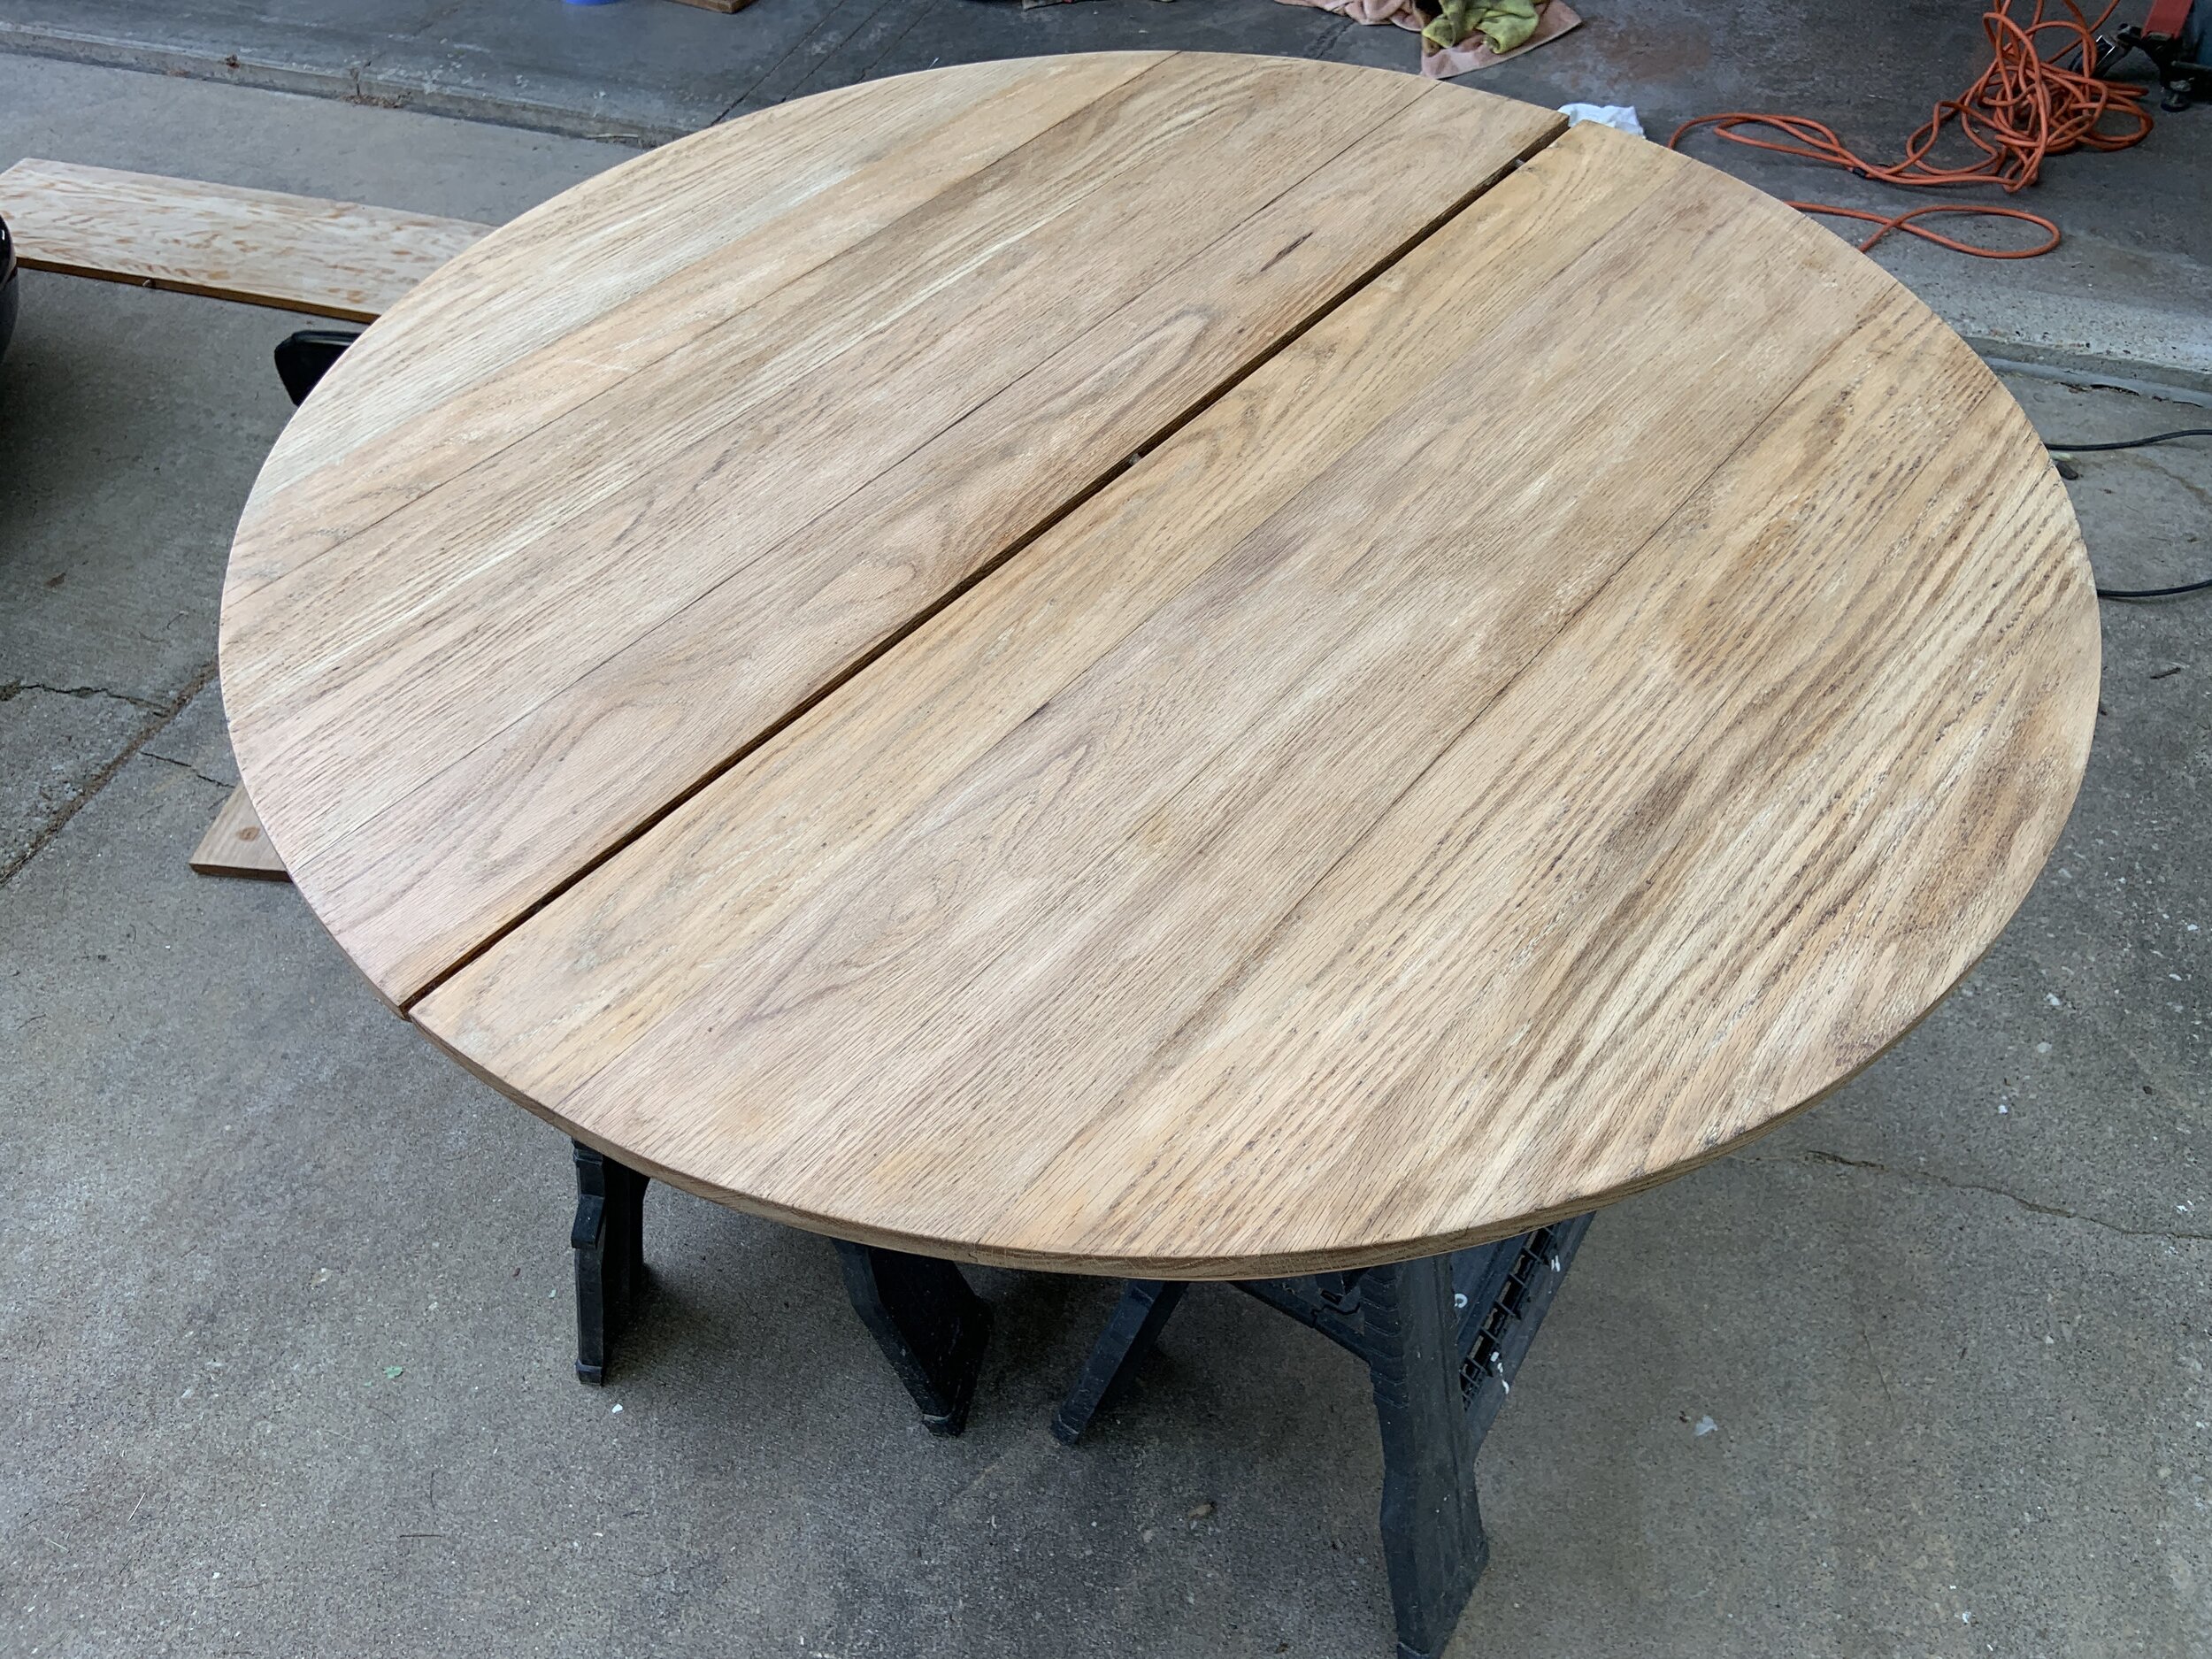
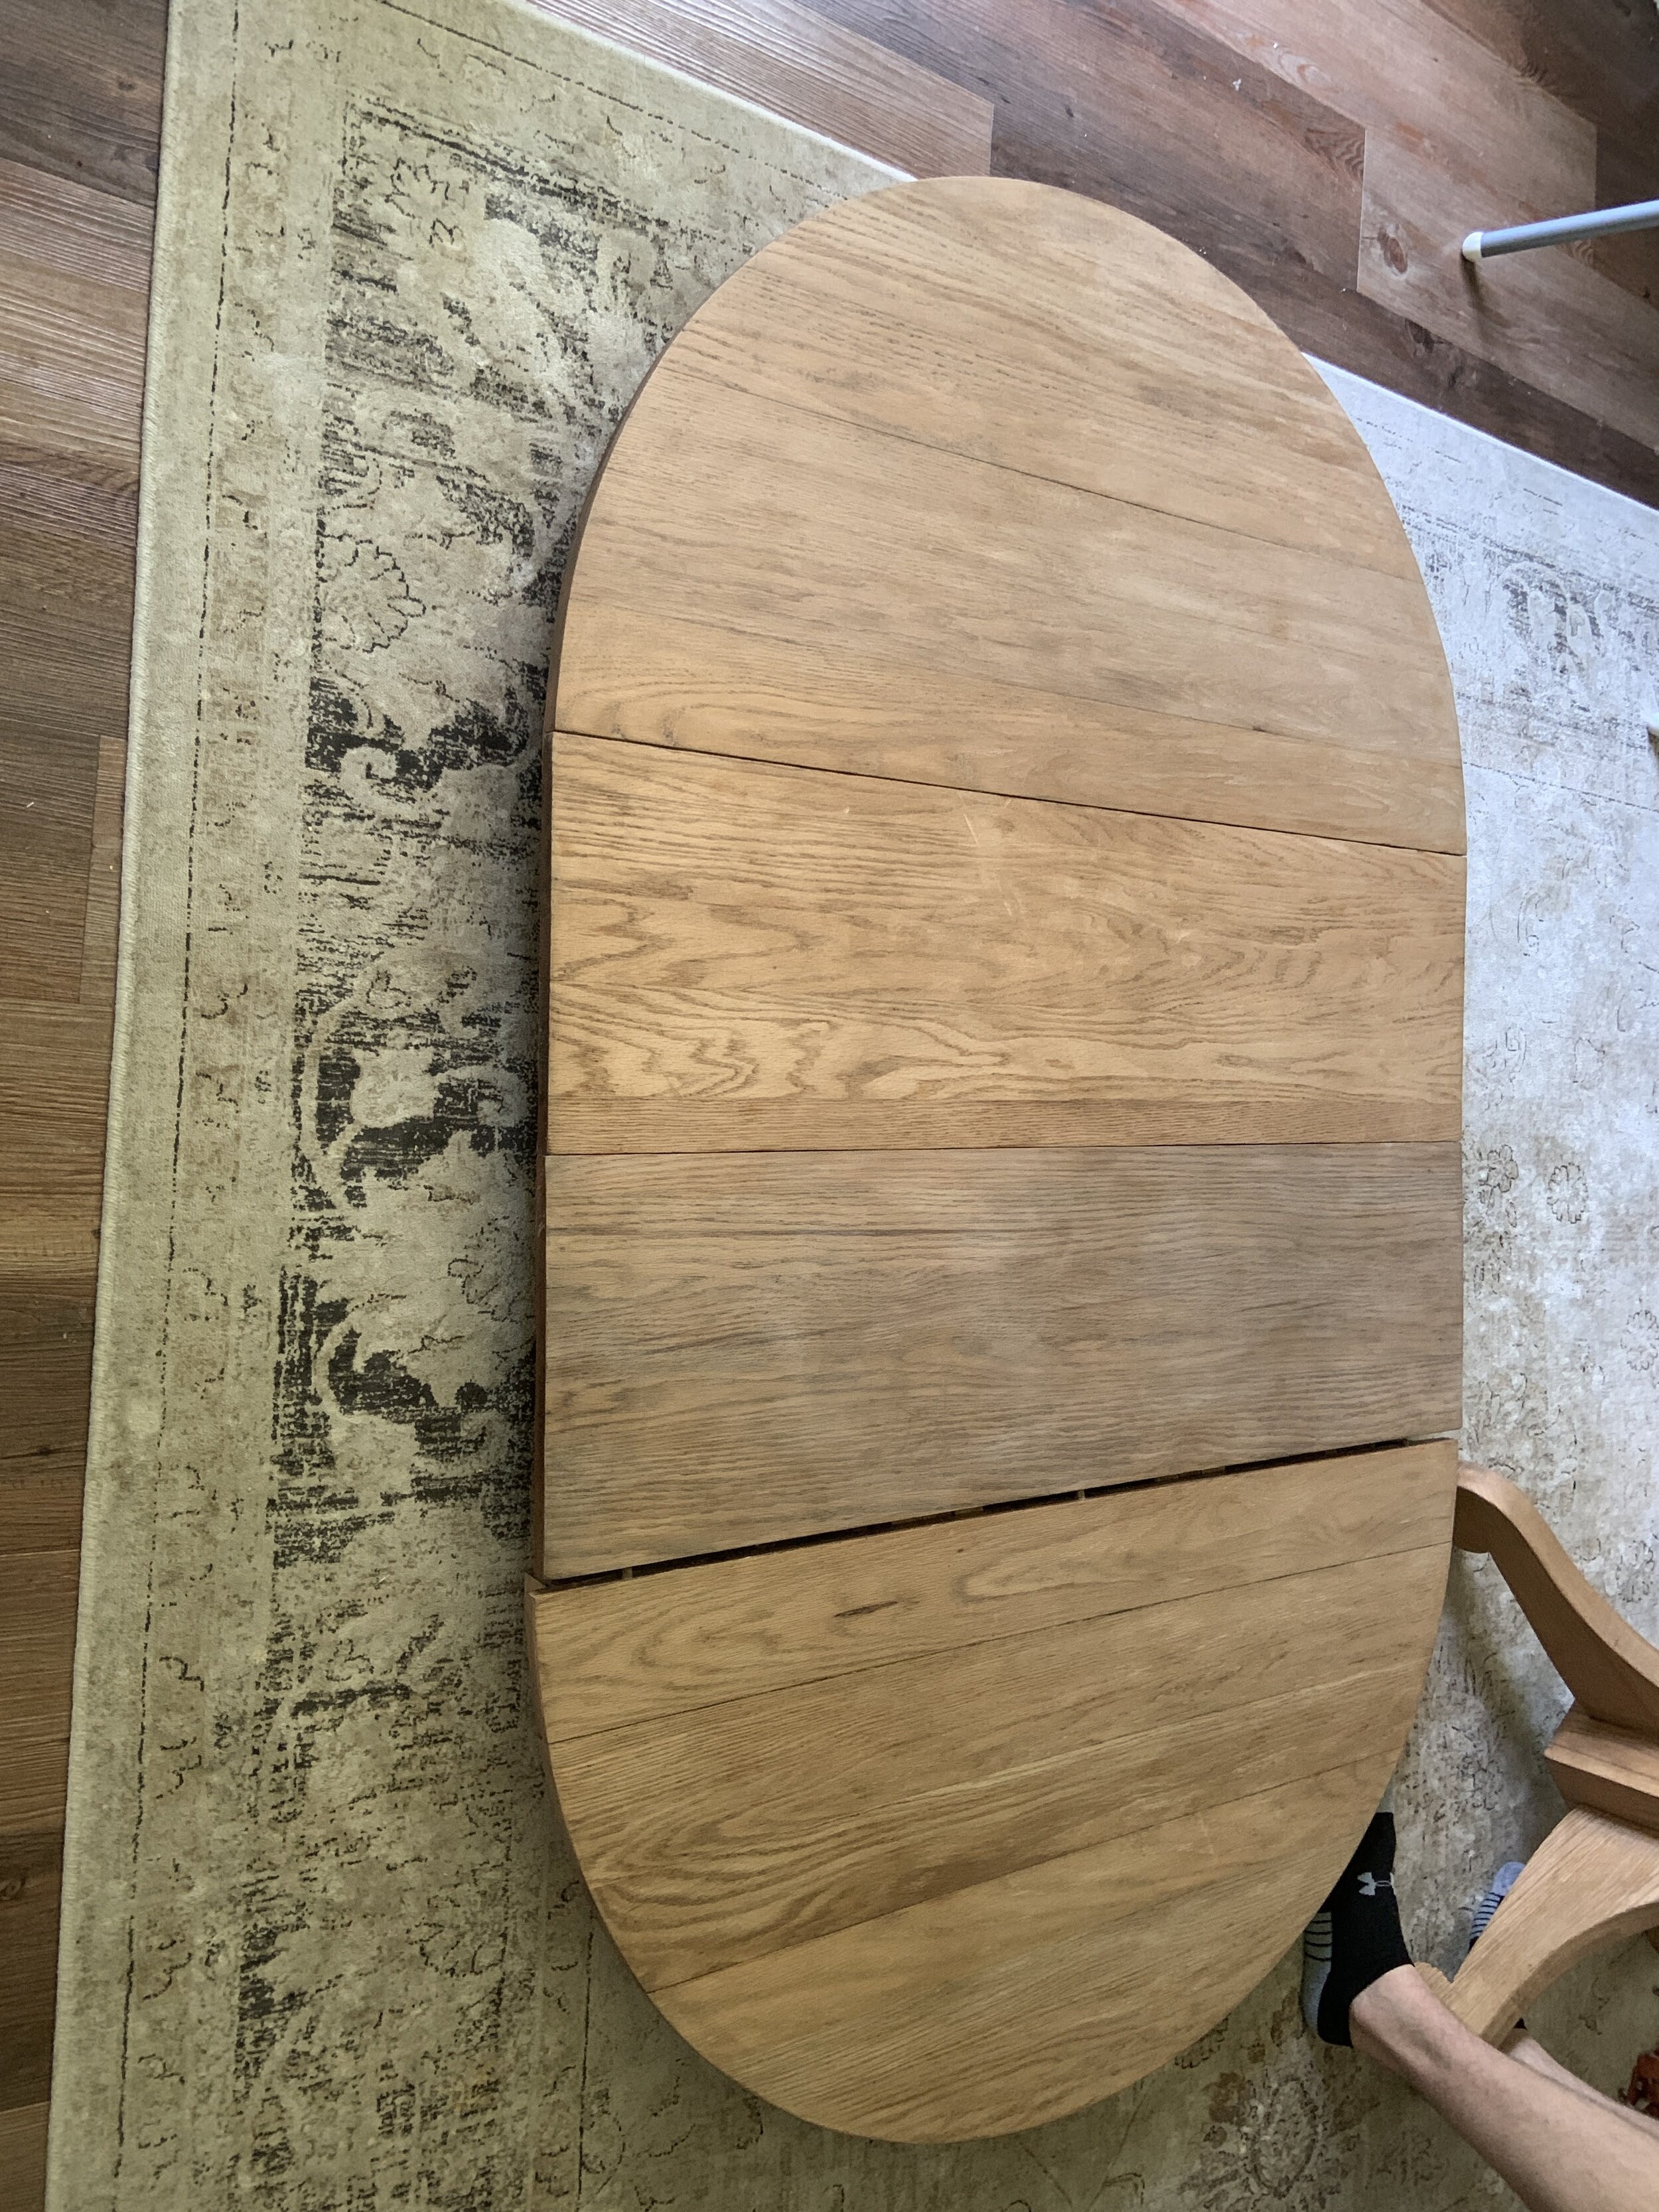
I started with CitriStrip, but it didn’t work as well as I hoped. I think it would have worked better if this table had been painted. After sanding this table for about 30 minutes with the belt sander, it looked like cheese (see photo on the right).
That was when I realized I was in this for the long haul! Sanding a table can be SO rewarding, but can also require TIME.
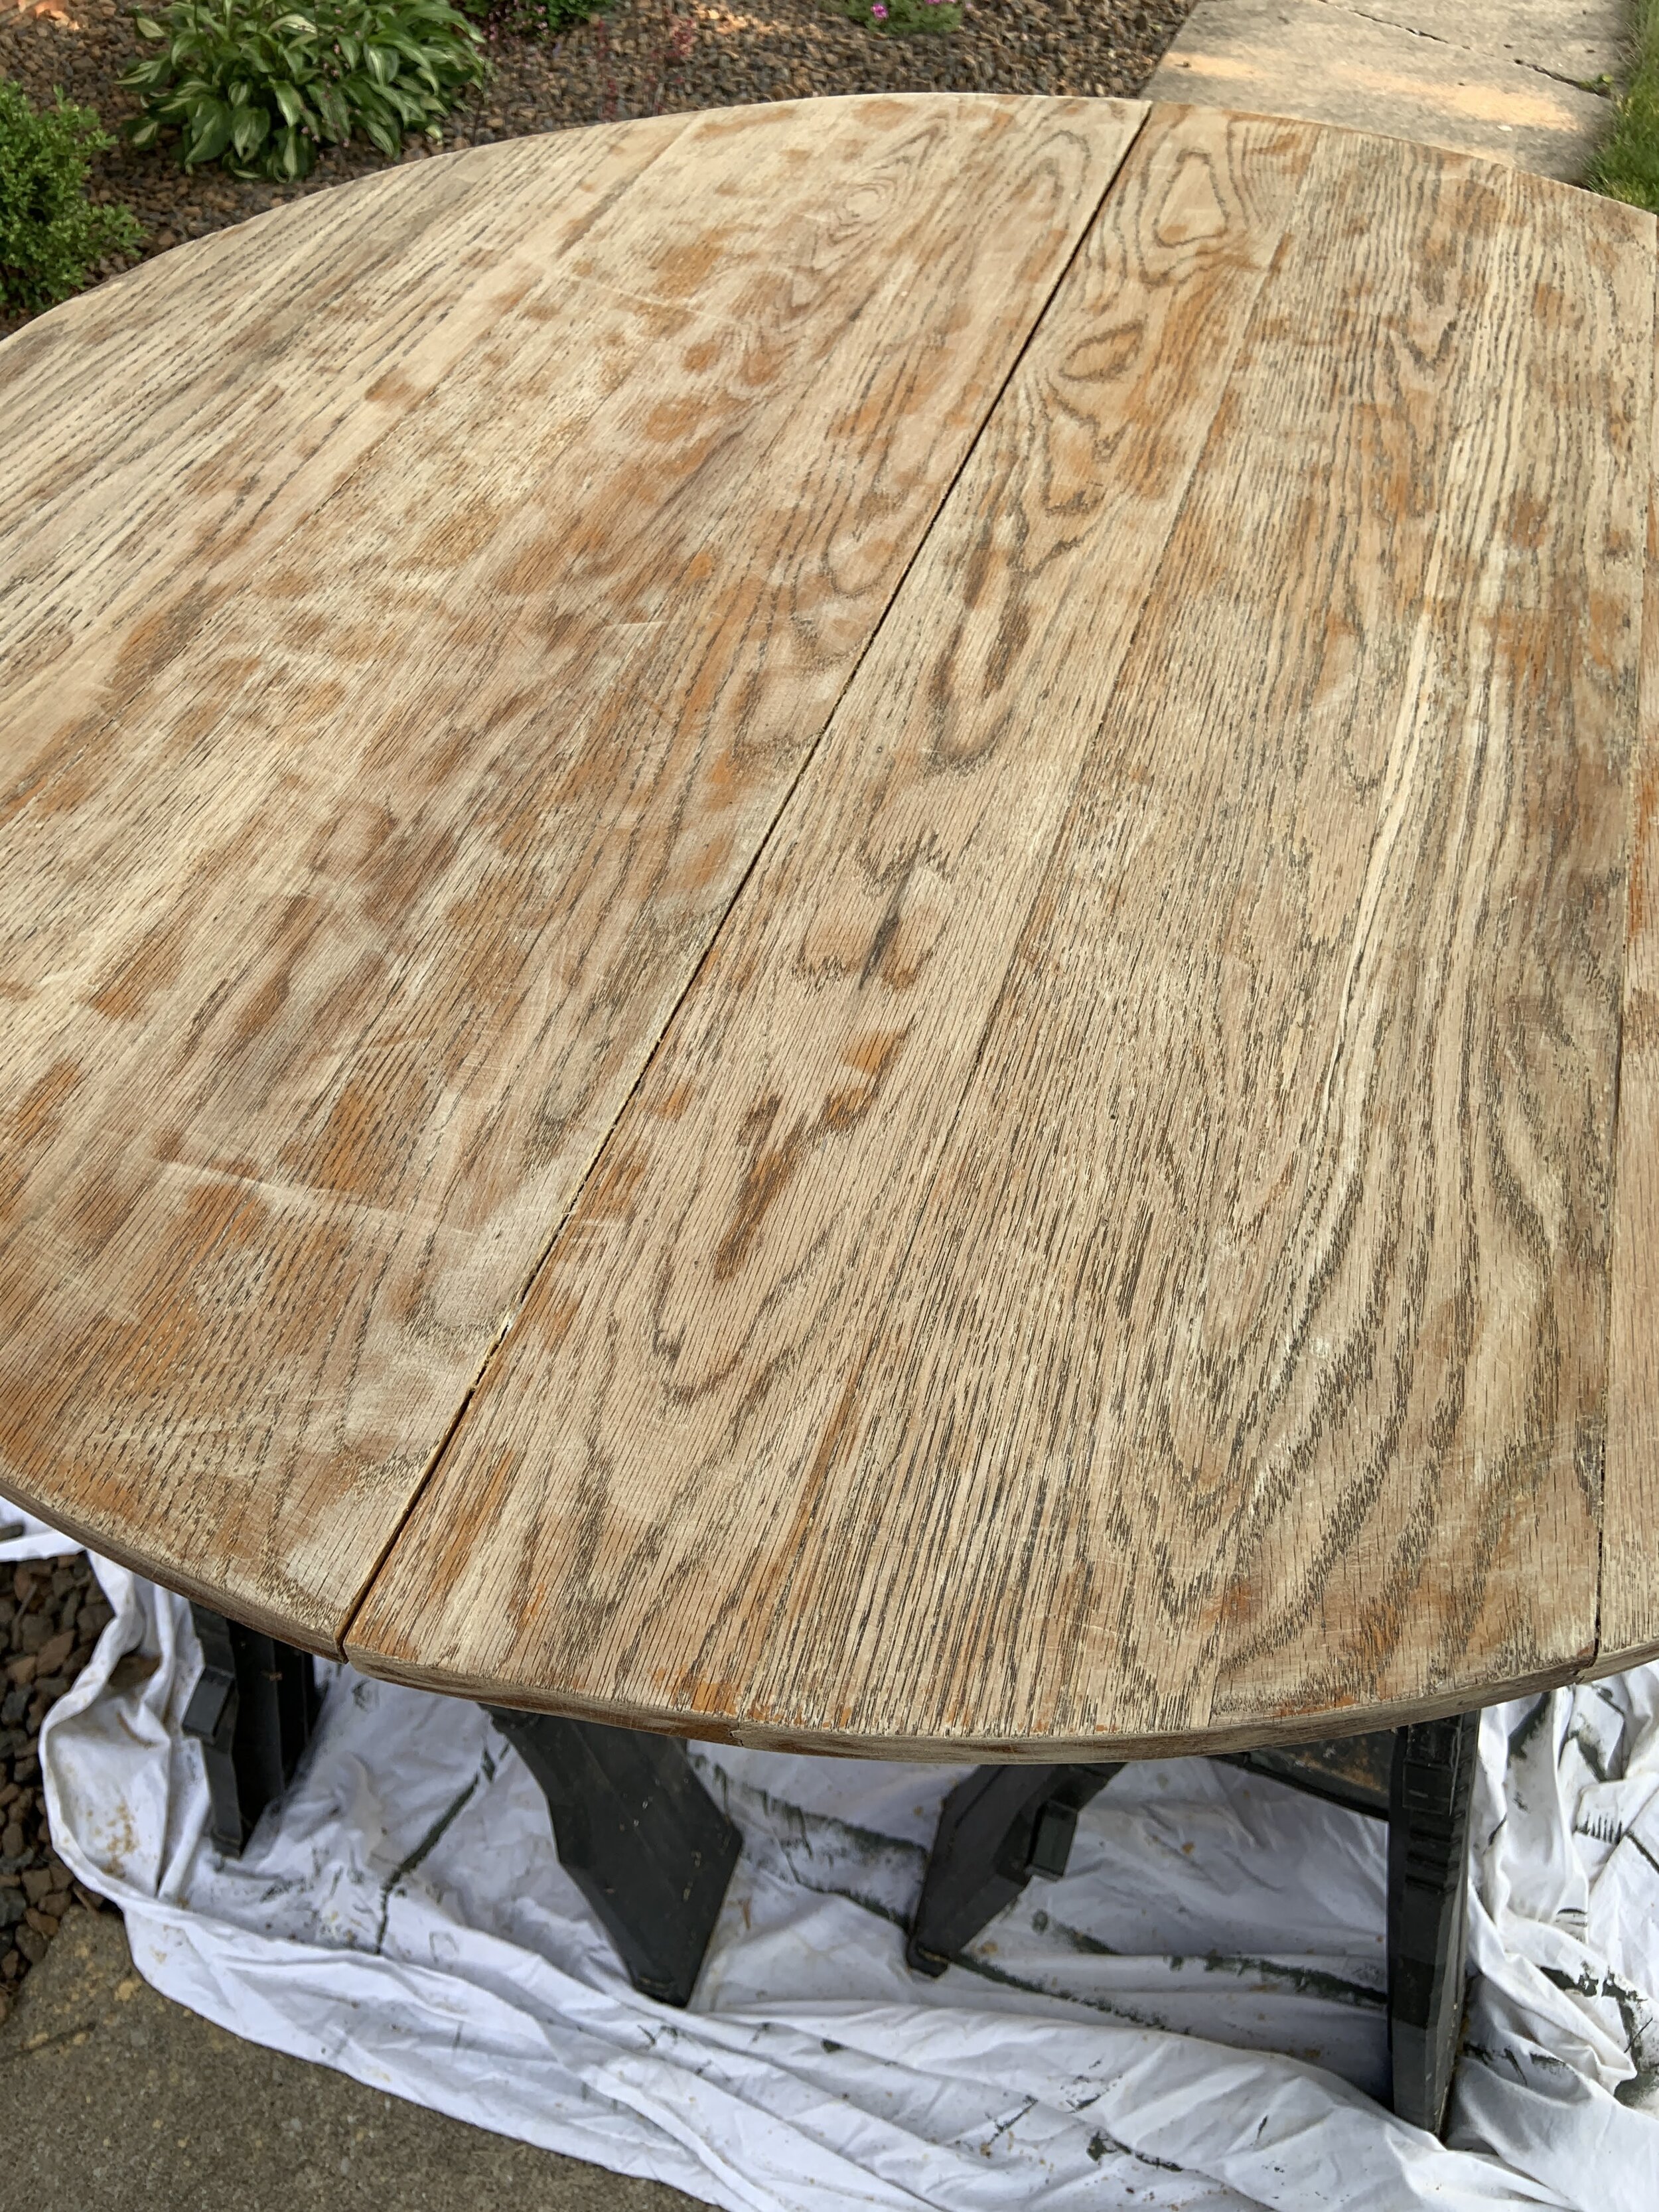
After sanding this ol’ girl for another 3 hours, I finally got it to where I needed it!
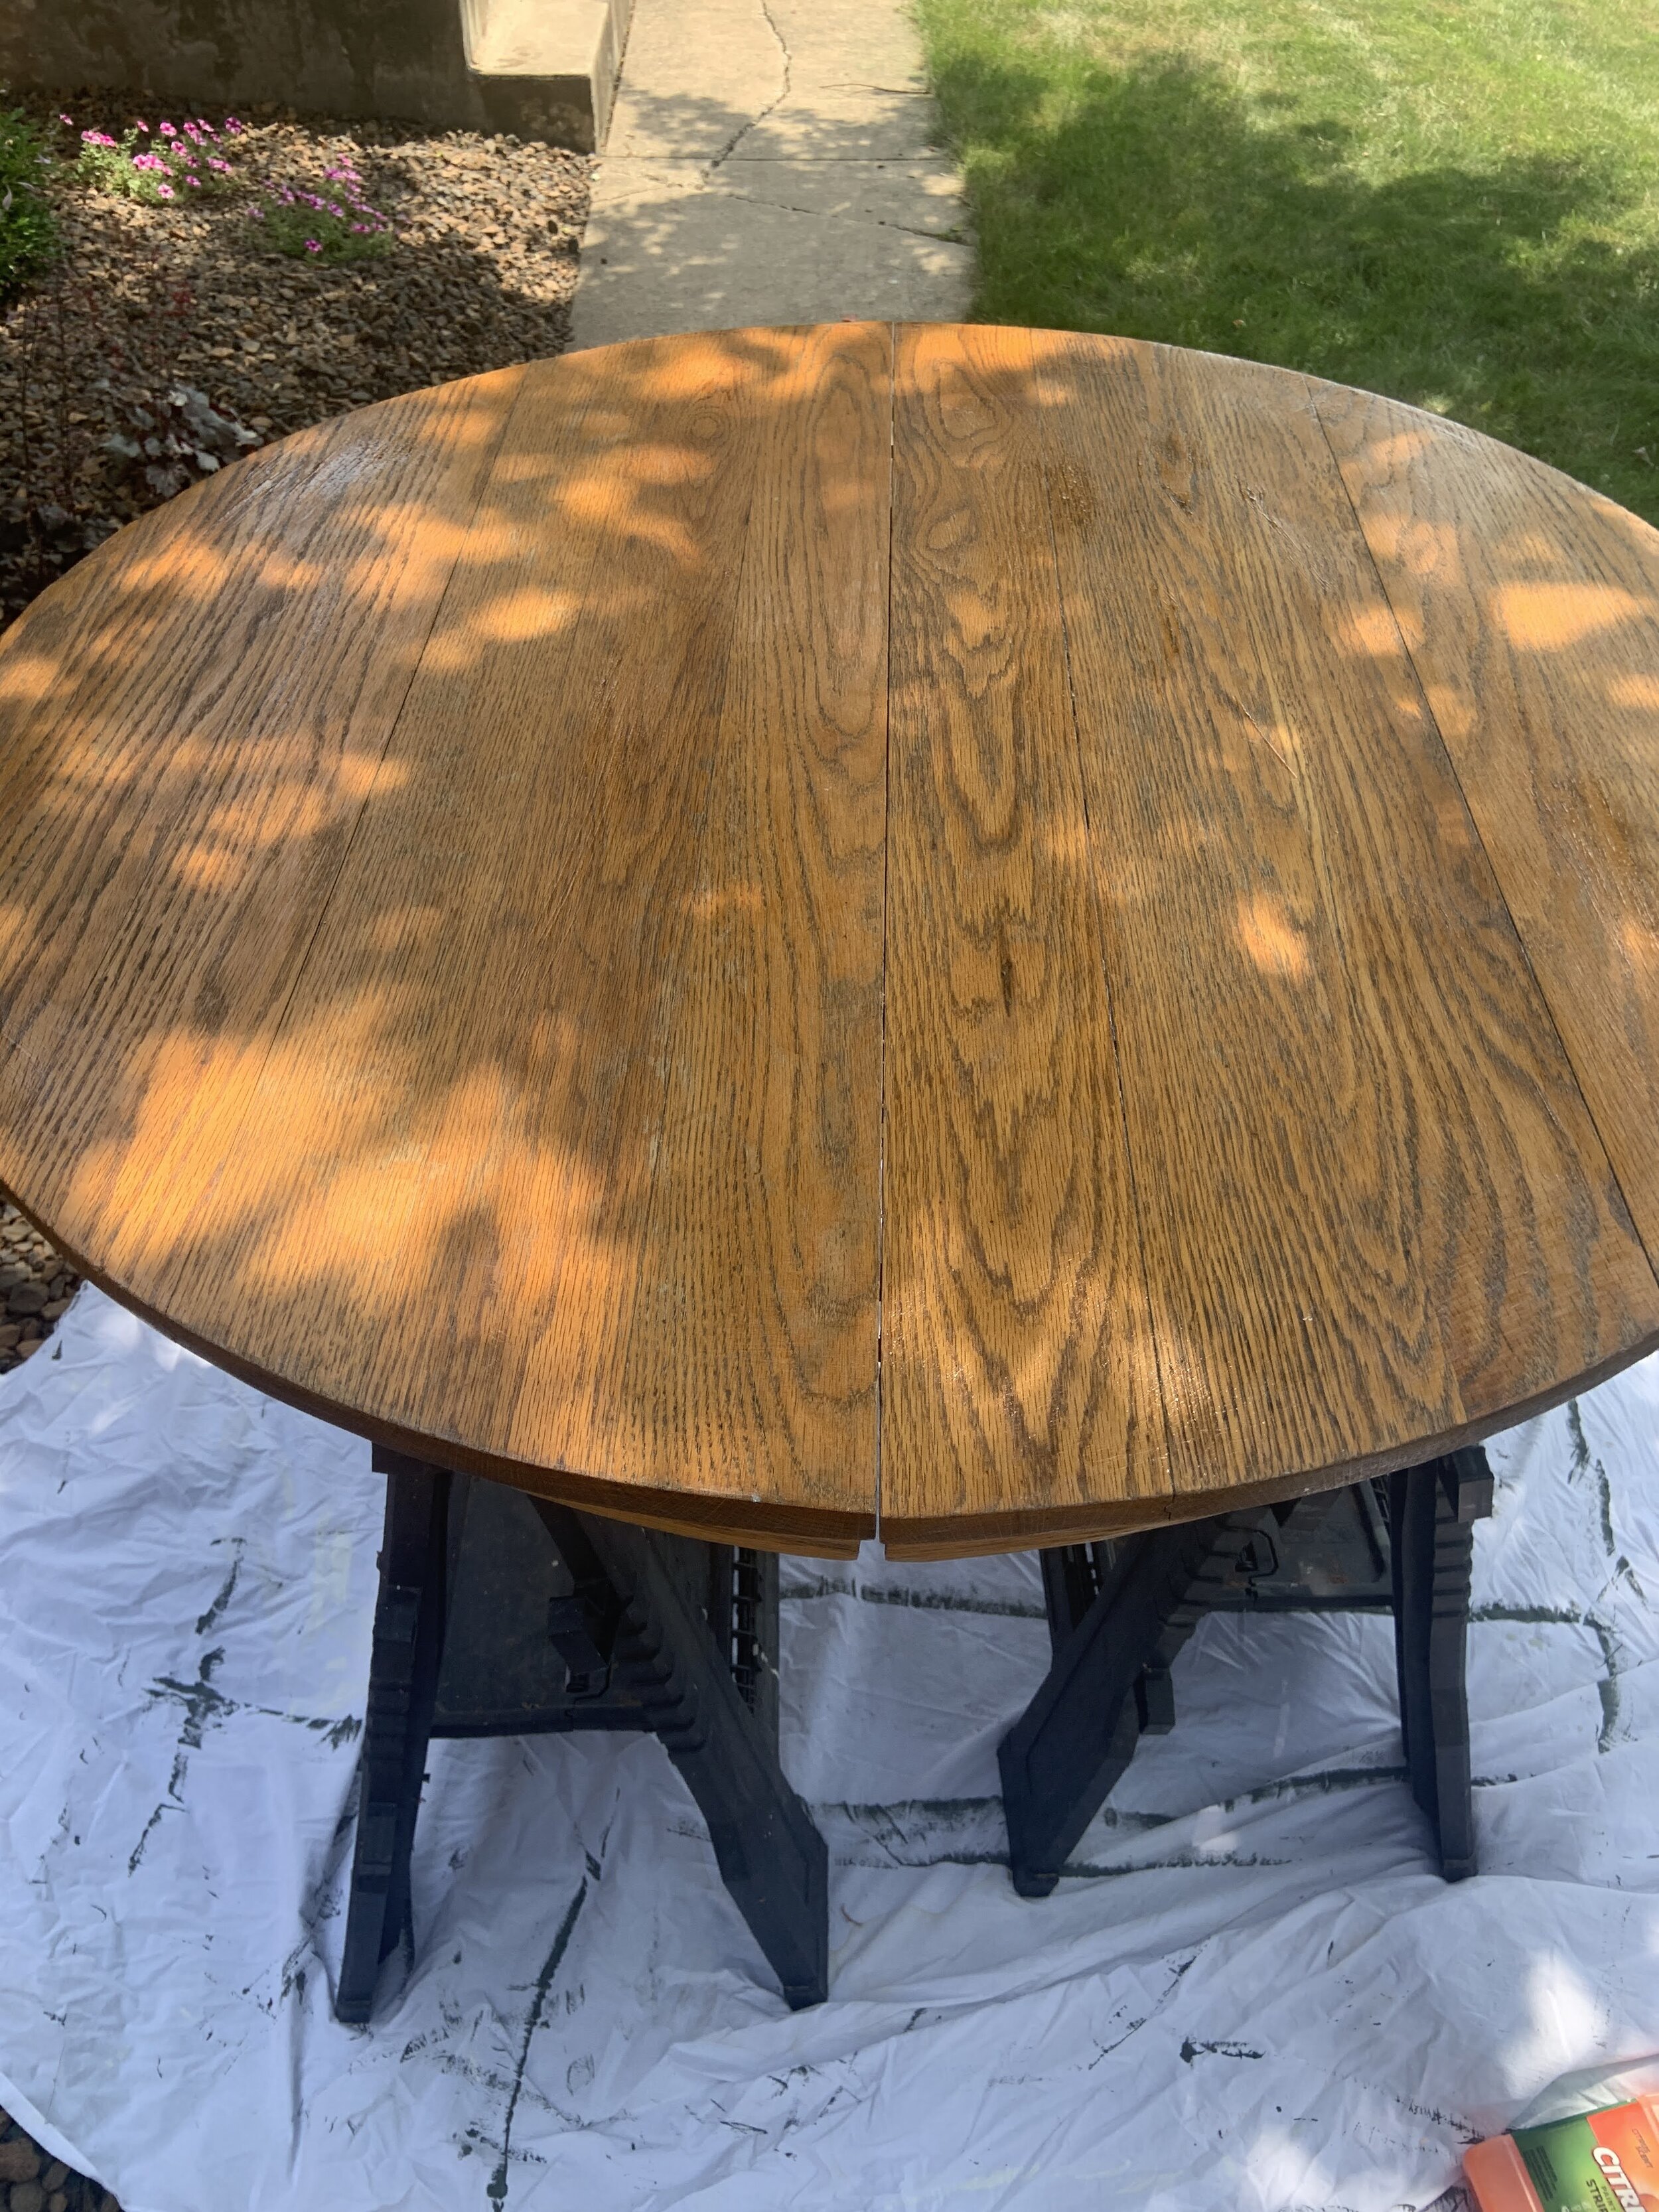
My end goal was as natural as possible. When I got to this point, I realized it was red oak and a few white oak boards, not entirely white oak. So, I bleached the wood 3 times.
I used household bleach, brushed it on the table, let it sit in the sun to fully dry.
This lighted up the wood even more. I’m glad I bleached it, but I was also disappointed because I wanted to seal it at this point. But with just a sealer, it was brining out the red tones and I did NOT want that.
Once I convinced myself a stain was the answer, I used Weathered Oak.
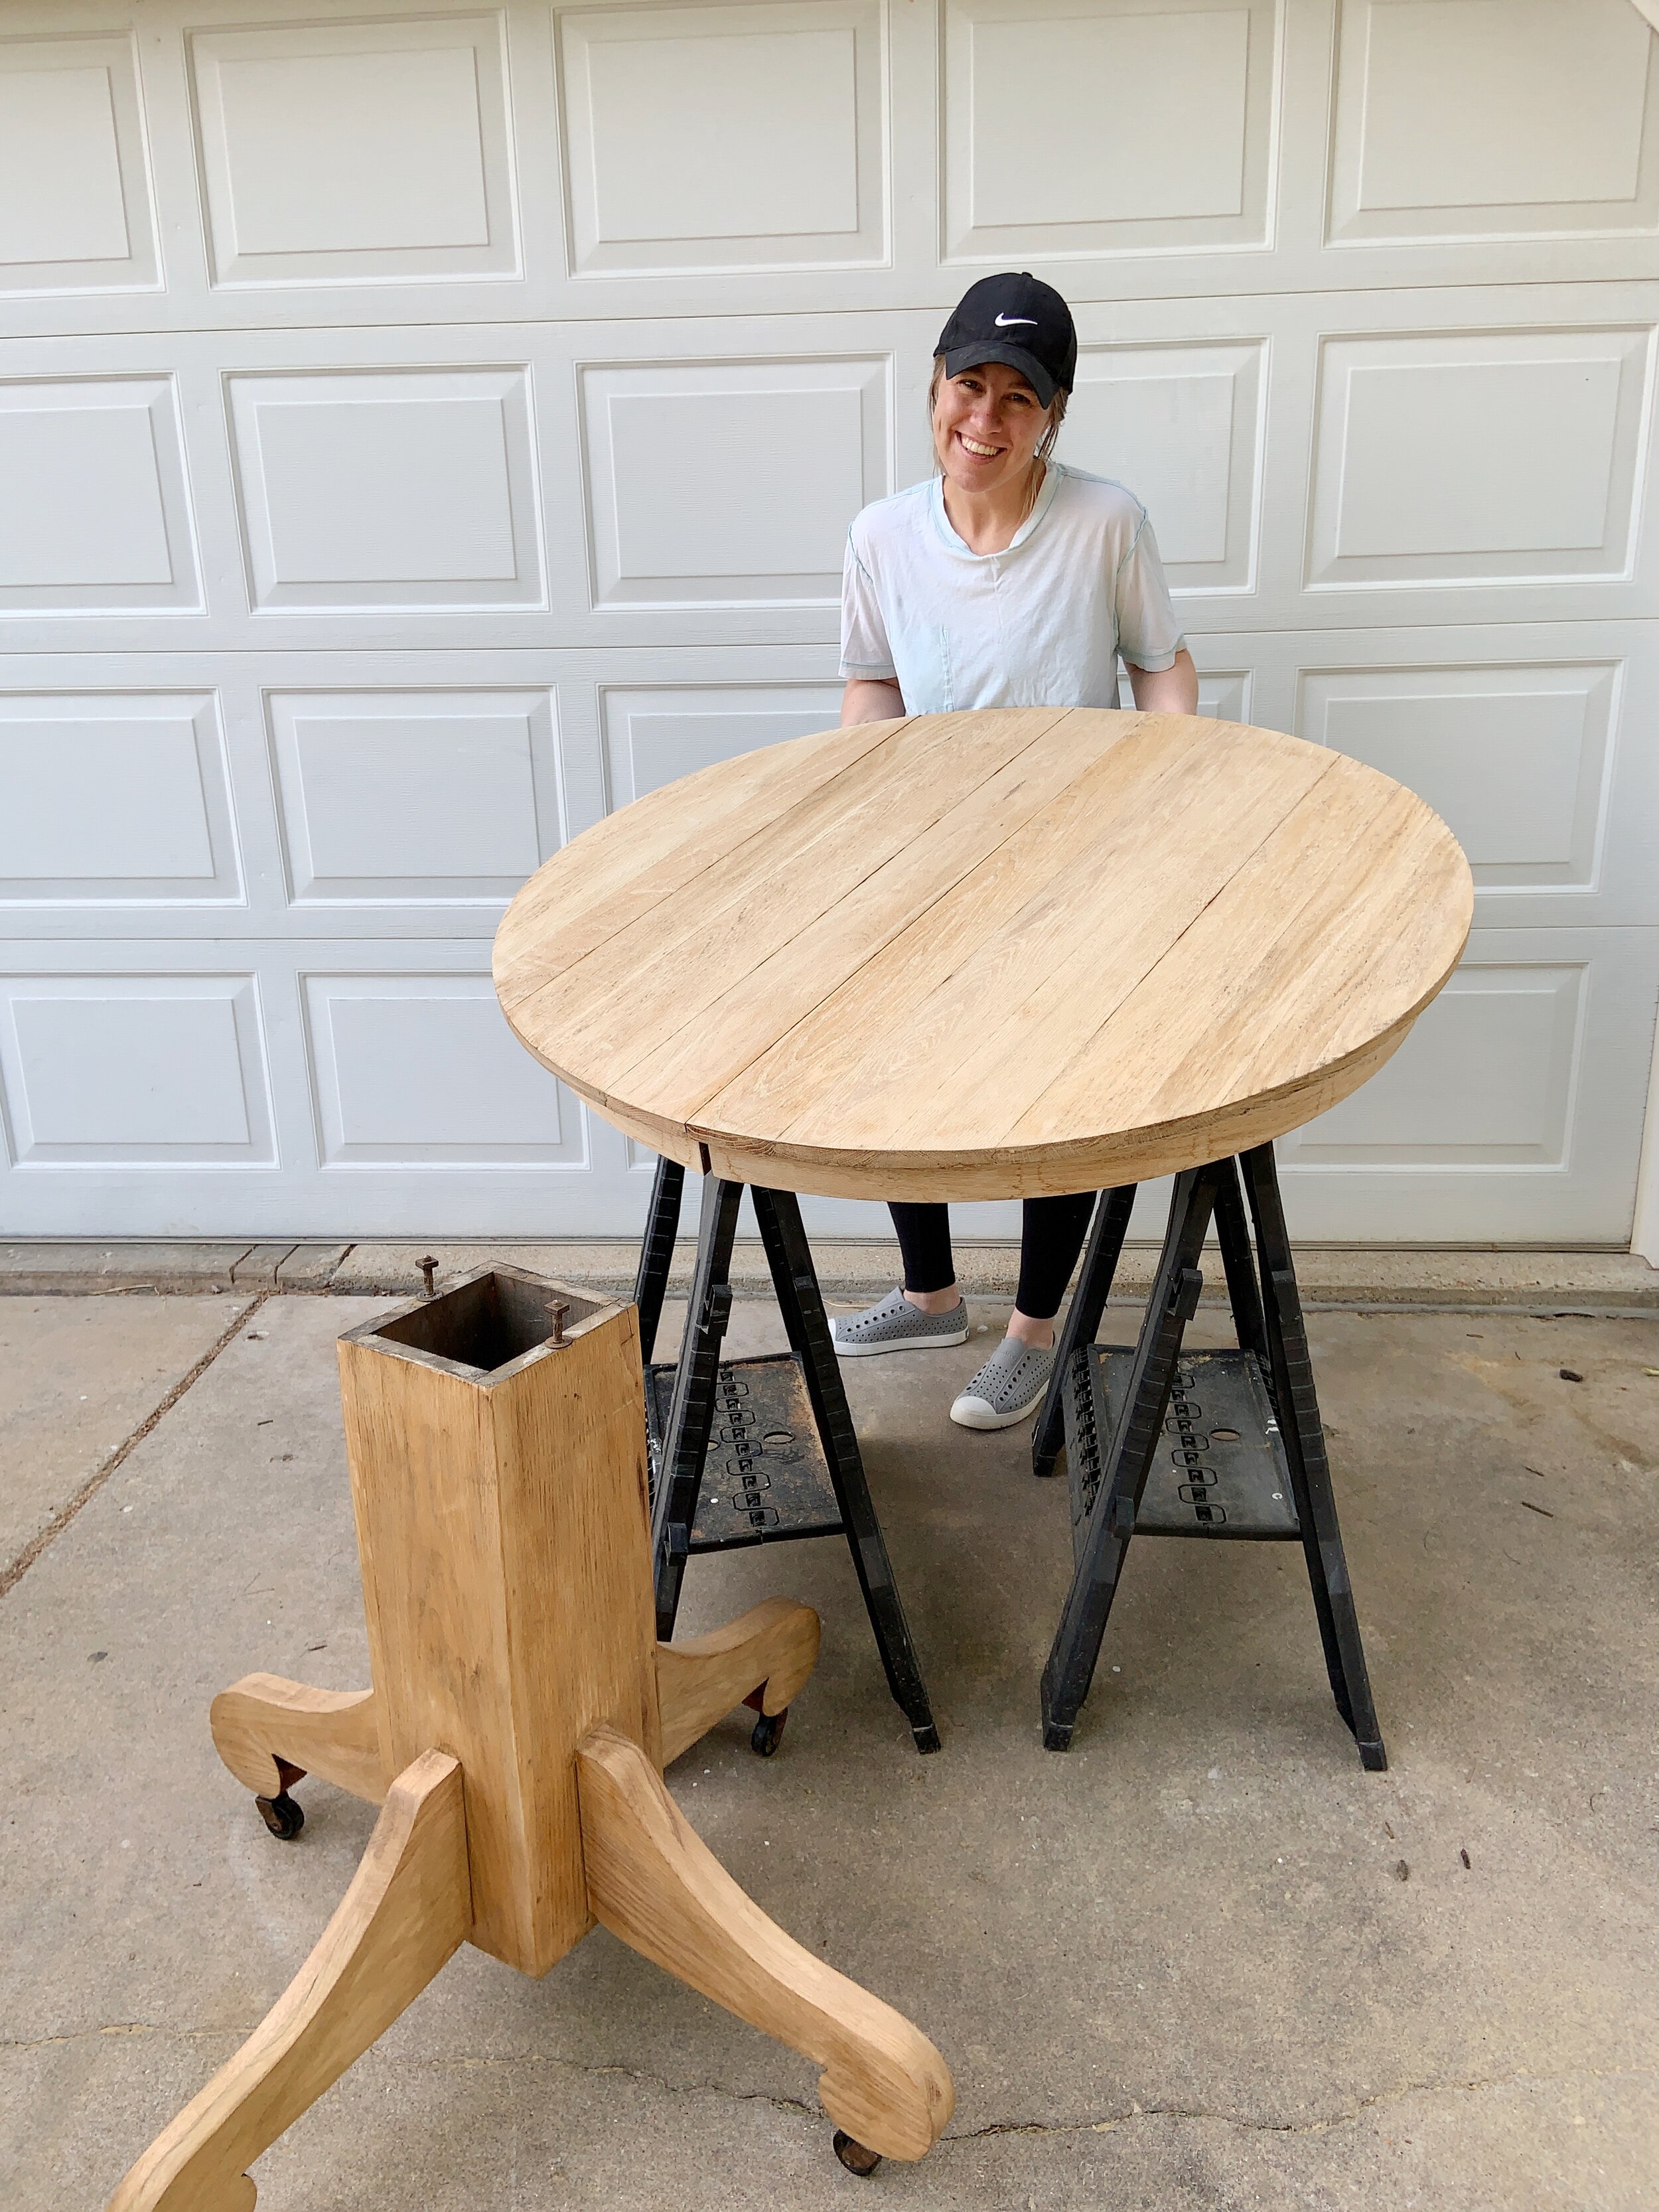
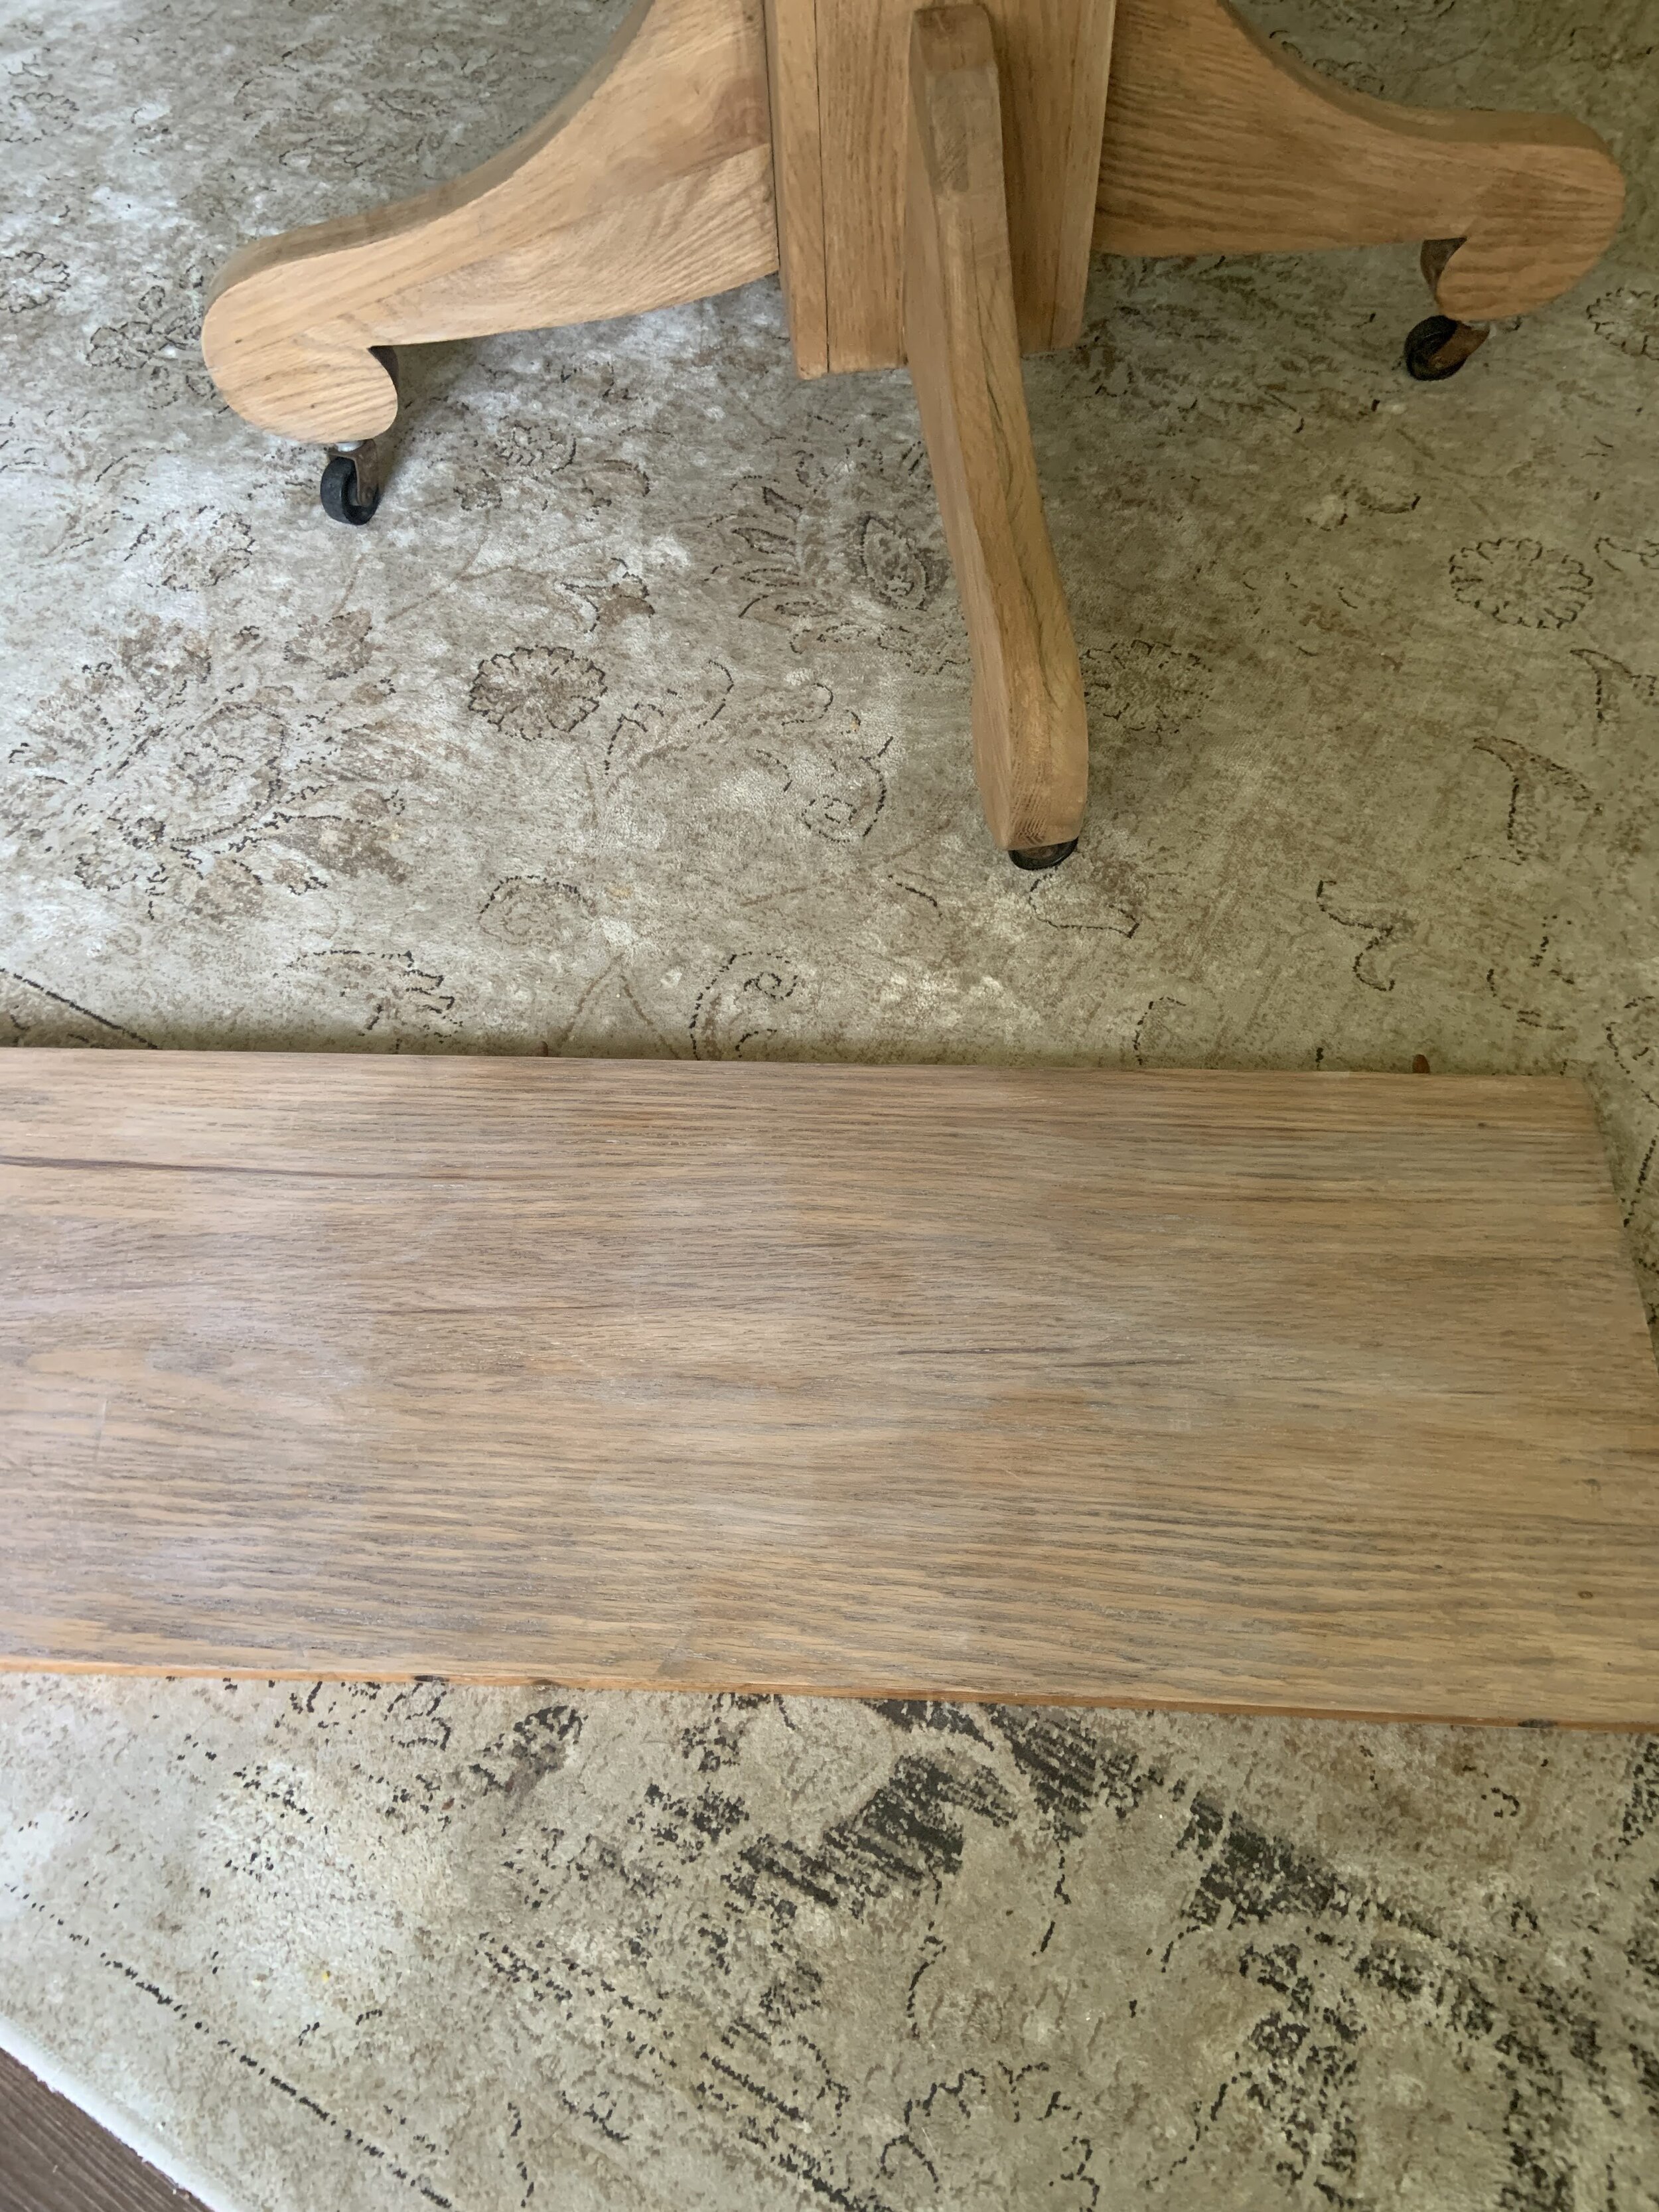
I stained the bottom of the table (one coat) and then posed for a photo because I really wanted to document the color difference.
Oh, and did I mention I sanded this thing?
Here’s what I did on everything:
40 grit with belt sander
80 grit with orbital sander
150 grit sand paper
220 grit sand paper
After the top was properly sanded - I stained it!
Let me show you the original photo again and the updated version.
She’s already a million times better. But it doesn’t end there.
In order to actually use this table, there MUST be some sort of protective coating on it. I like to use a clear polycrylic. The photo on the far left (below) shows what the actual color will be with the poly.
I loved it, but I wasn’t sold. So, I bought another stain called Tinsmith Grey to try (center photo) and counter the reddish tones a bit. But as you can see, it left white blobs and just wasn’t great. I scraped that idea and just went with the poly.
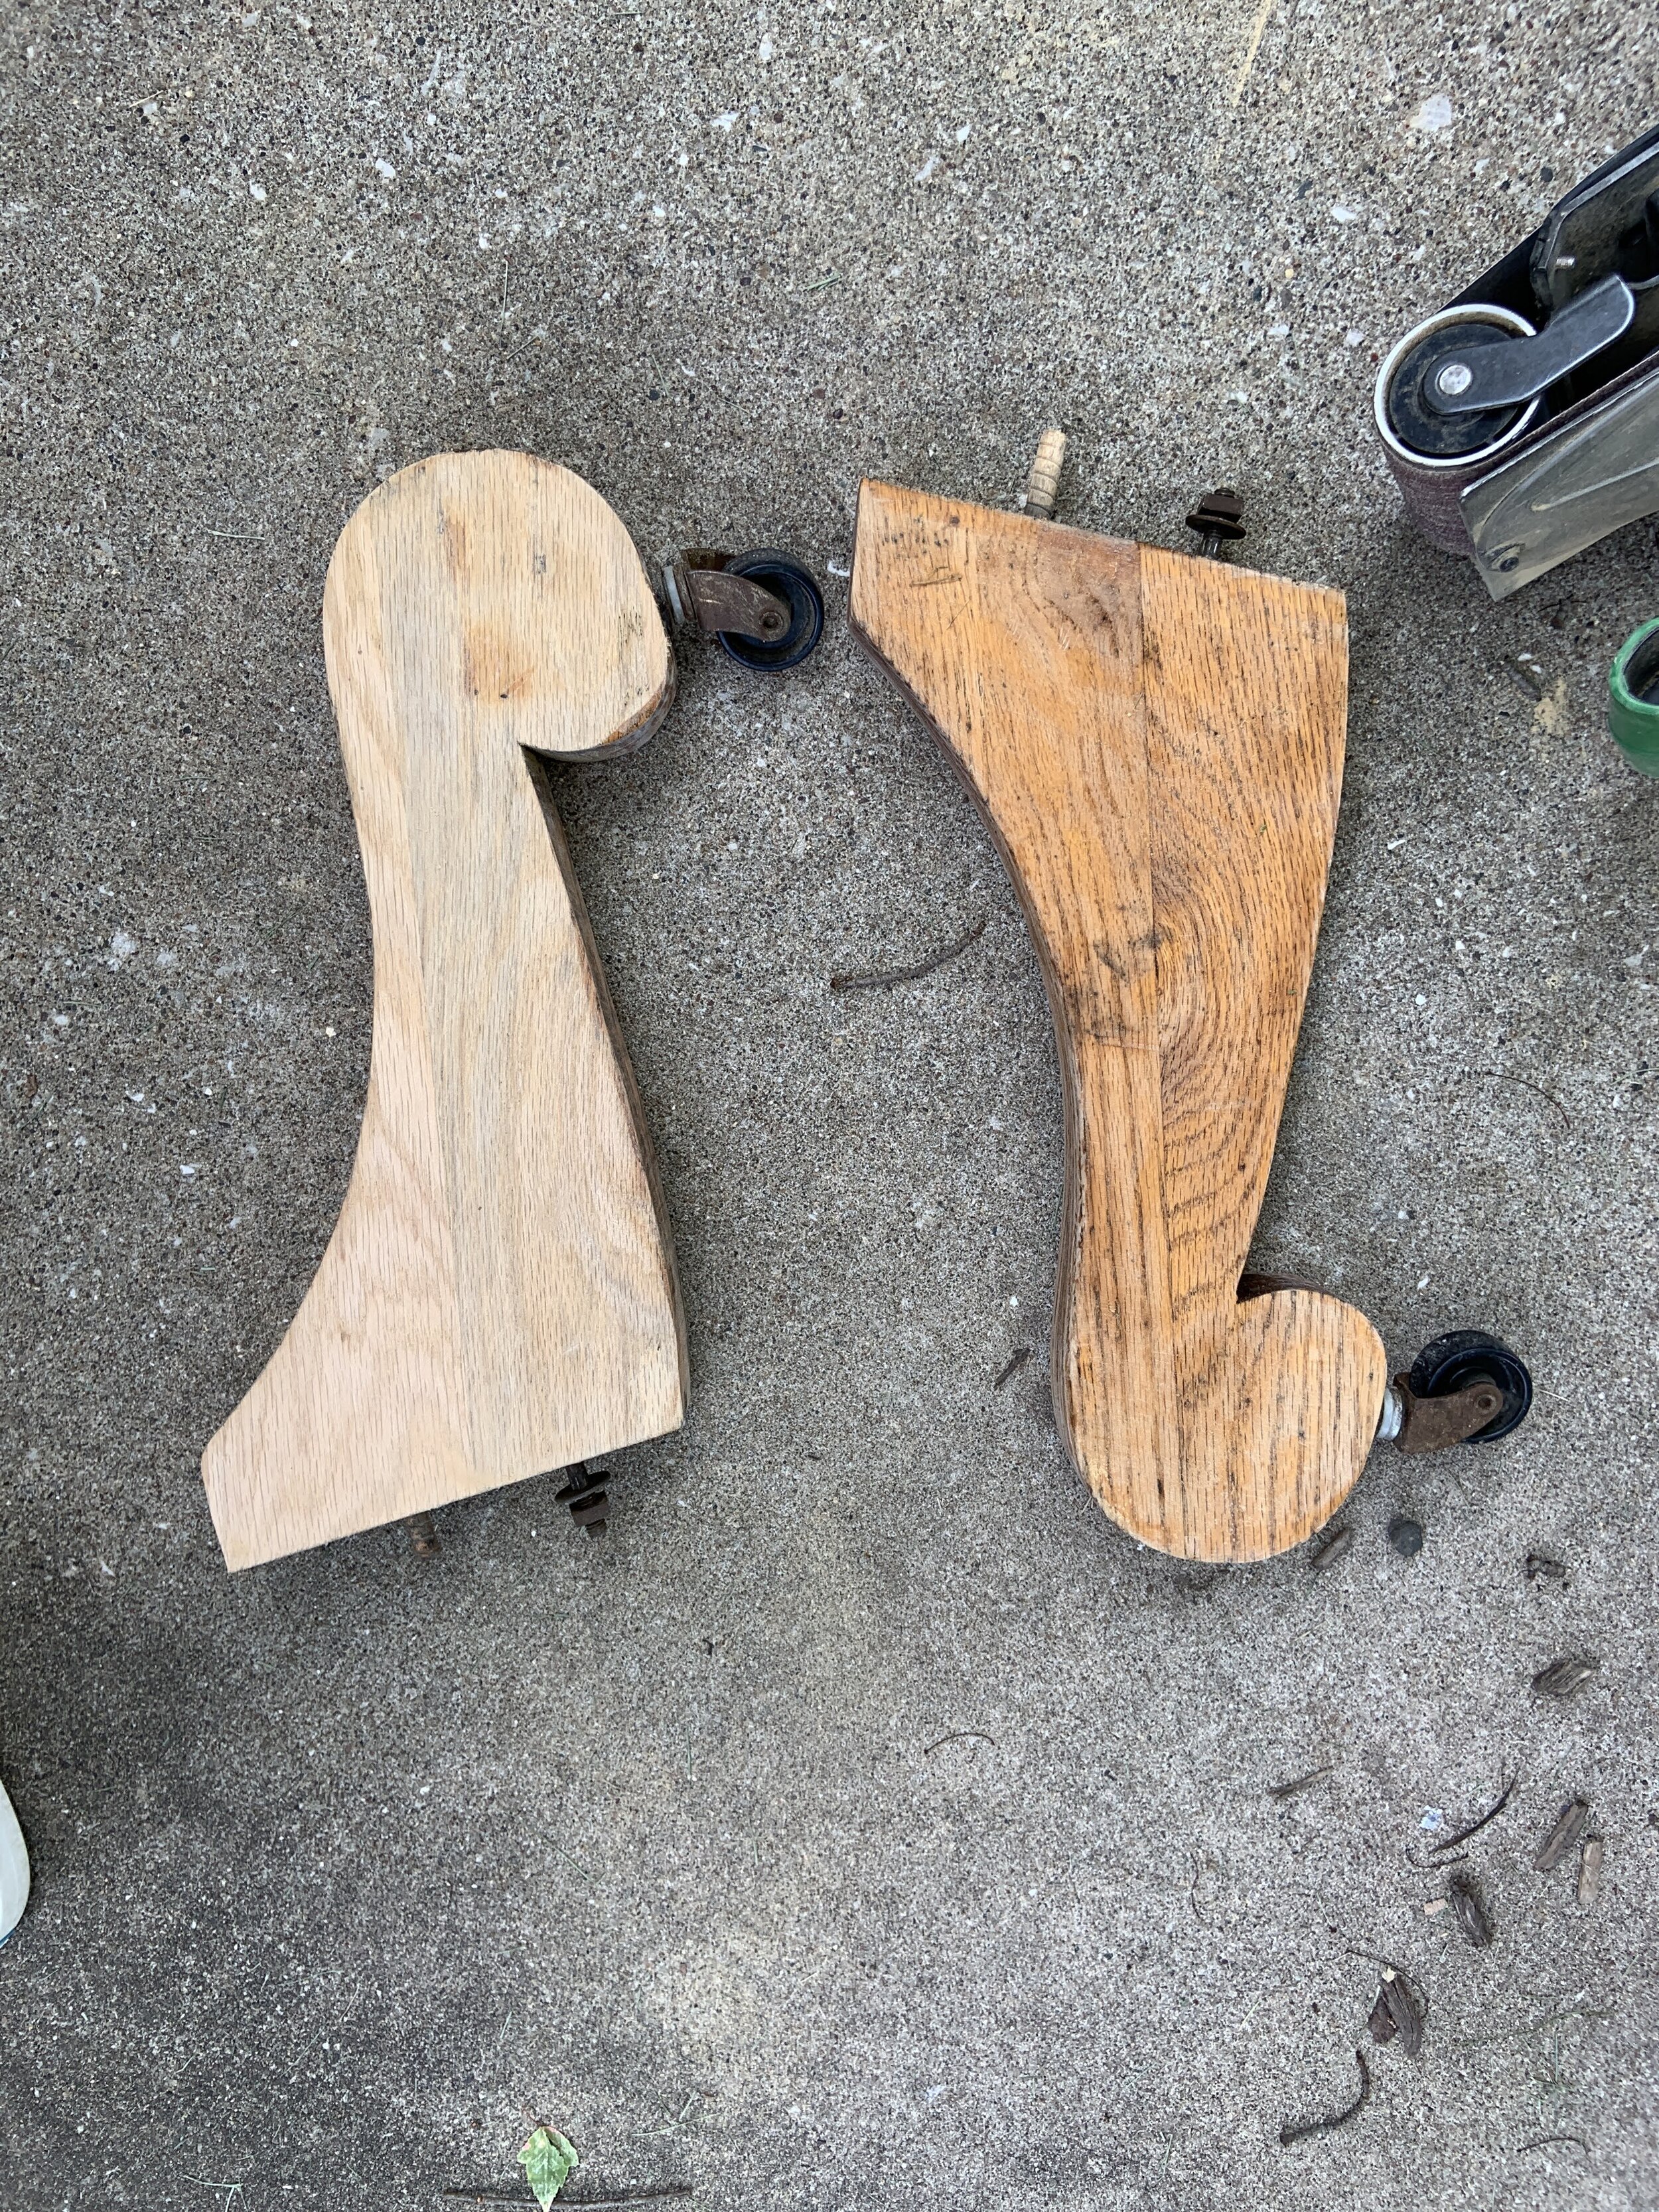
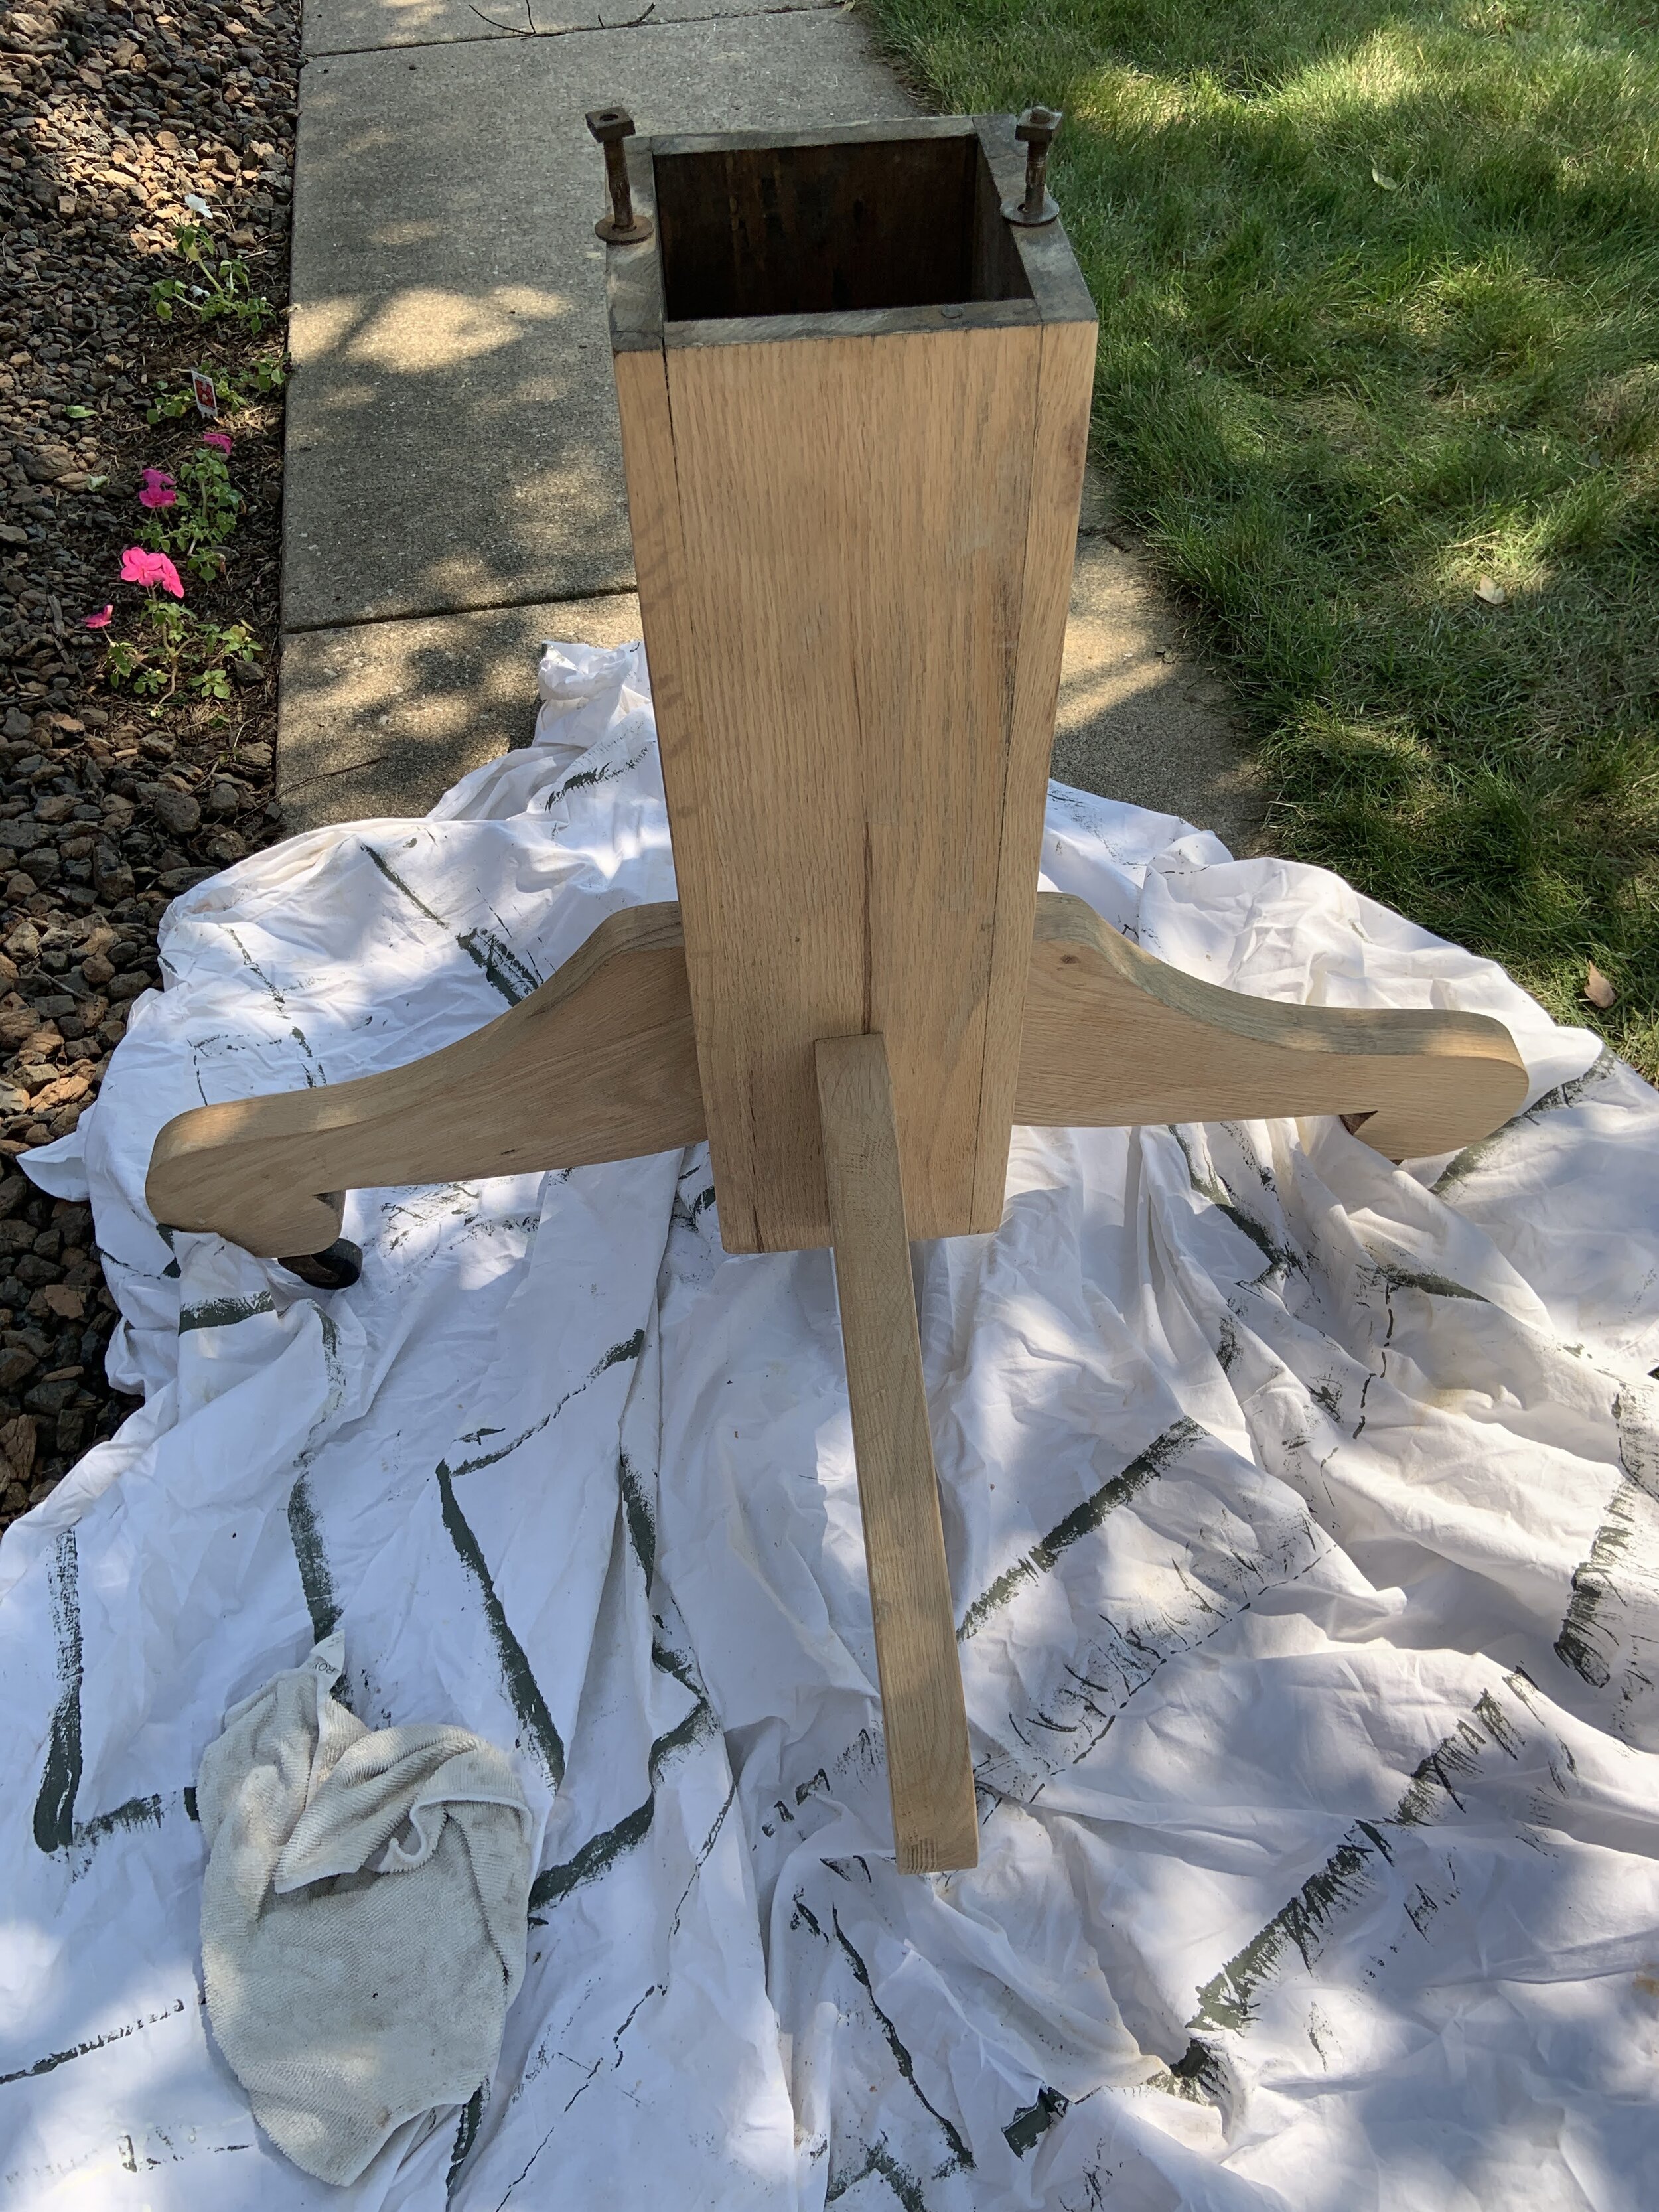
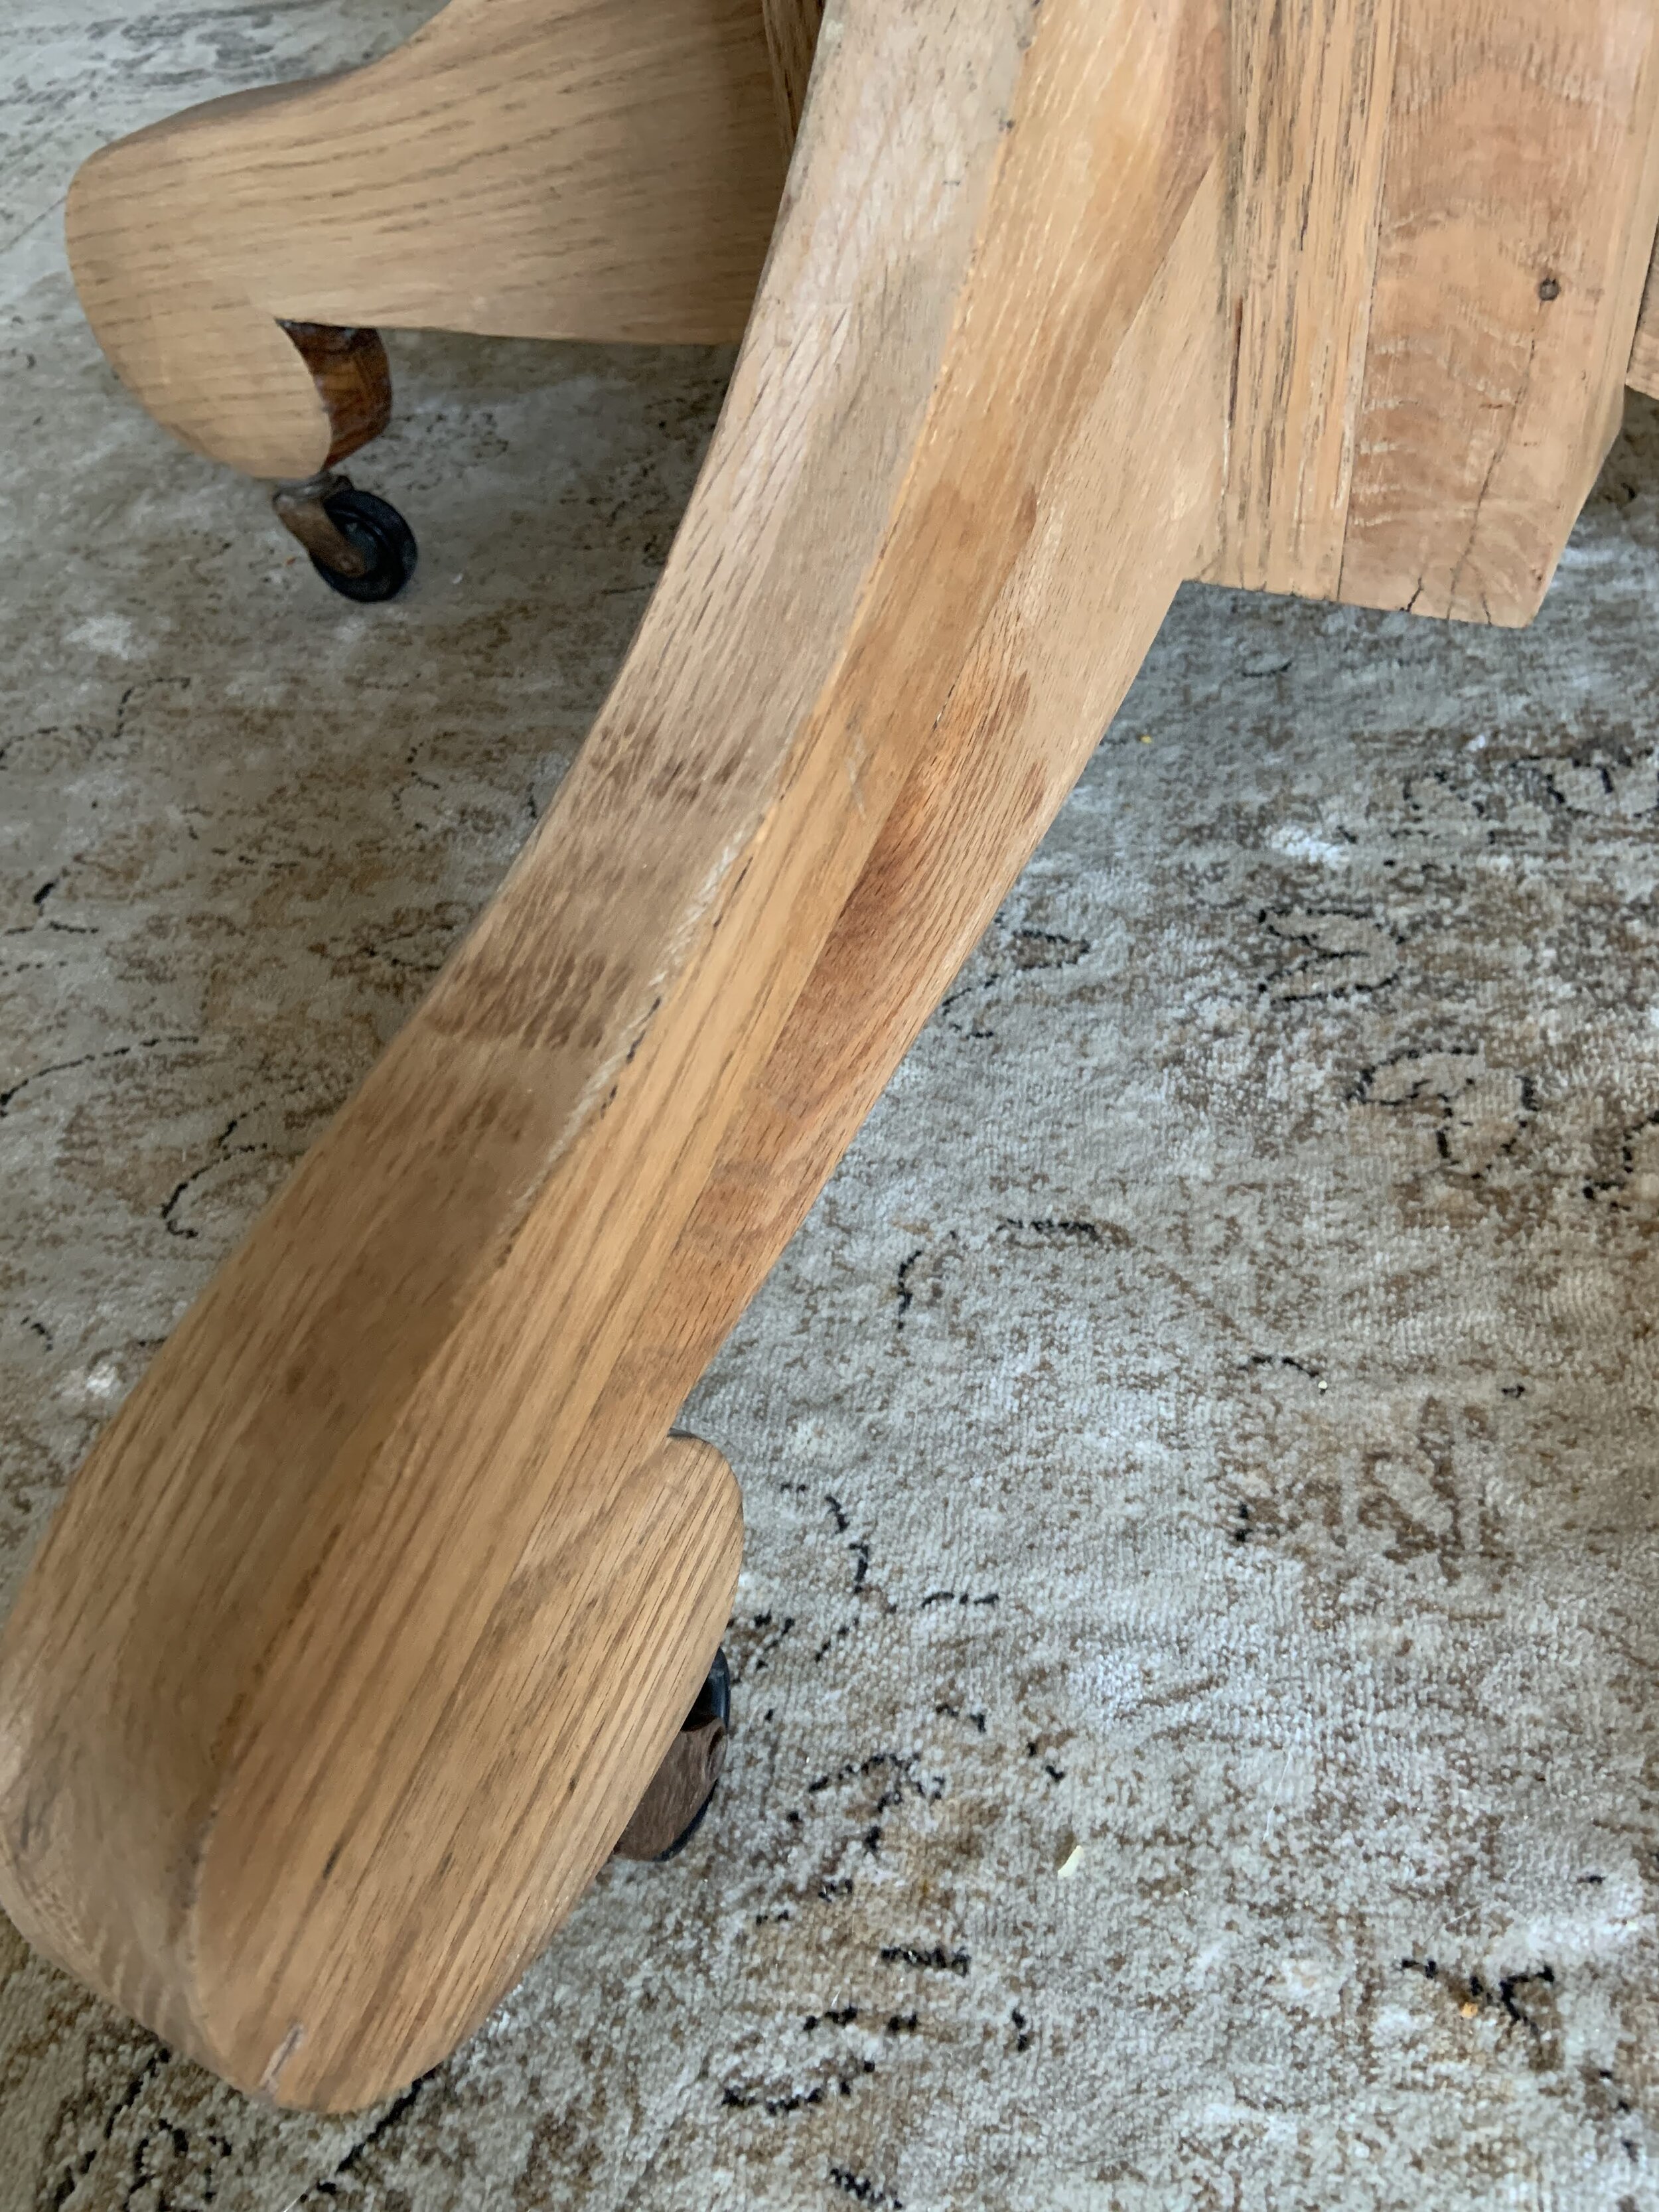
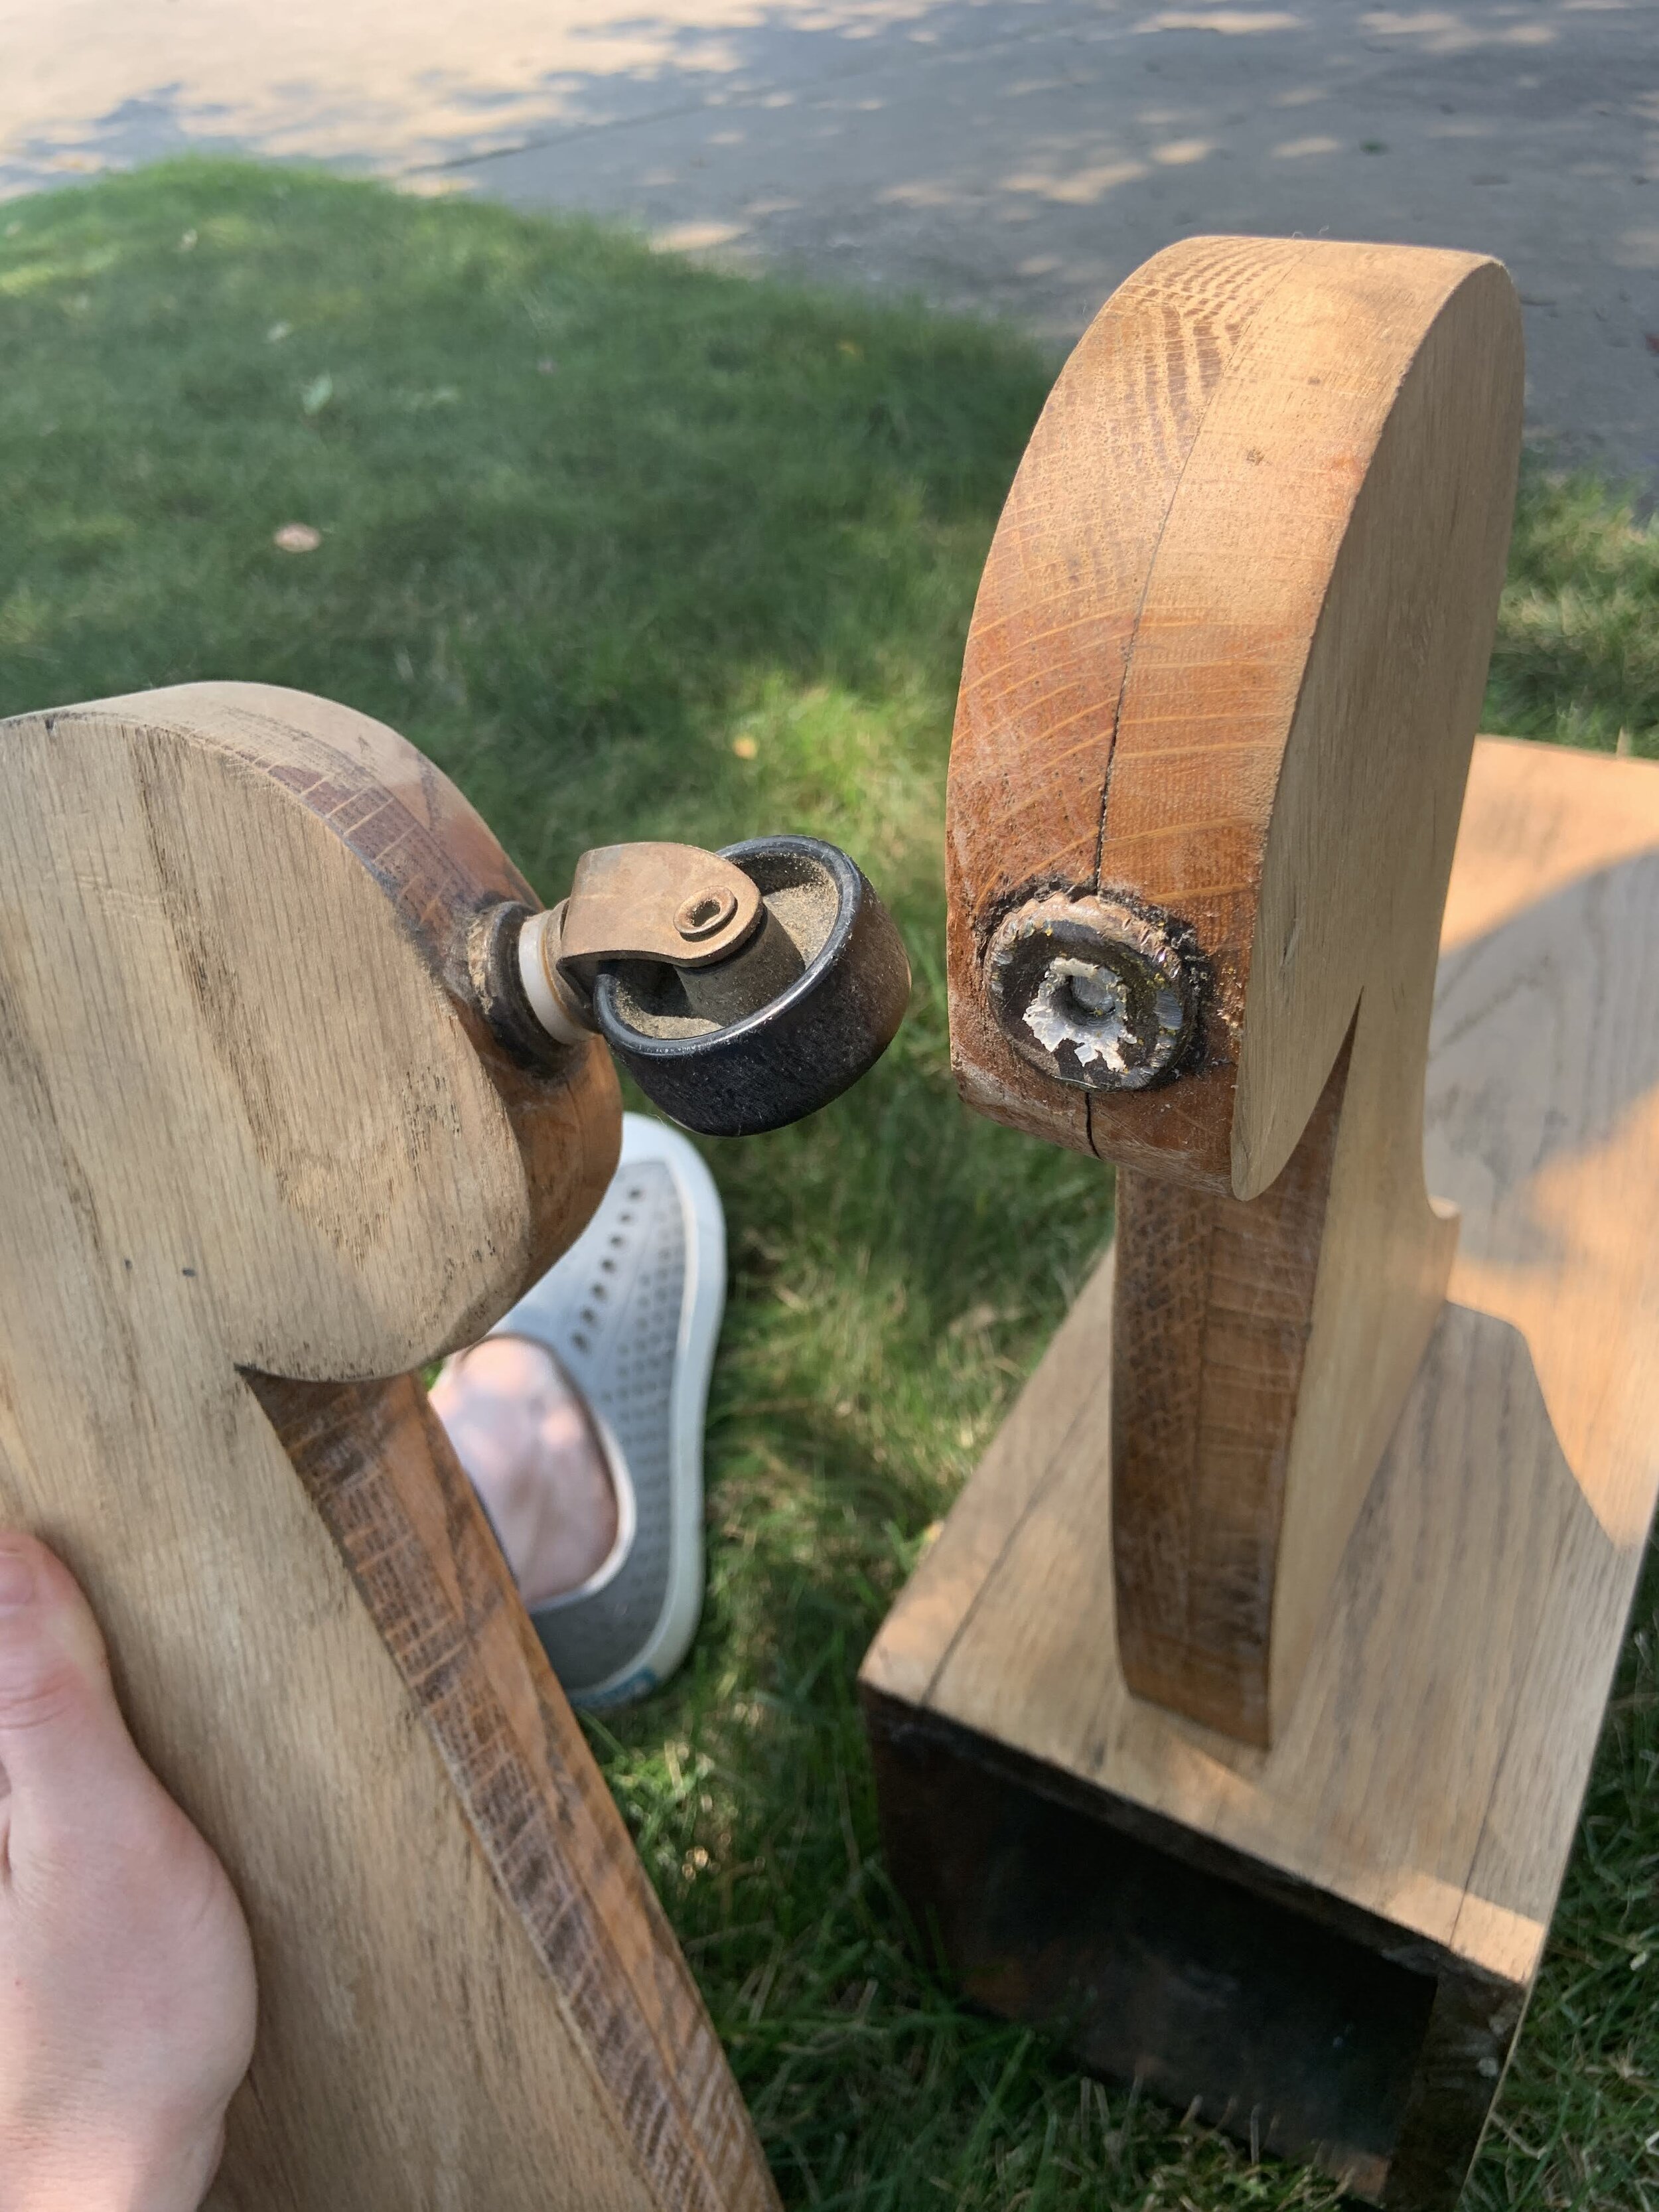
Oh, and we also cut off those feet! GASP!
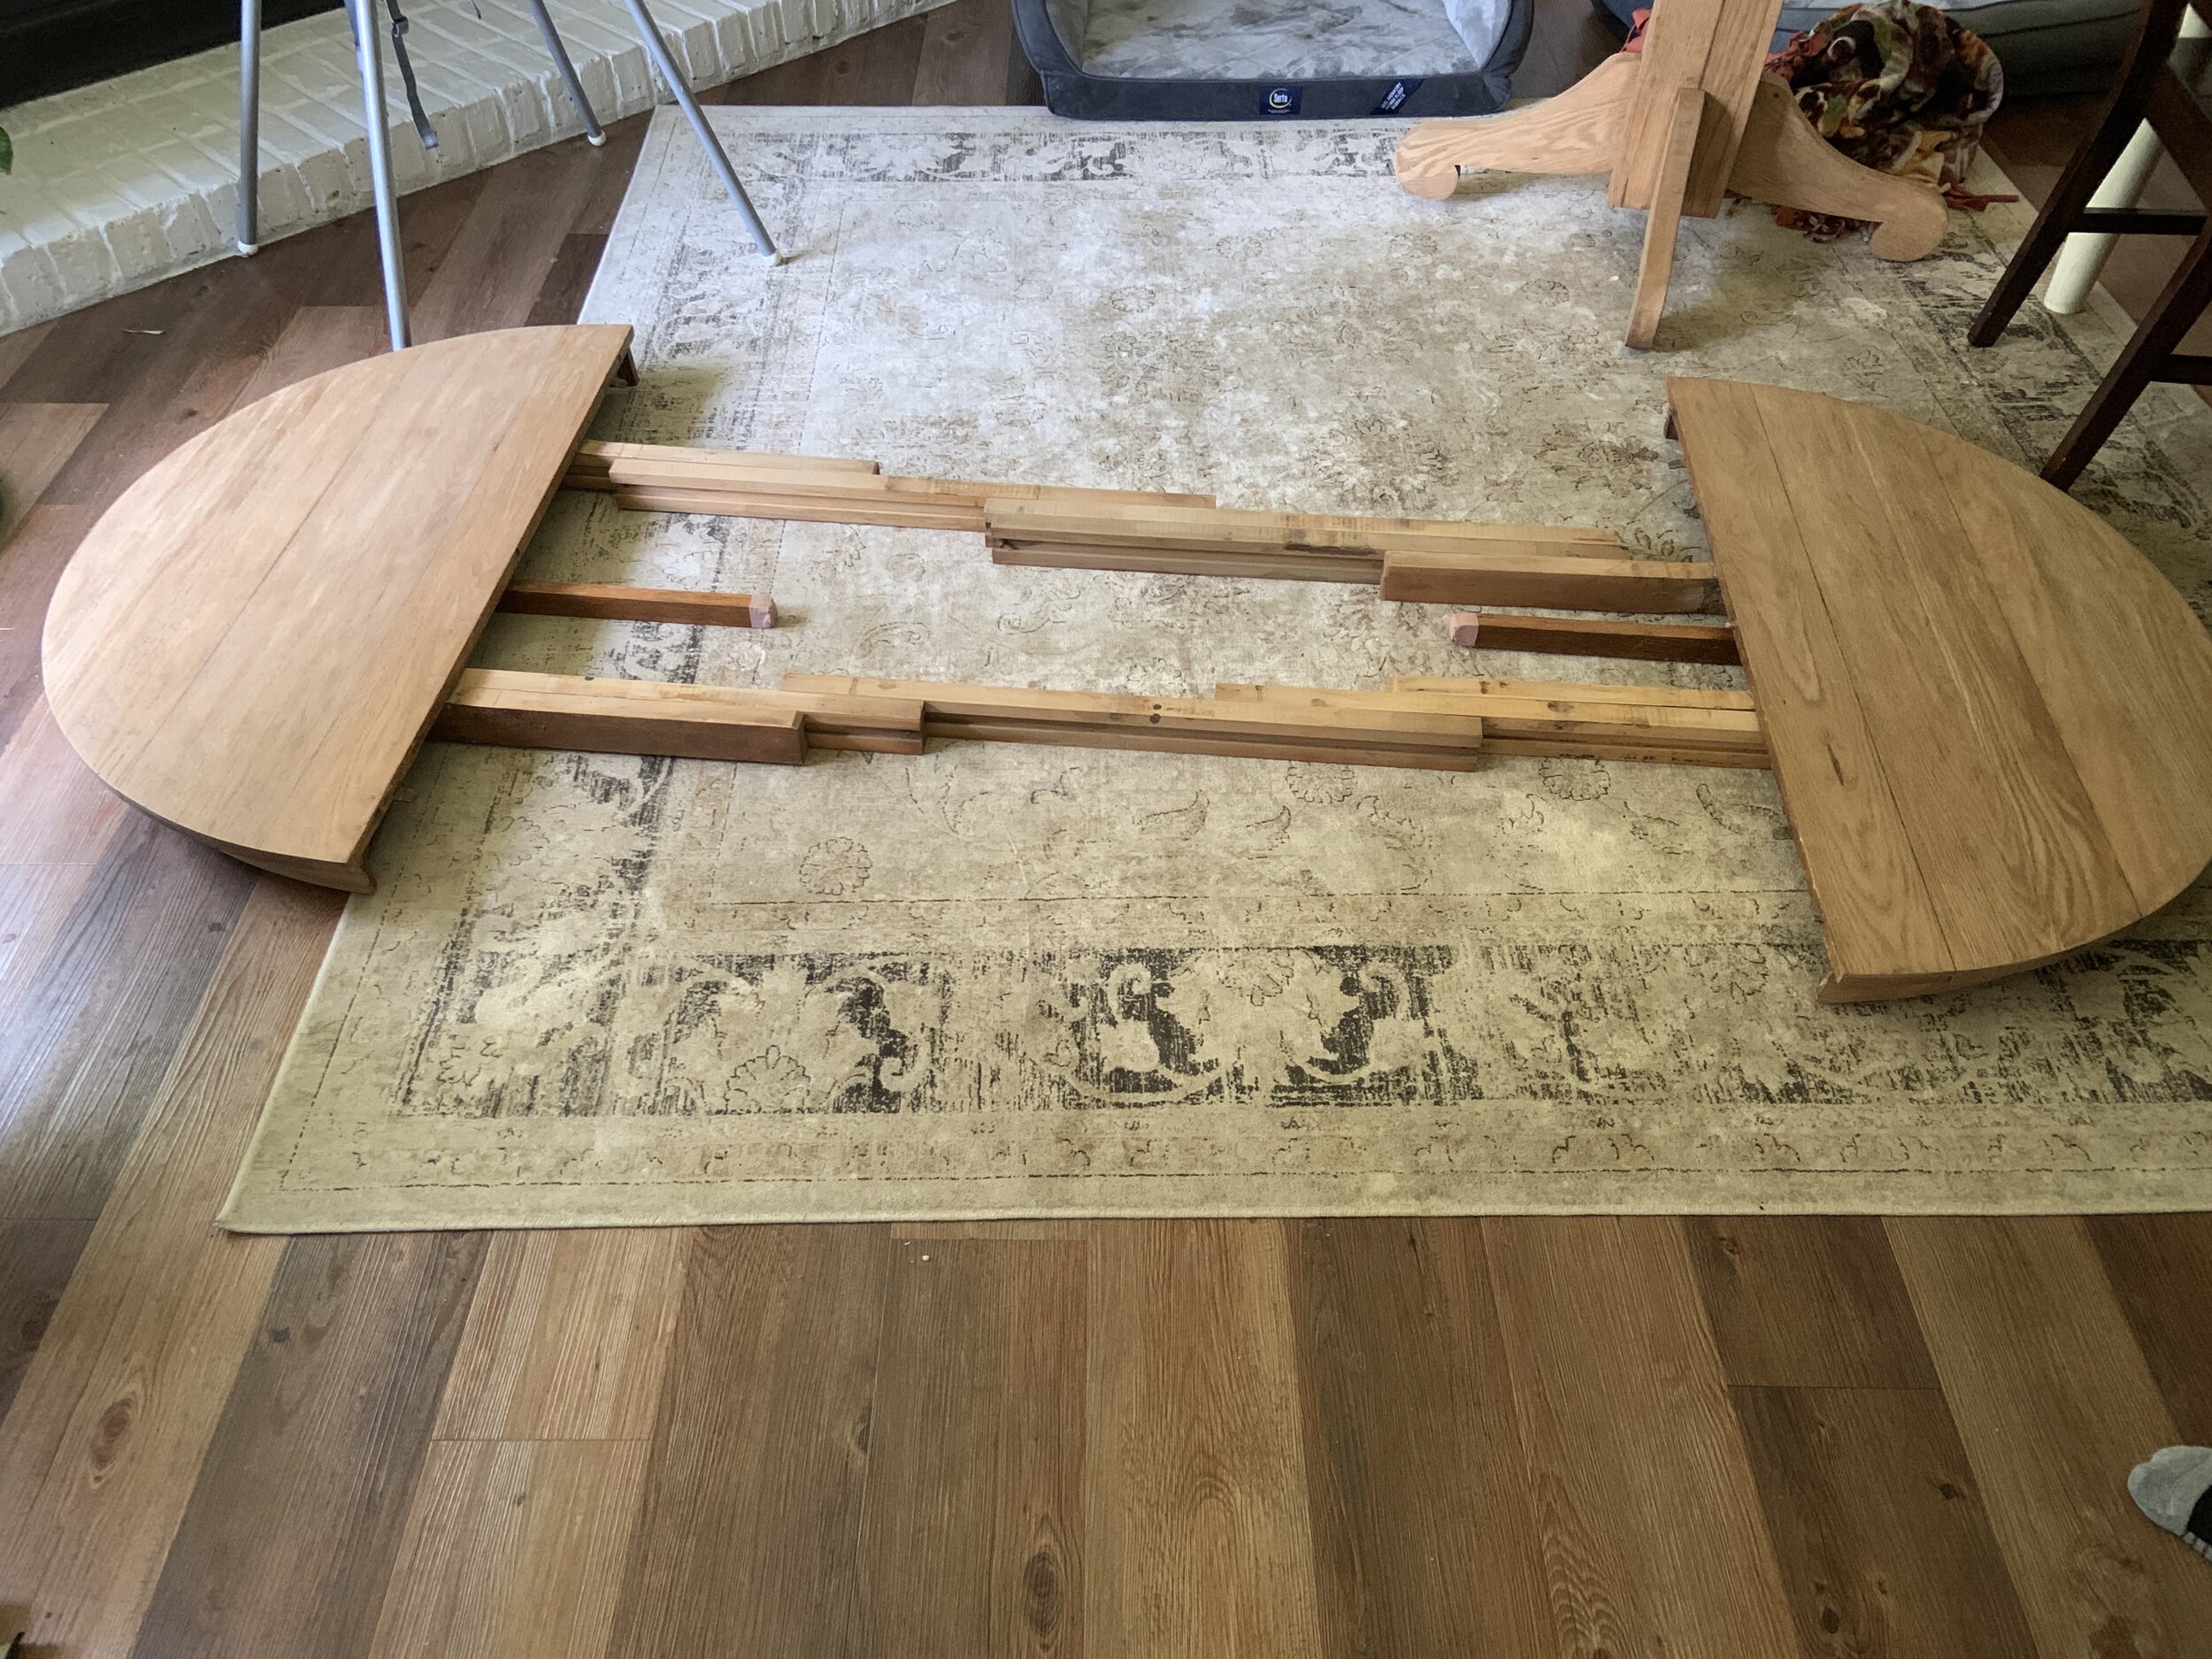
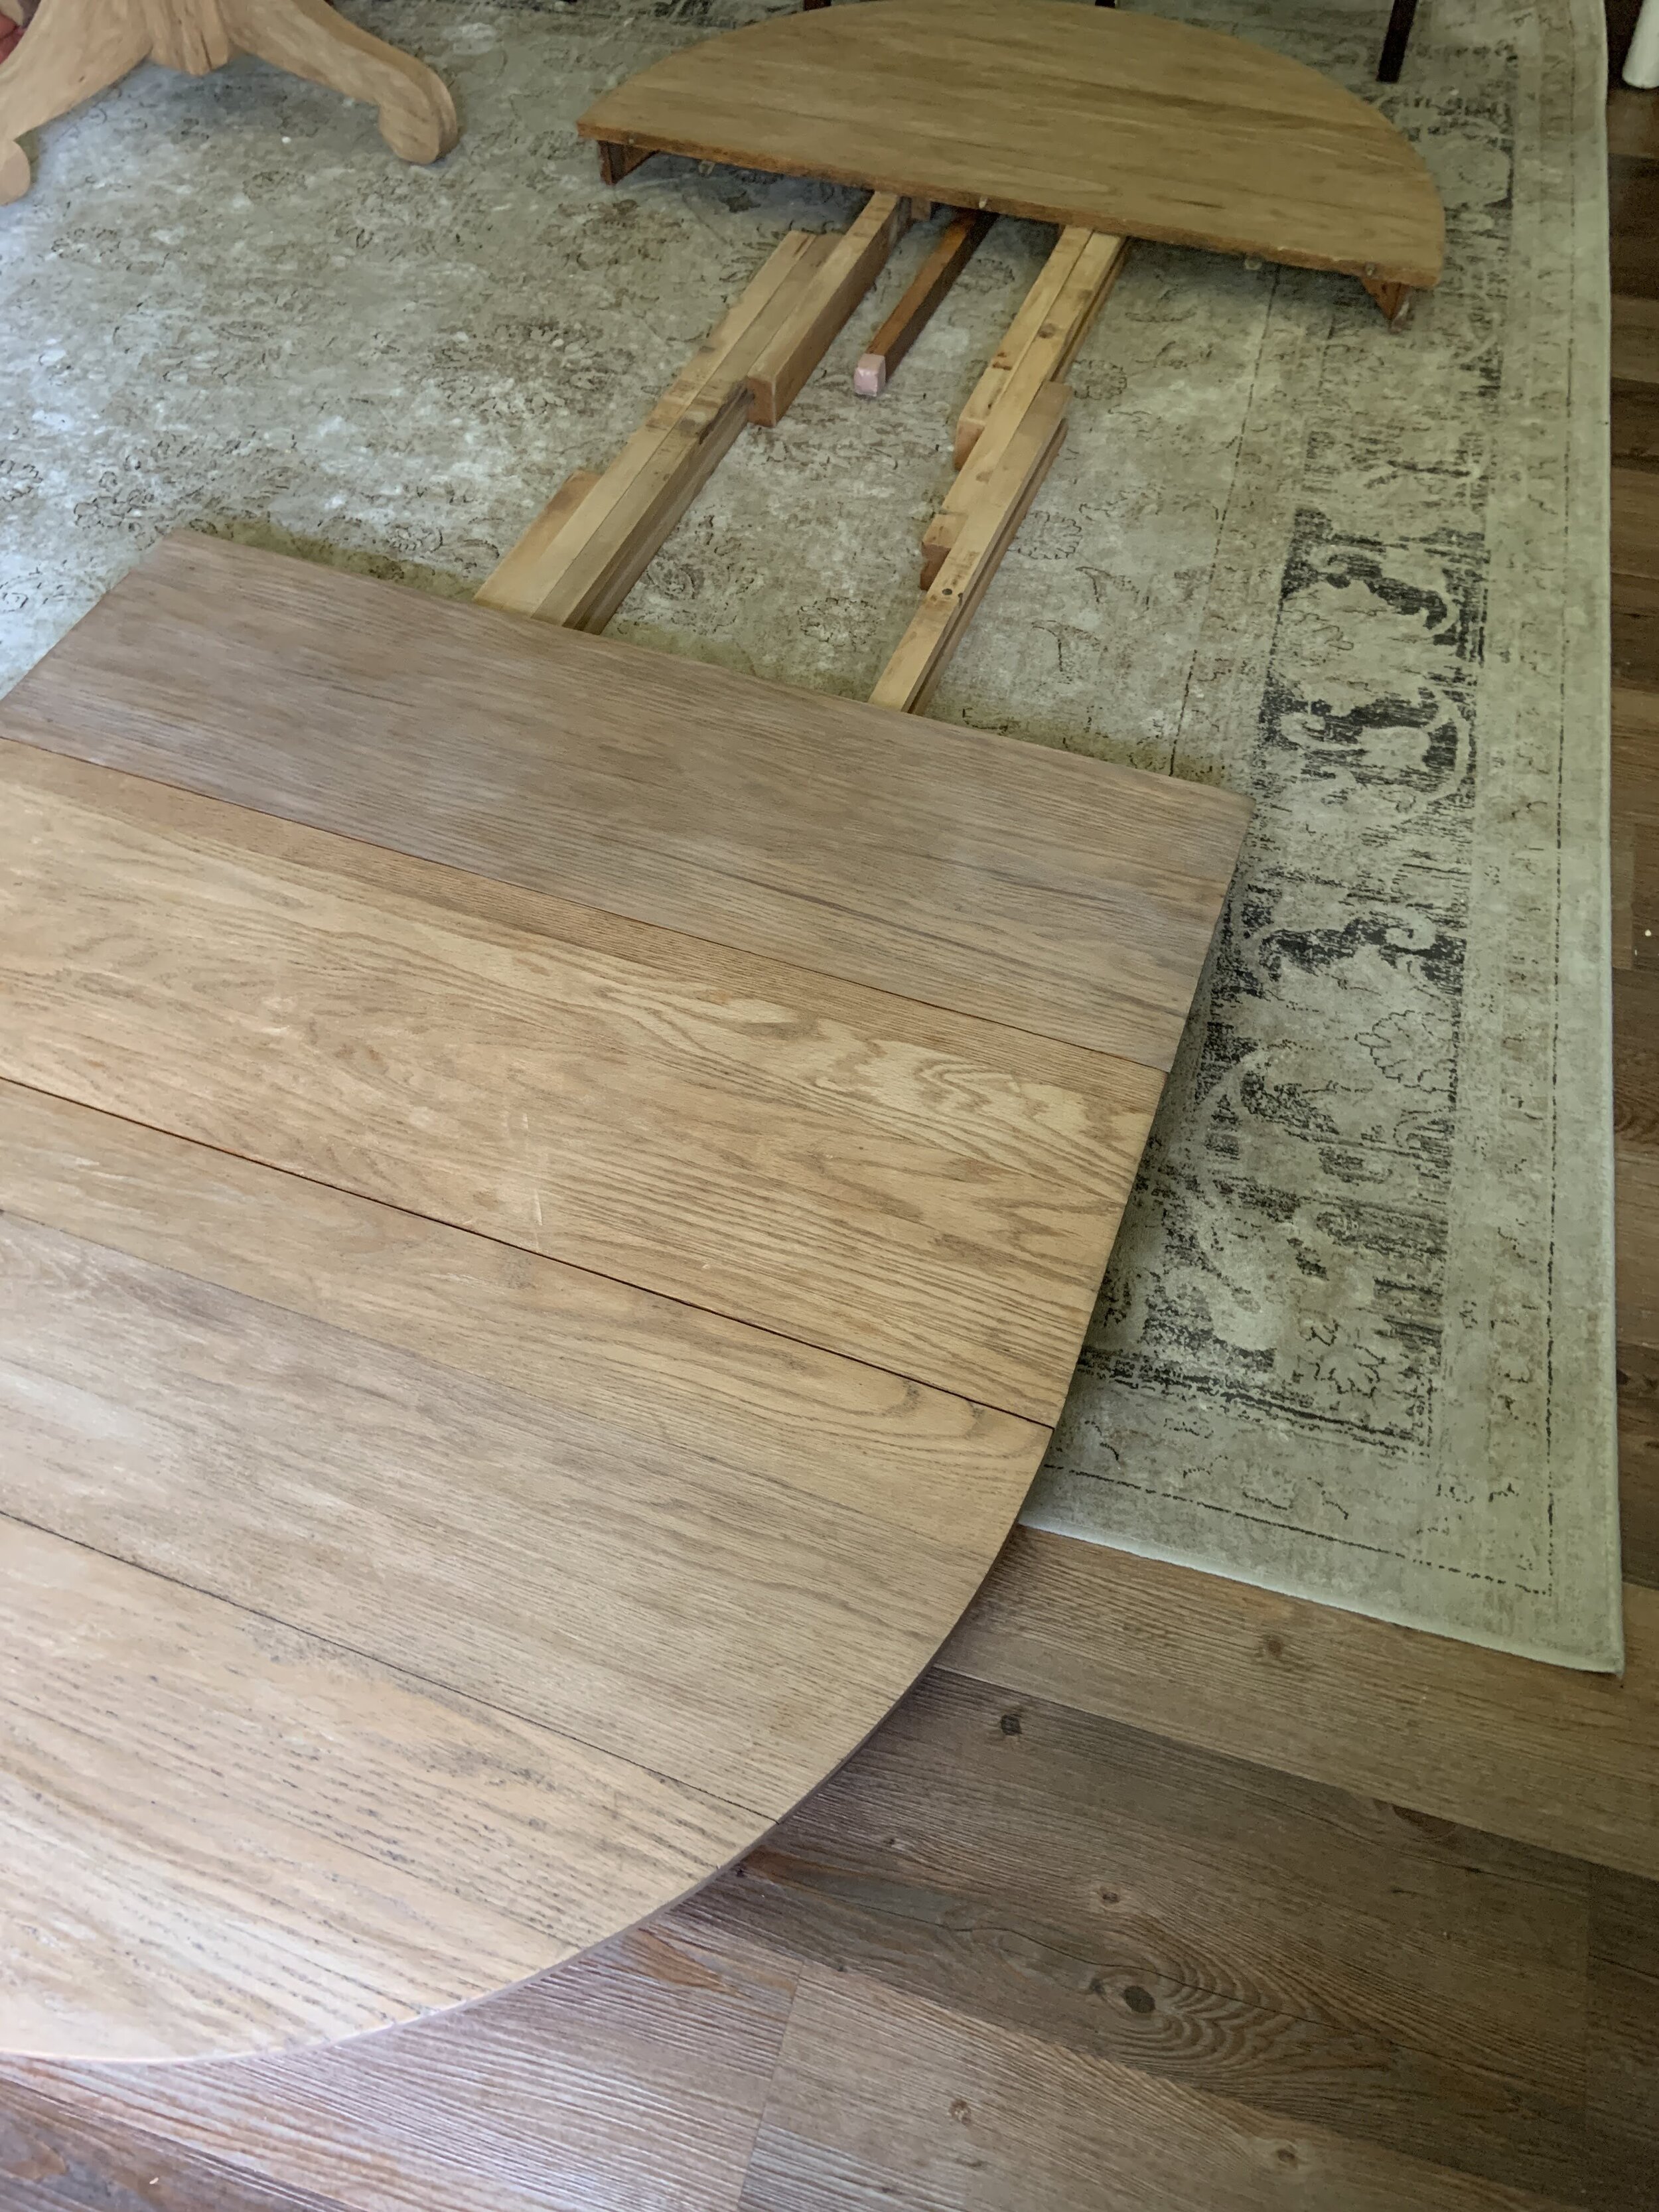
Did I mention that this table is a secondhand find? Someone built this a long time ago, and now it’s mine to treasure. We knew this table was special, but we didn’t realize it’s true potential and the story this table must have until we brought it inside to test the table leaves.
LOOK AT HOW BIG THIS TABLE IS!?
It came with 2 table leaves, but there is totally room for like 3 more! Oh the memories this ol’ girl must have. Can you imagine this table being used for someone’s large family? Special meals? Celebrations? Wow.
We will refinish the leaves to match the table, just in case we do end up using them one day.
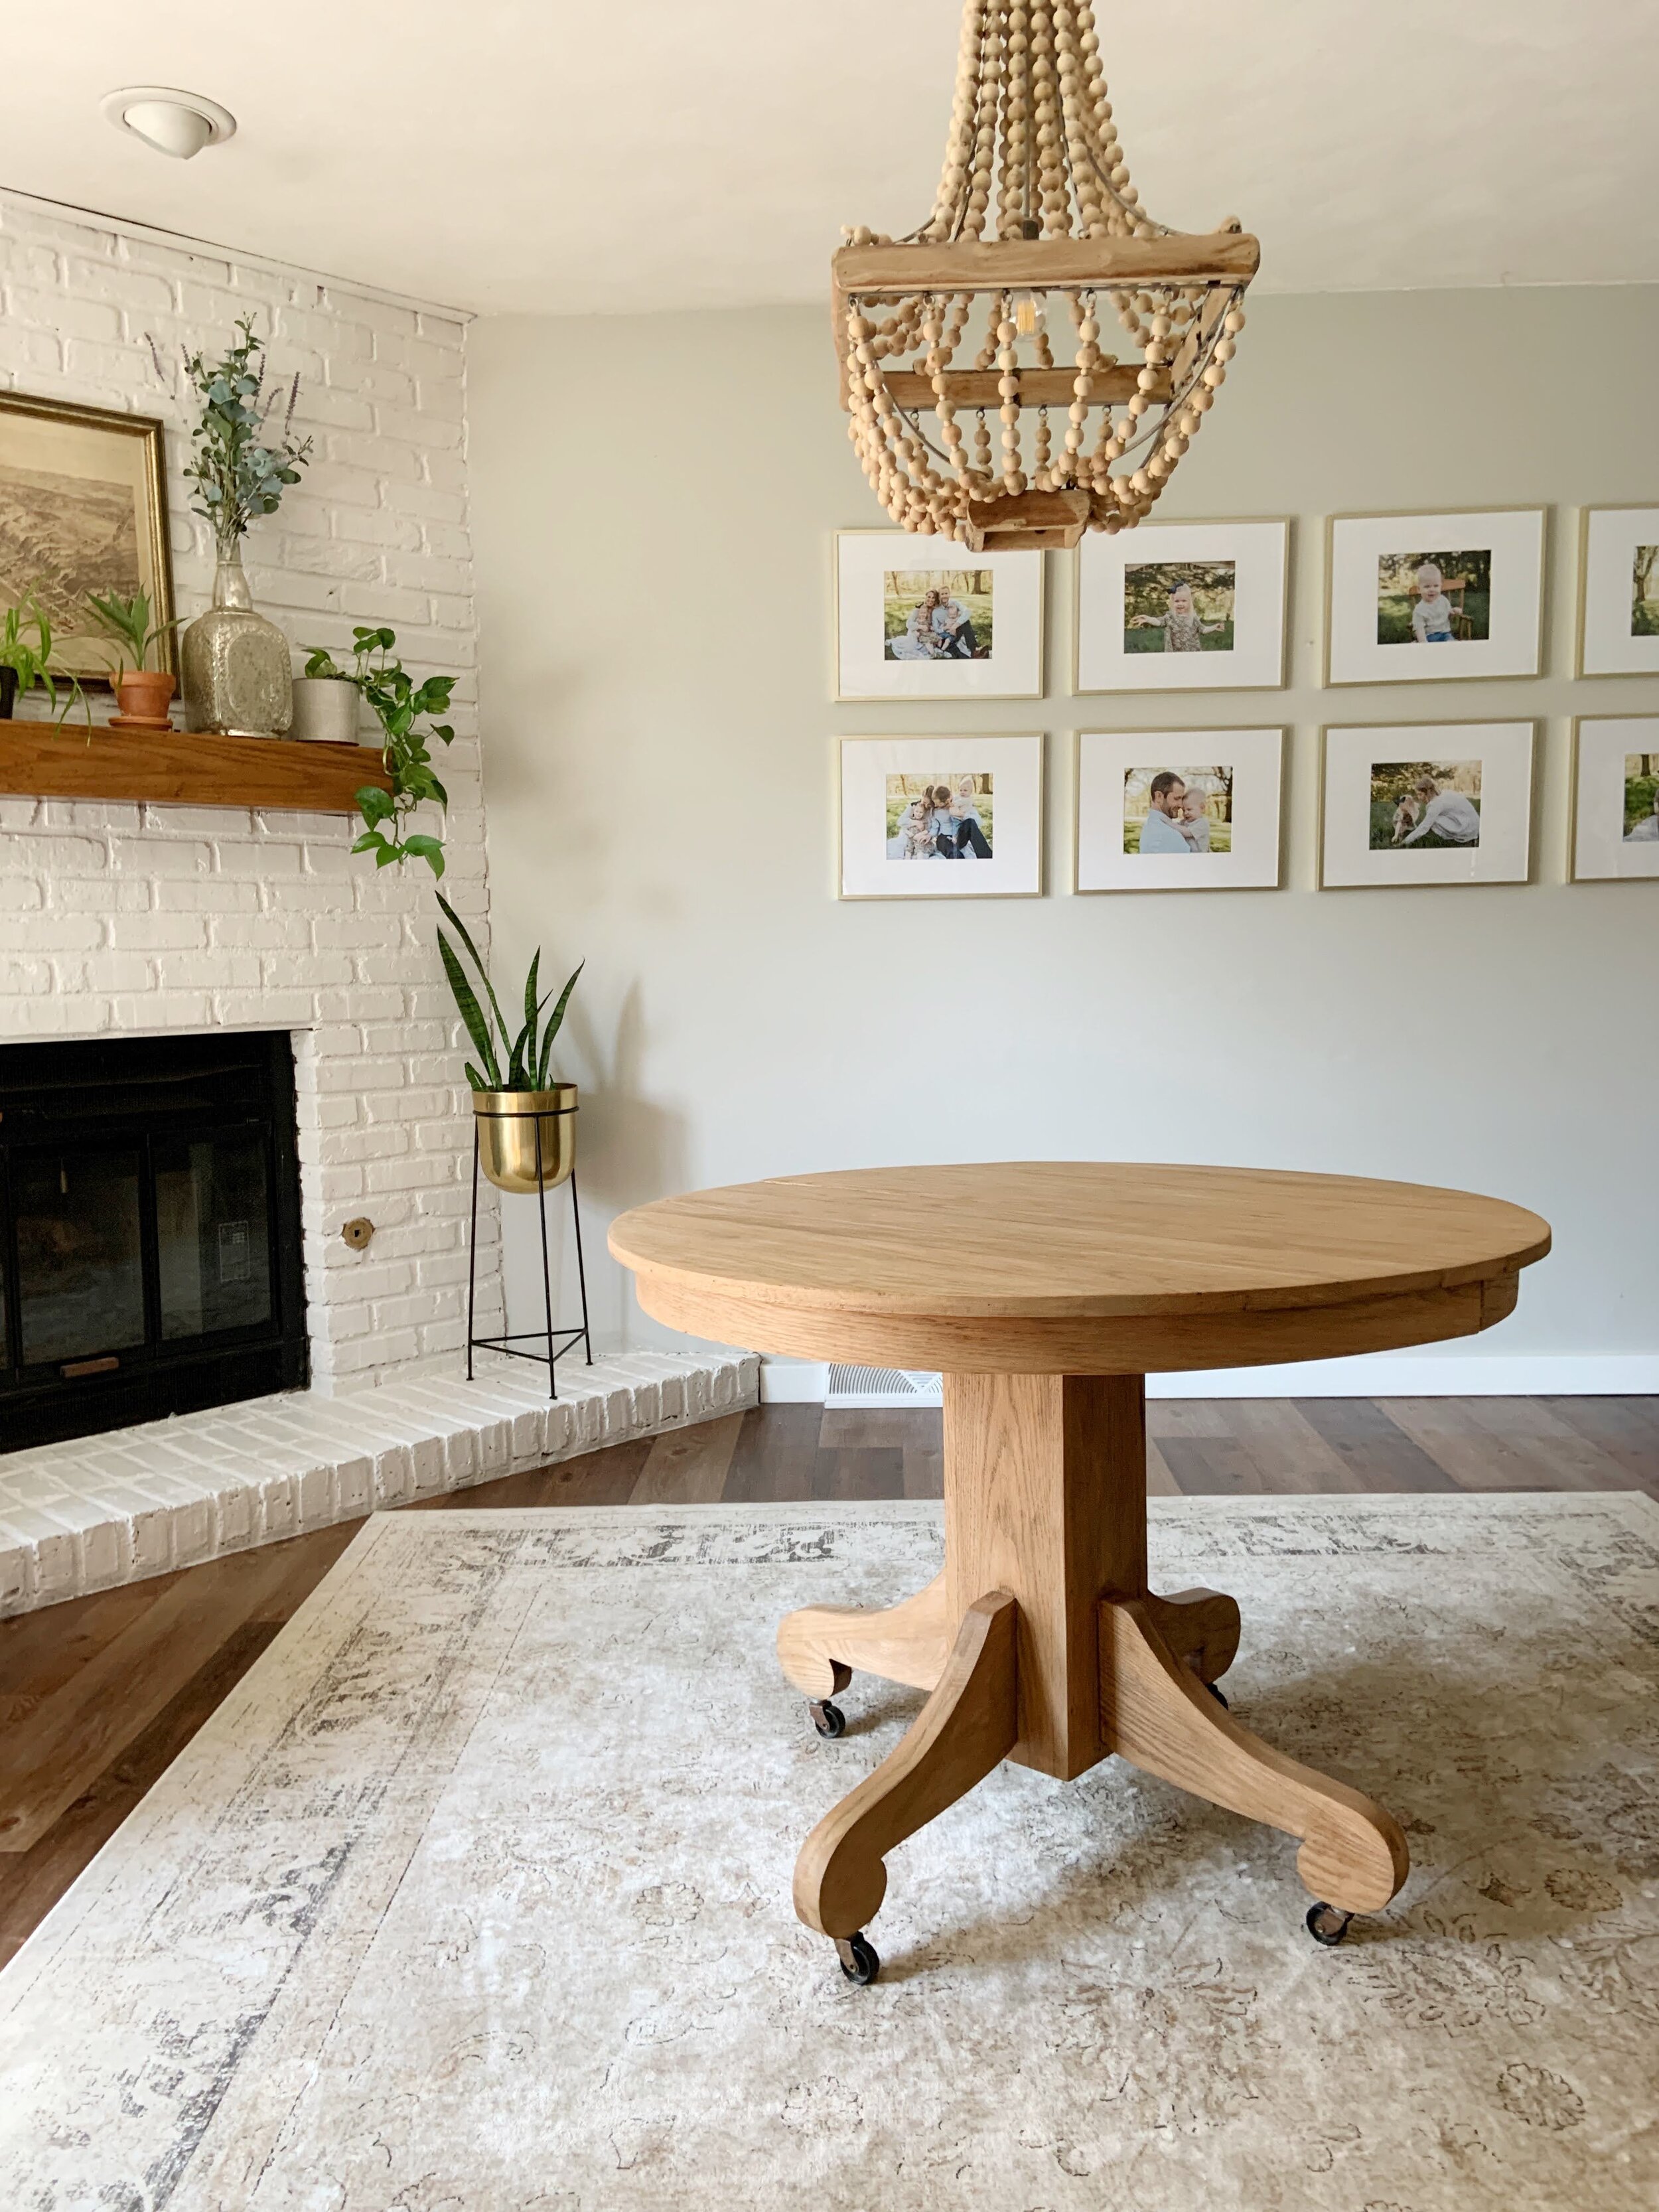
Here she is in all her glory. Sanded, stained, manicured, and ready for her new life. I can’t wait to see where she ends up!
*For more home decor tips, follow along on Instagram and Facebook. And if you’re needing some advice about a space in your home, check out my interior design services HERE.
What you’ll get (sent via email link to download):
A detailed workbook (PDF) to help you create a more beautiful and functional home.
Worksheets (PDF) to go along with the workbook.
(You may choose to print the workbook or read it online. I recommend printing the worksheets!)


