Create a wallpaper inspired accent wall using paint.
While planning out a nursery for our little one, I knew I wanted to use this wallpaper.
Society 6
In addition to the wallpaper, I also wanted to do some sort of board and batten on the wall. After thinking about my plan, I realized this wallpaper is actually a mural, meaning we would have needed to cut it in interesting ways to get it to fit the wall how I envisioned.
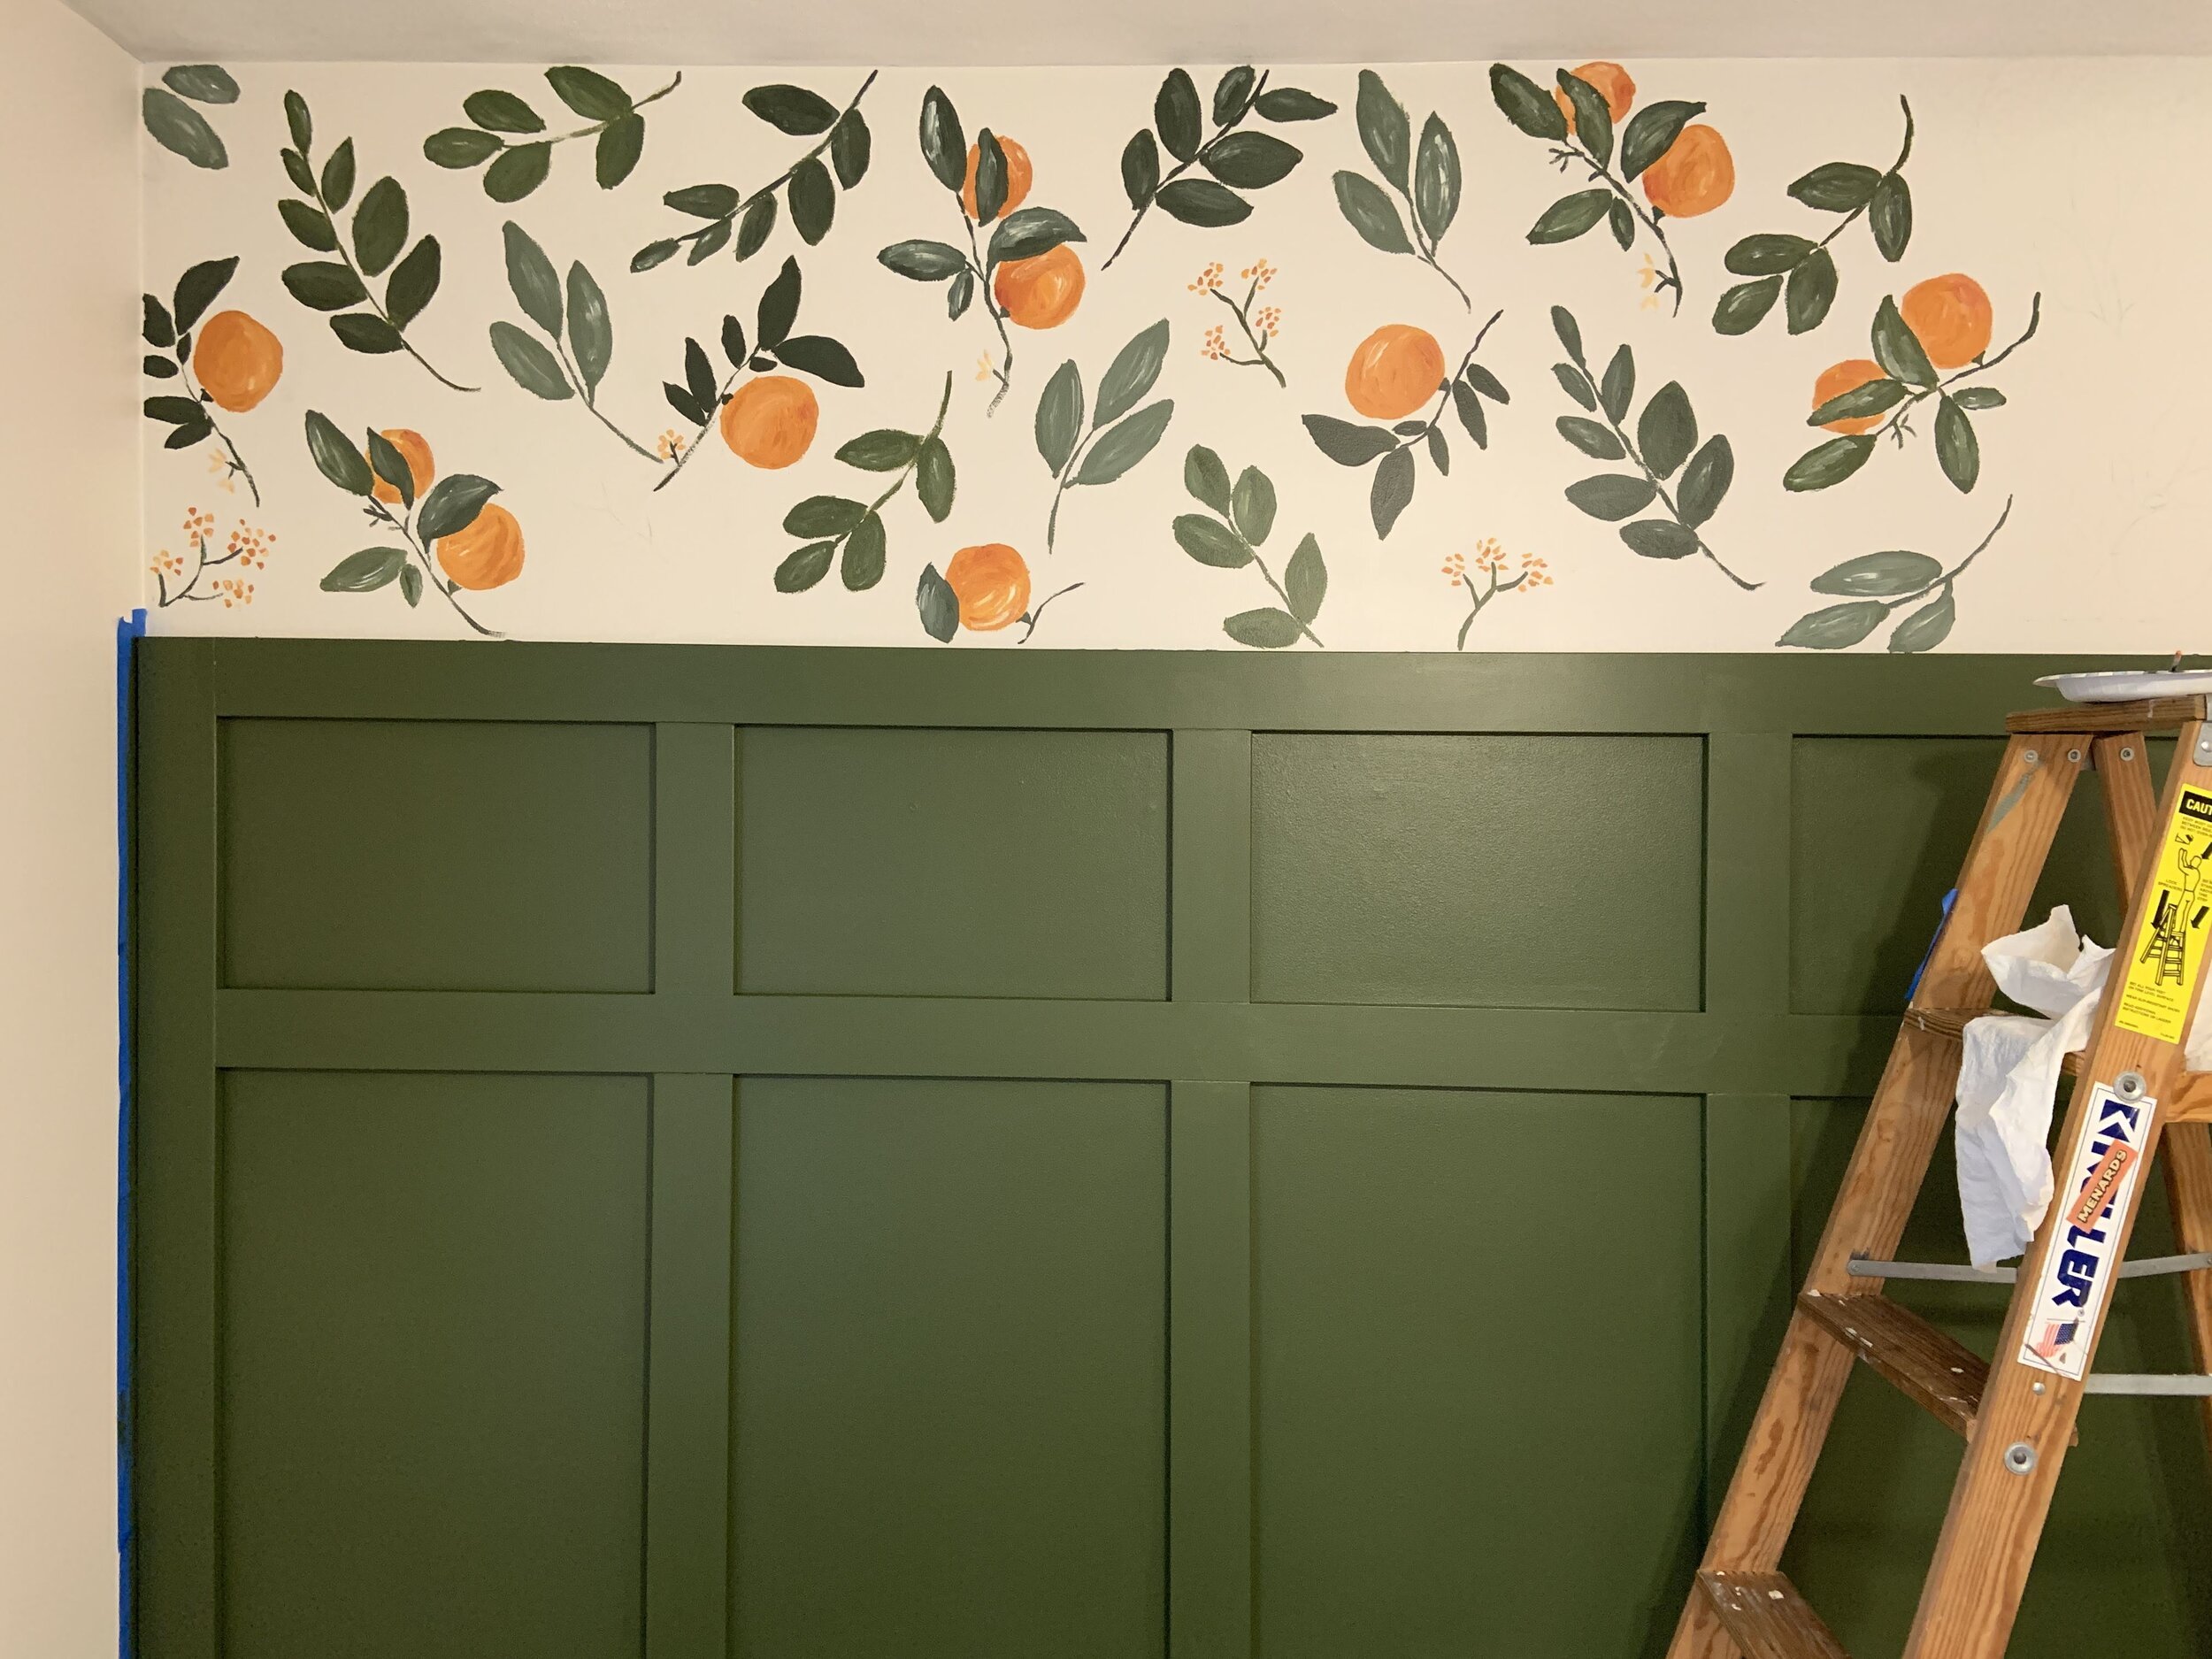
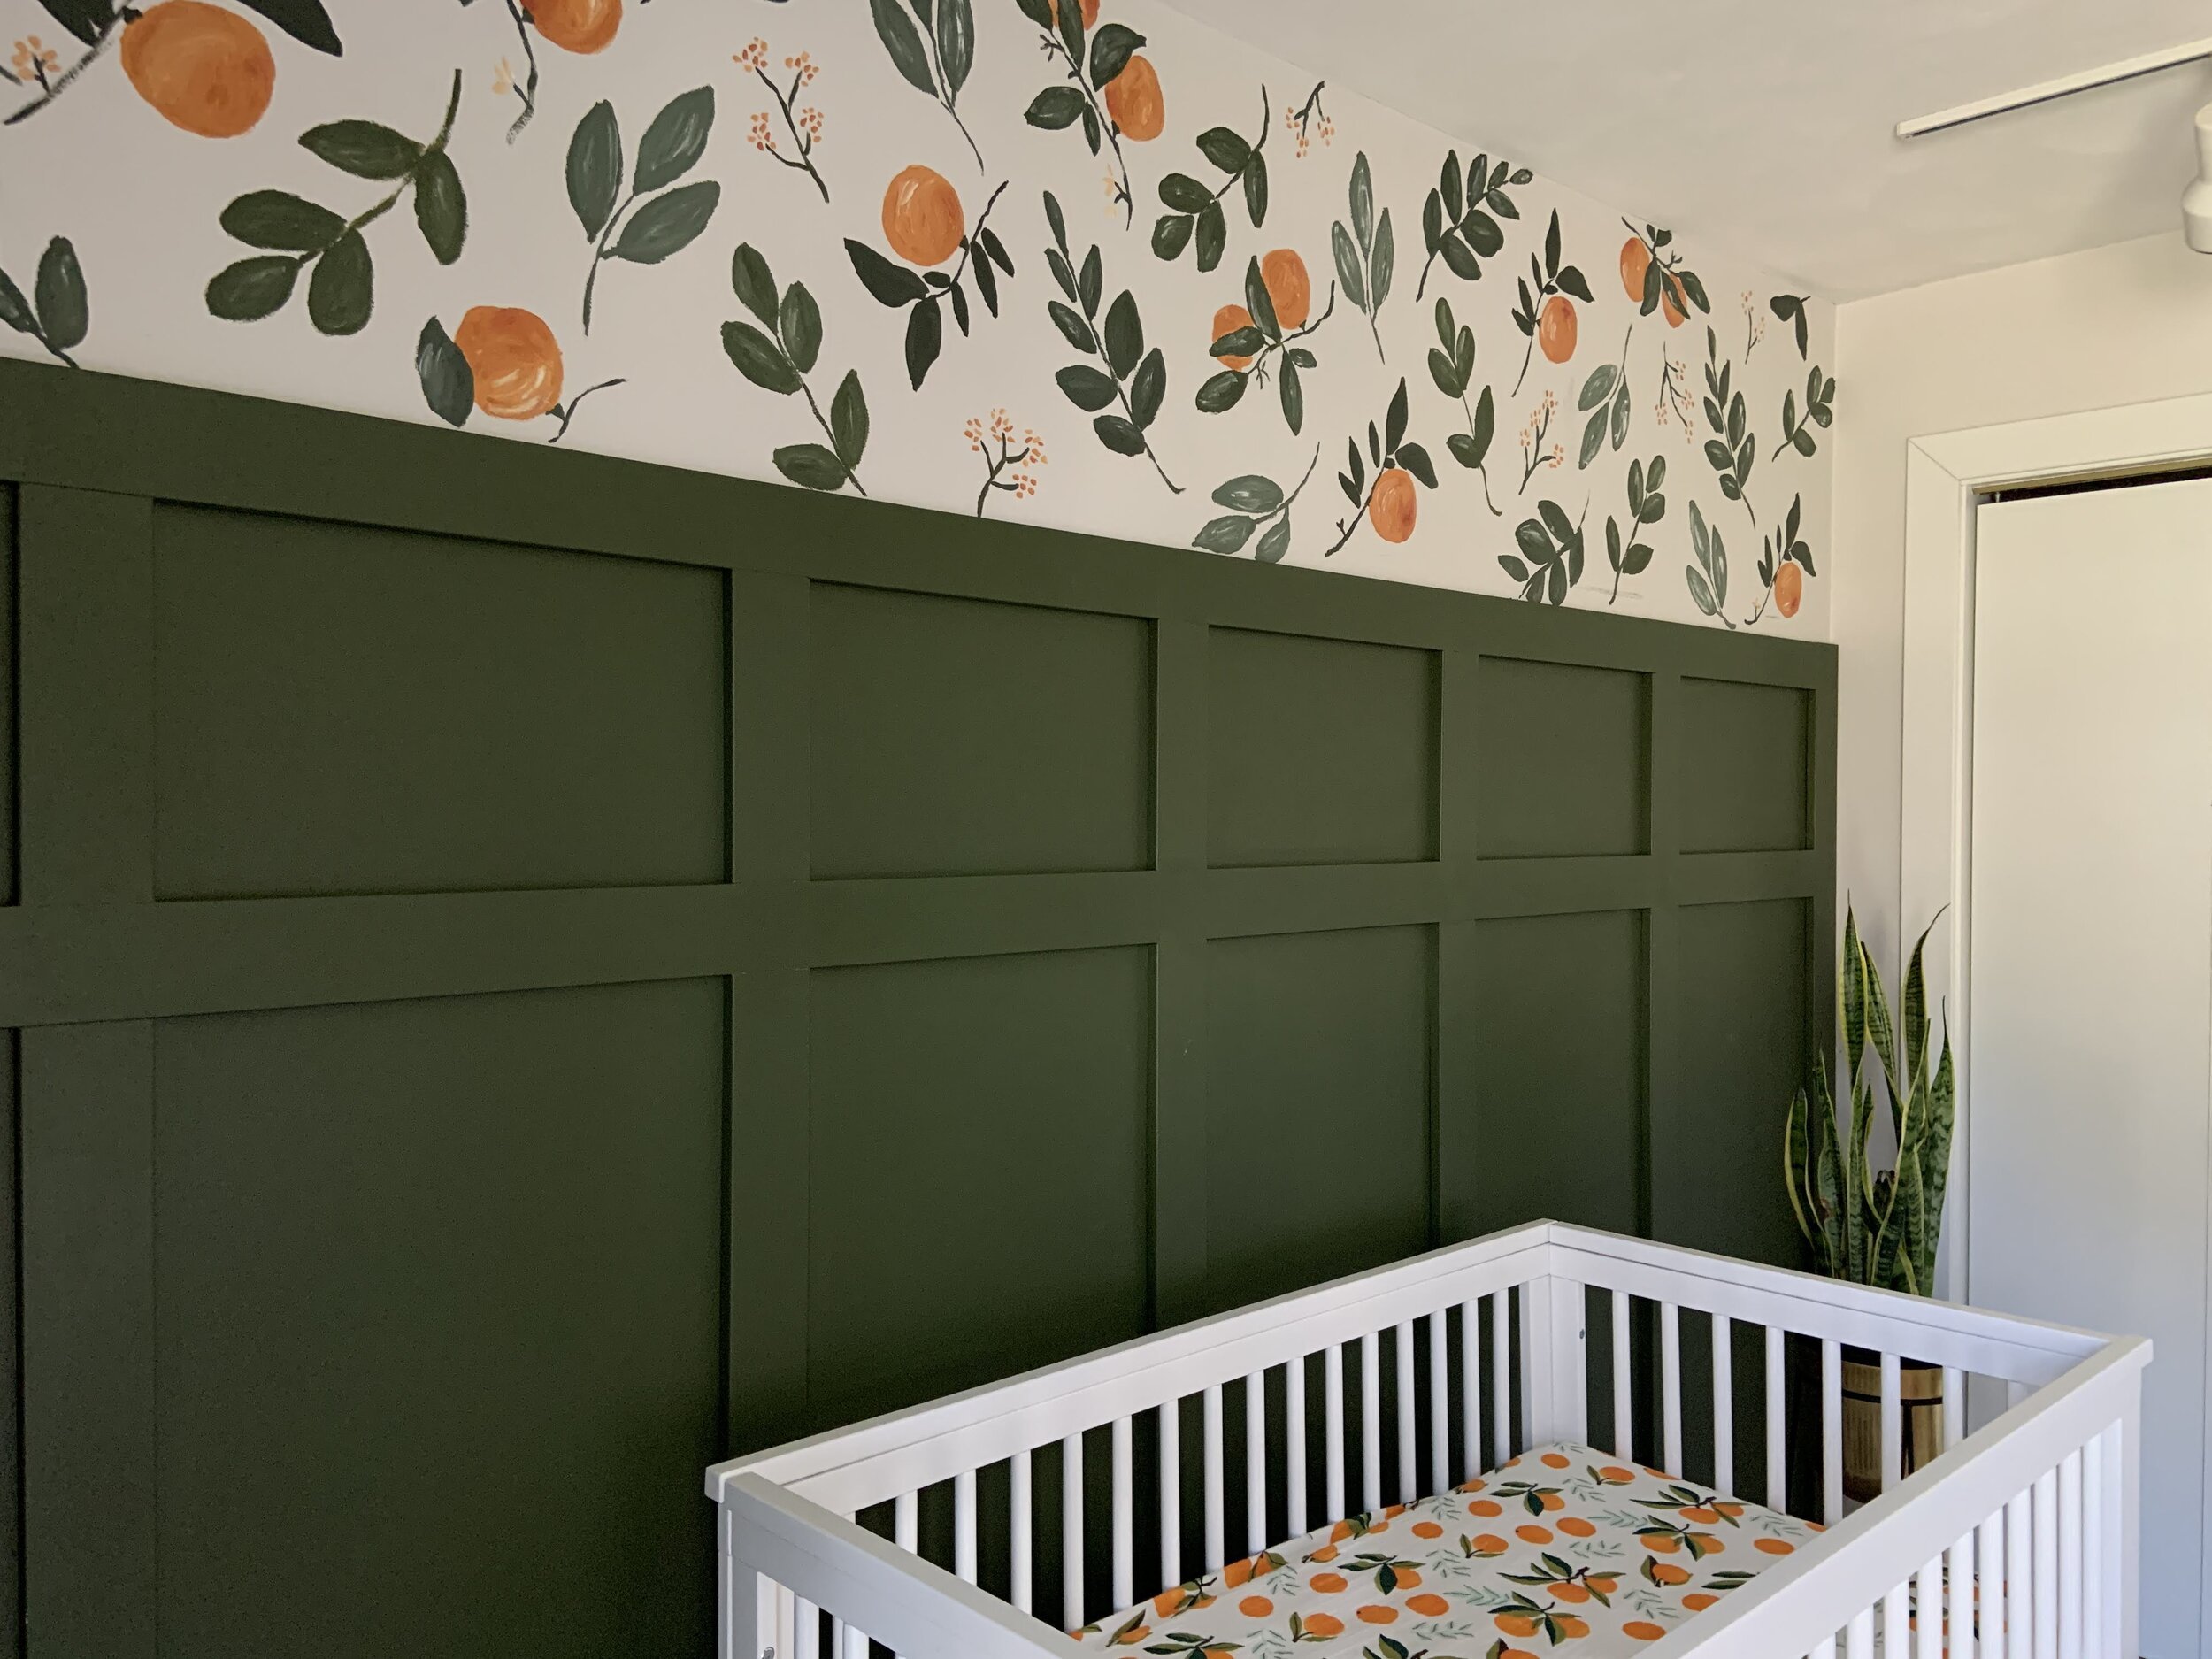
So, I decided the best plan of action to accomplish the look I wanted was to actually PAINT this wallpaper on the wall. I enjoy being creative, but this is something anyone can do!
STEP ONE
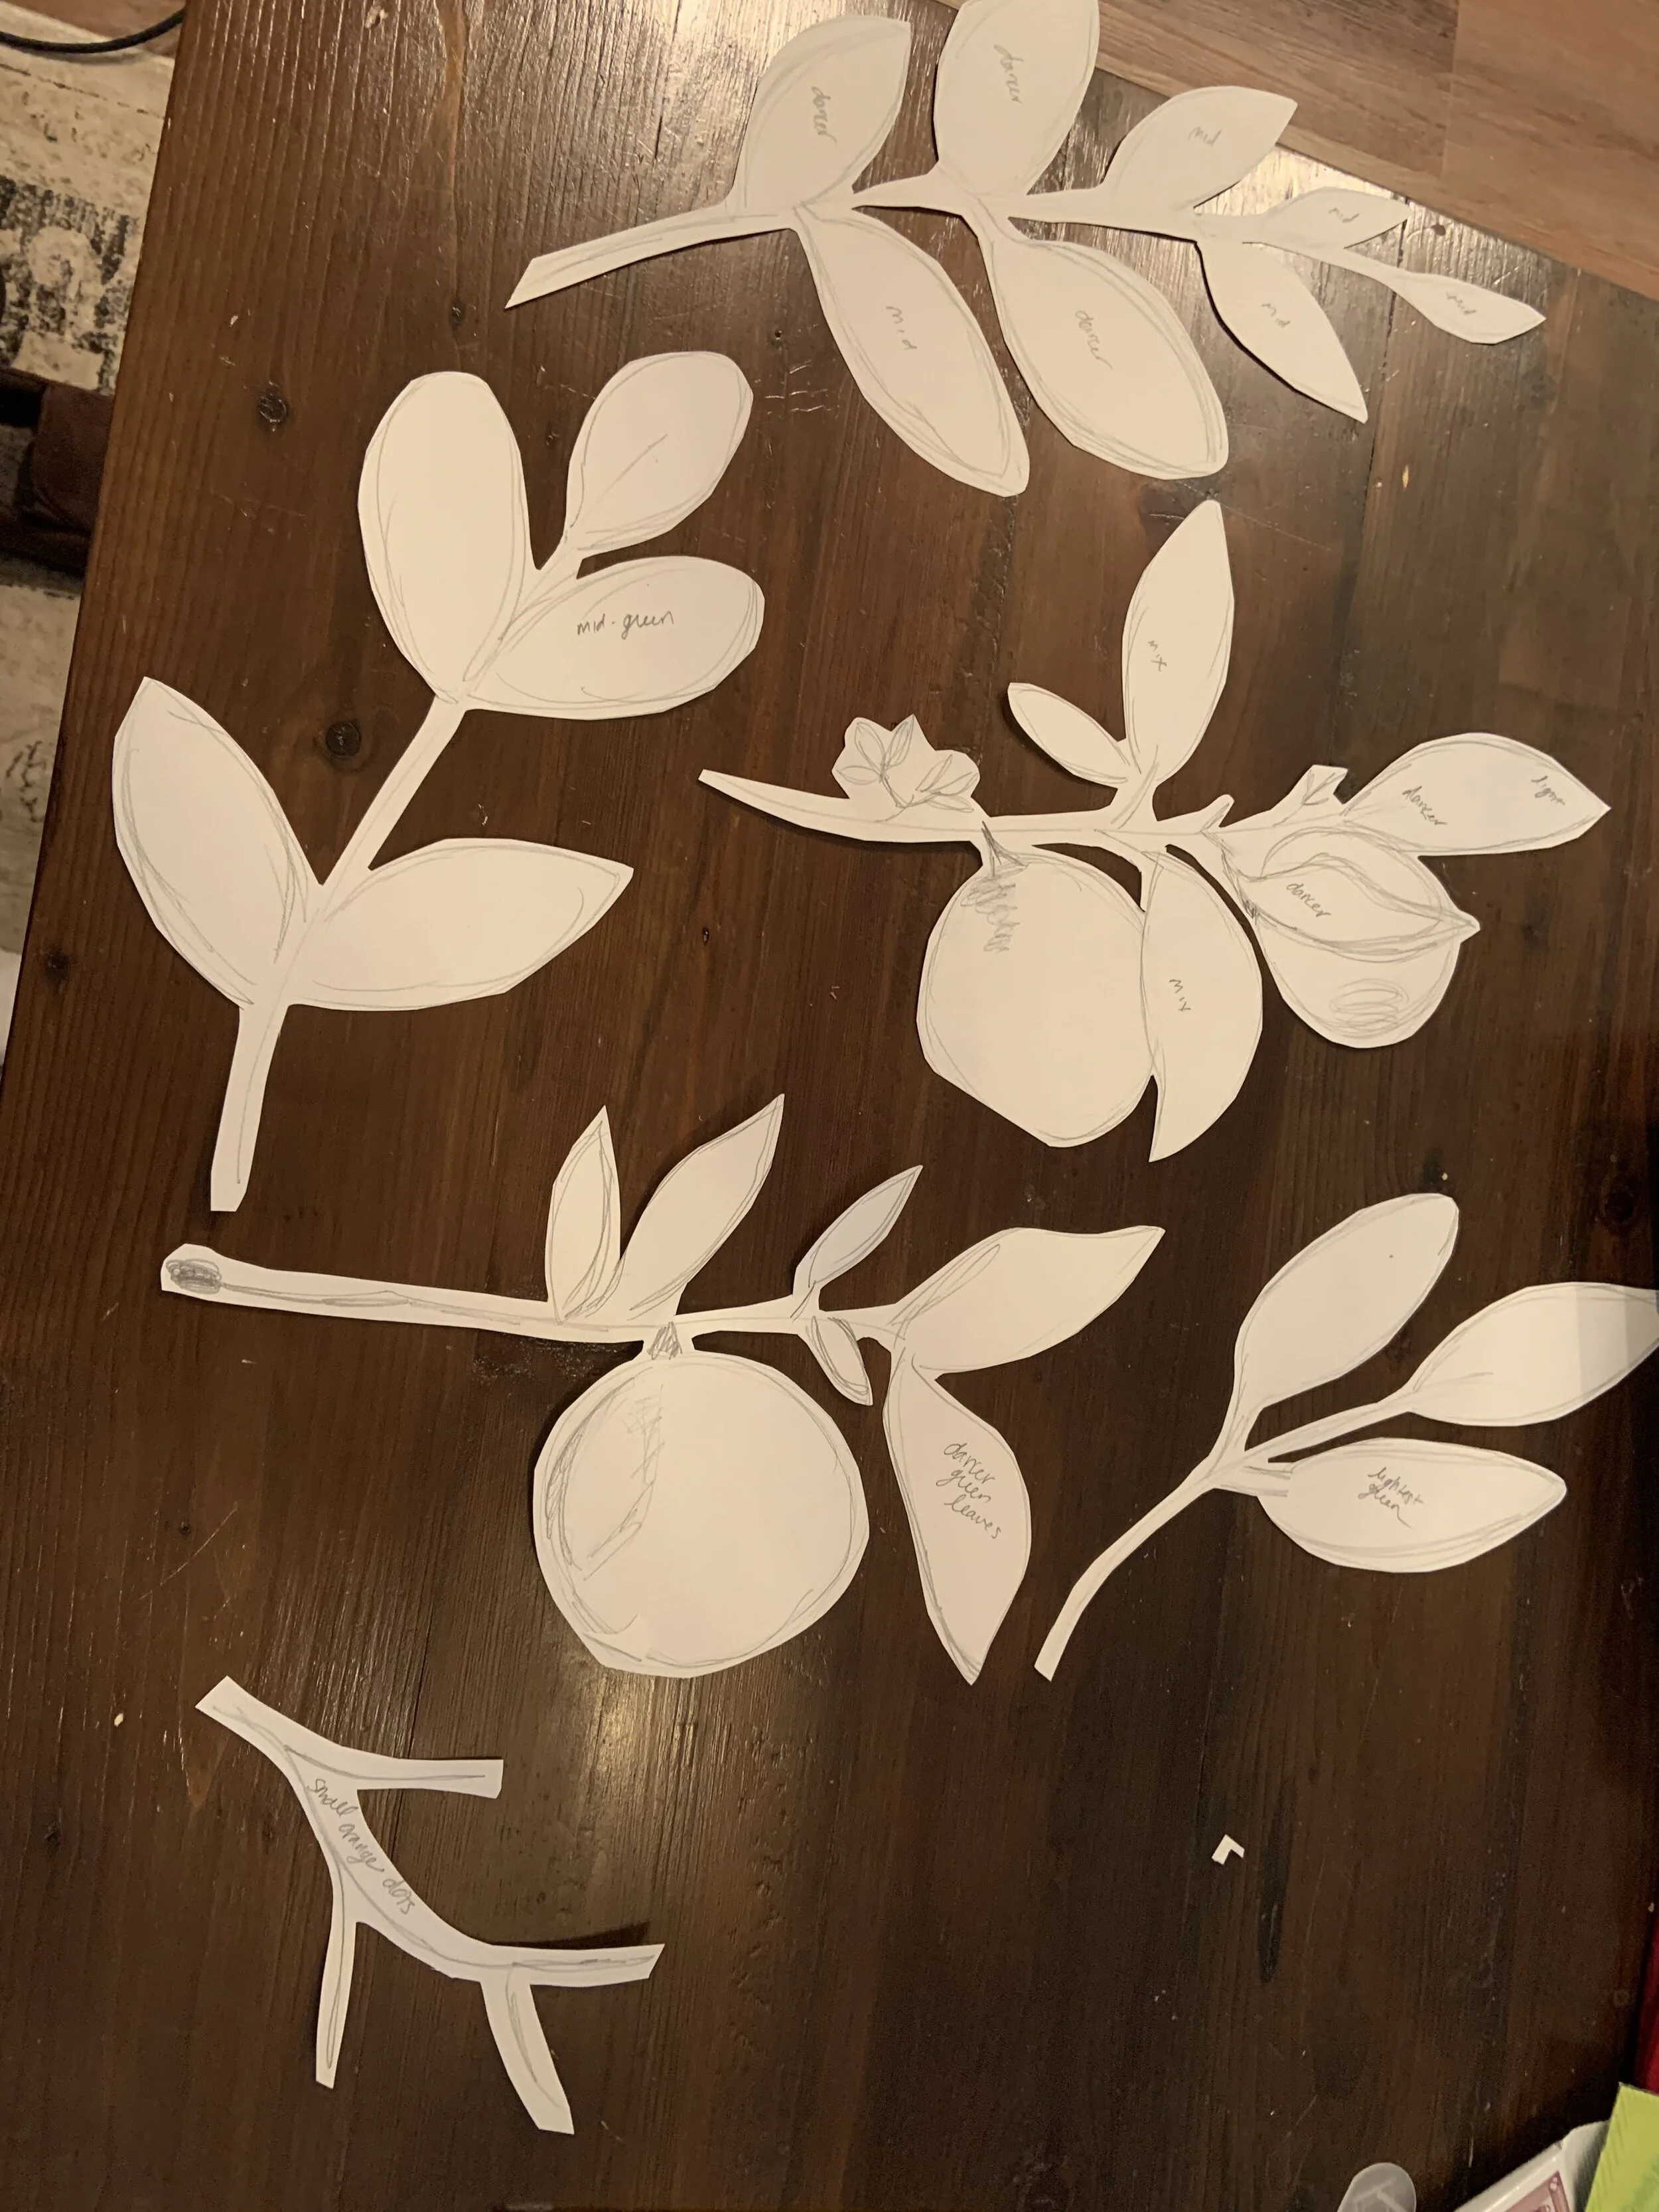
Draw the leaves/oranges on a piece of paper. I made a pattern for each image that’s in the wallpaper.
STEP TWO
Cut out your ‘stencils’.
STEP THREE
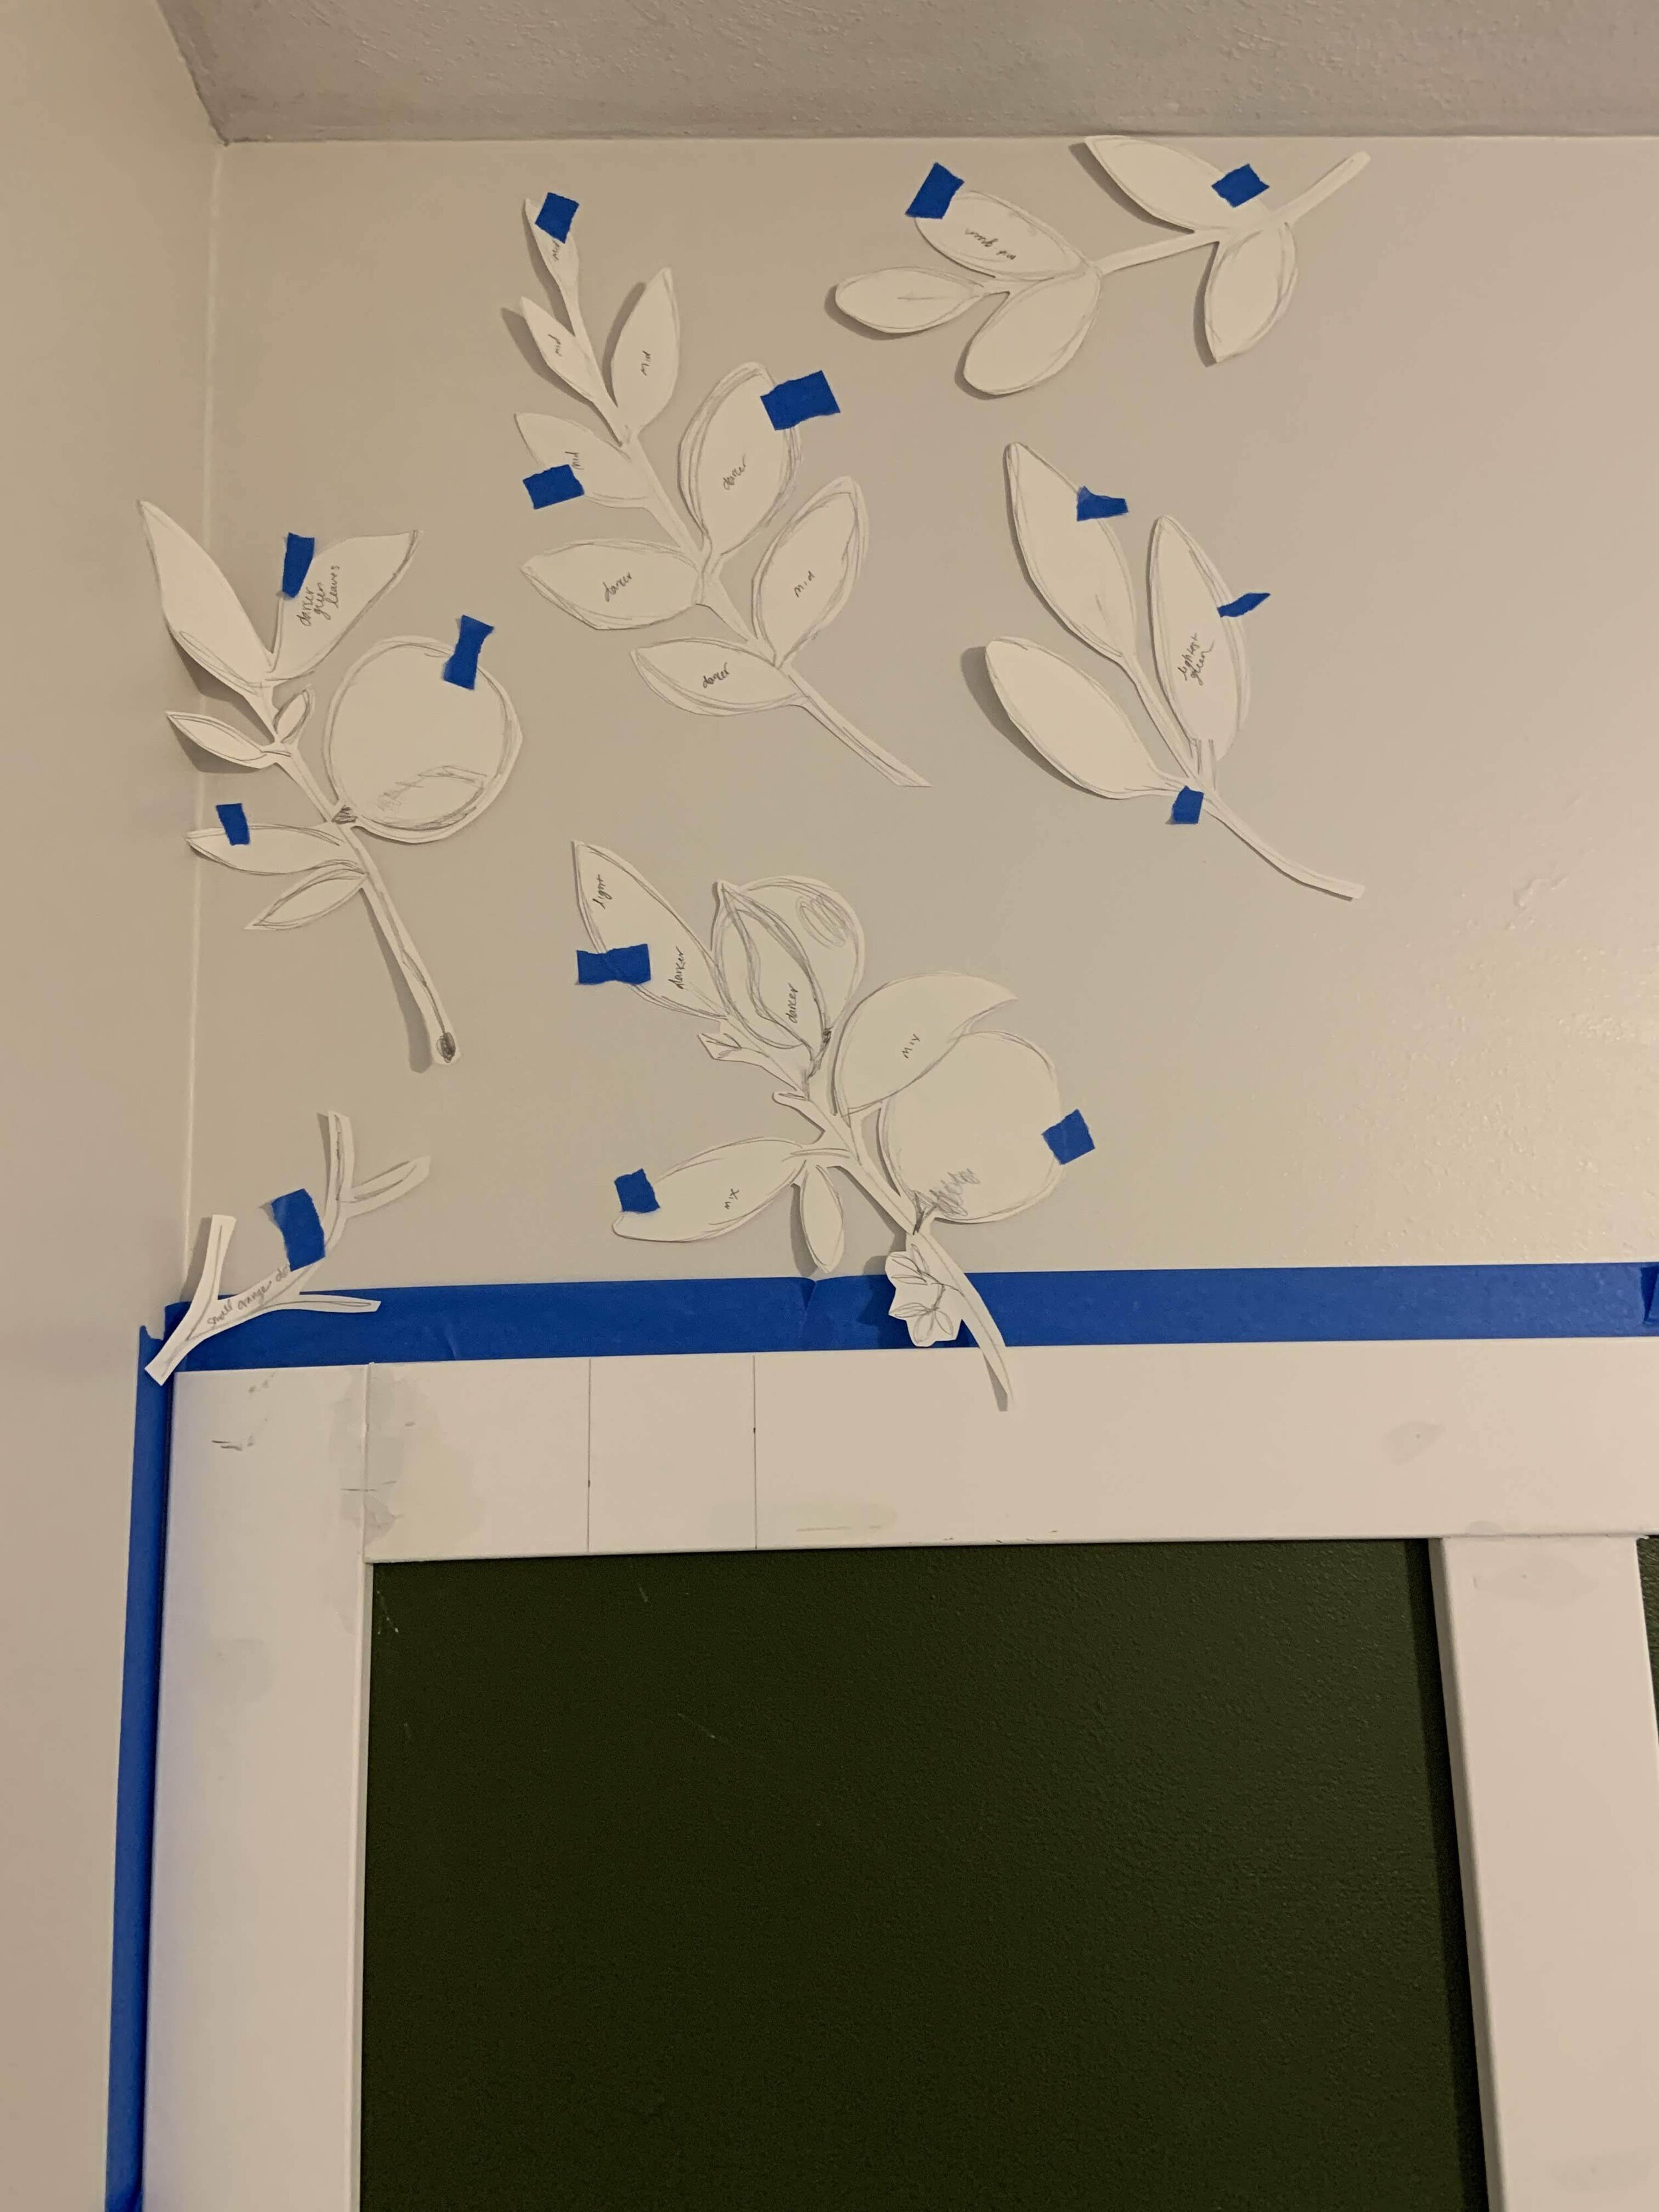
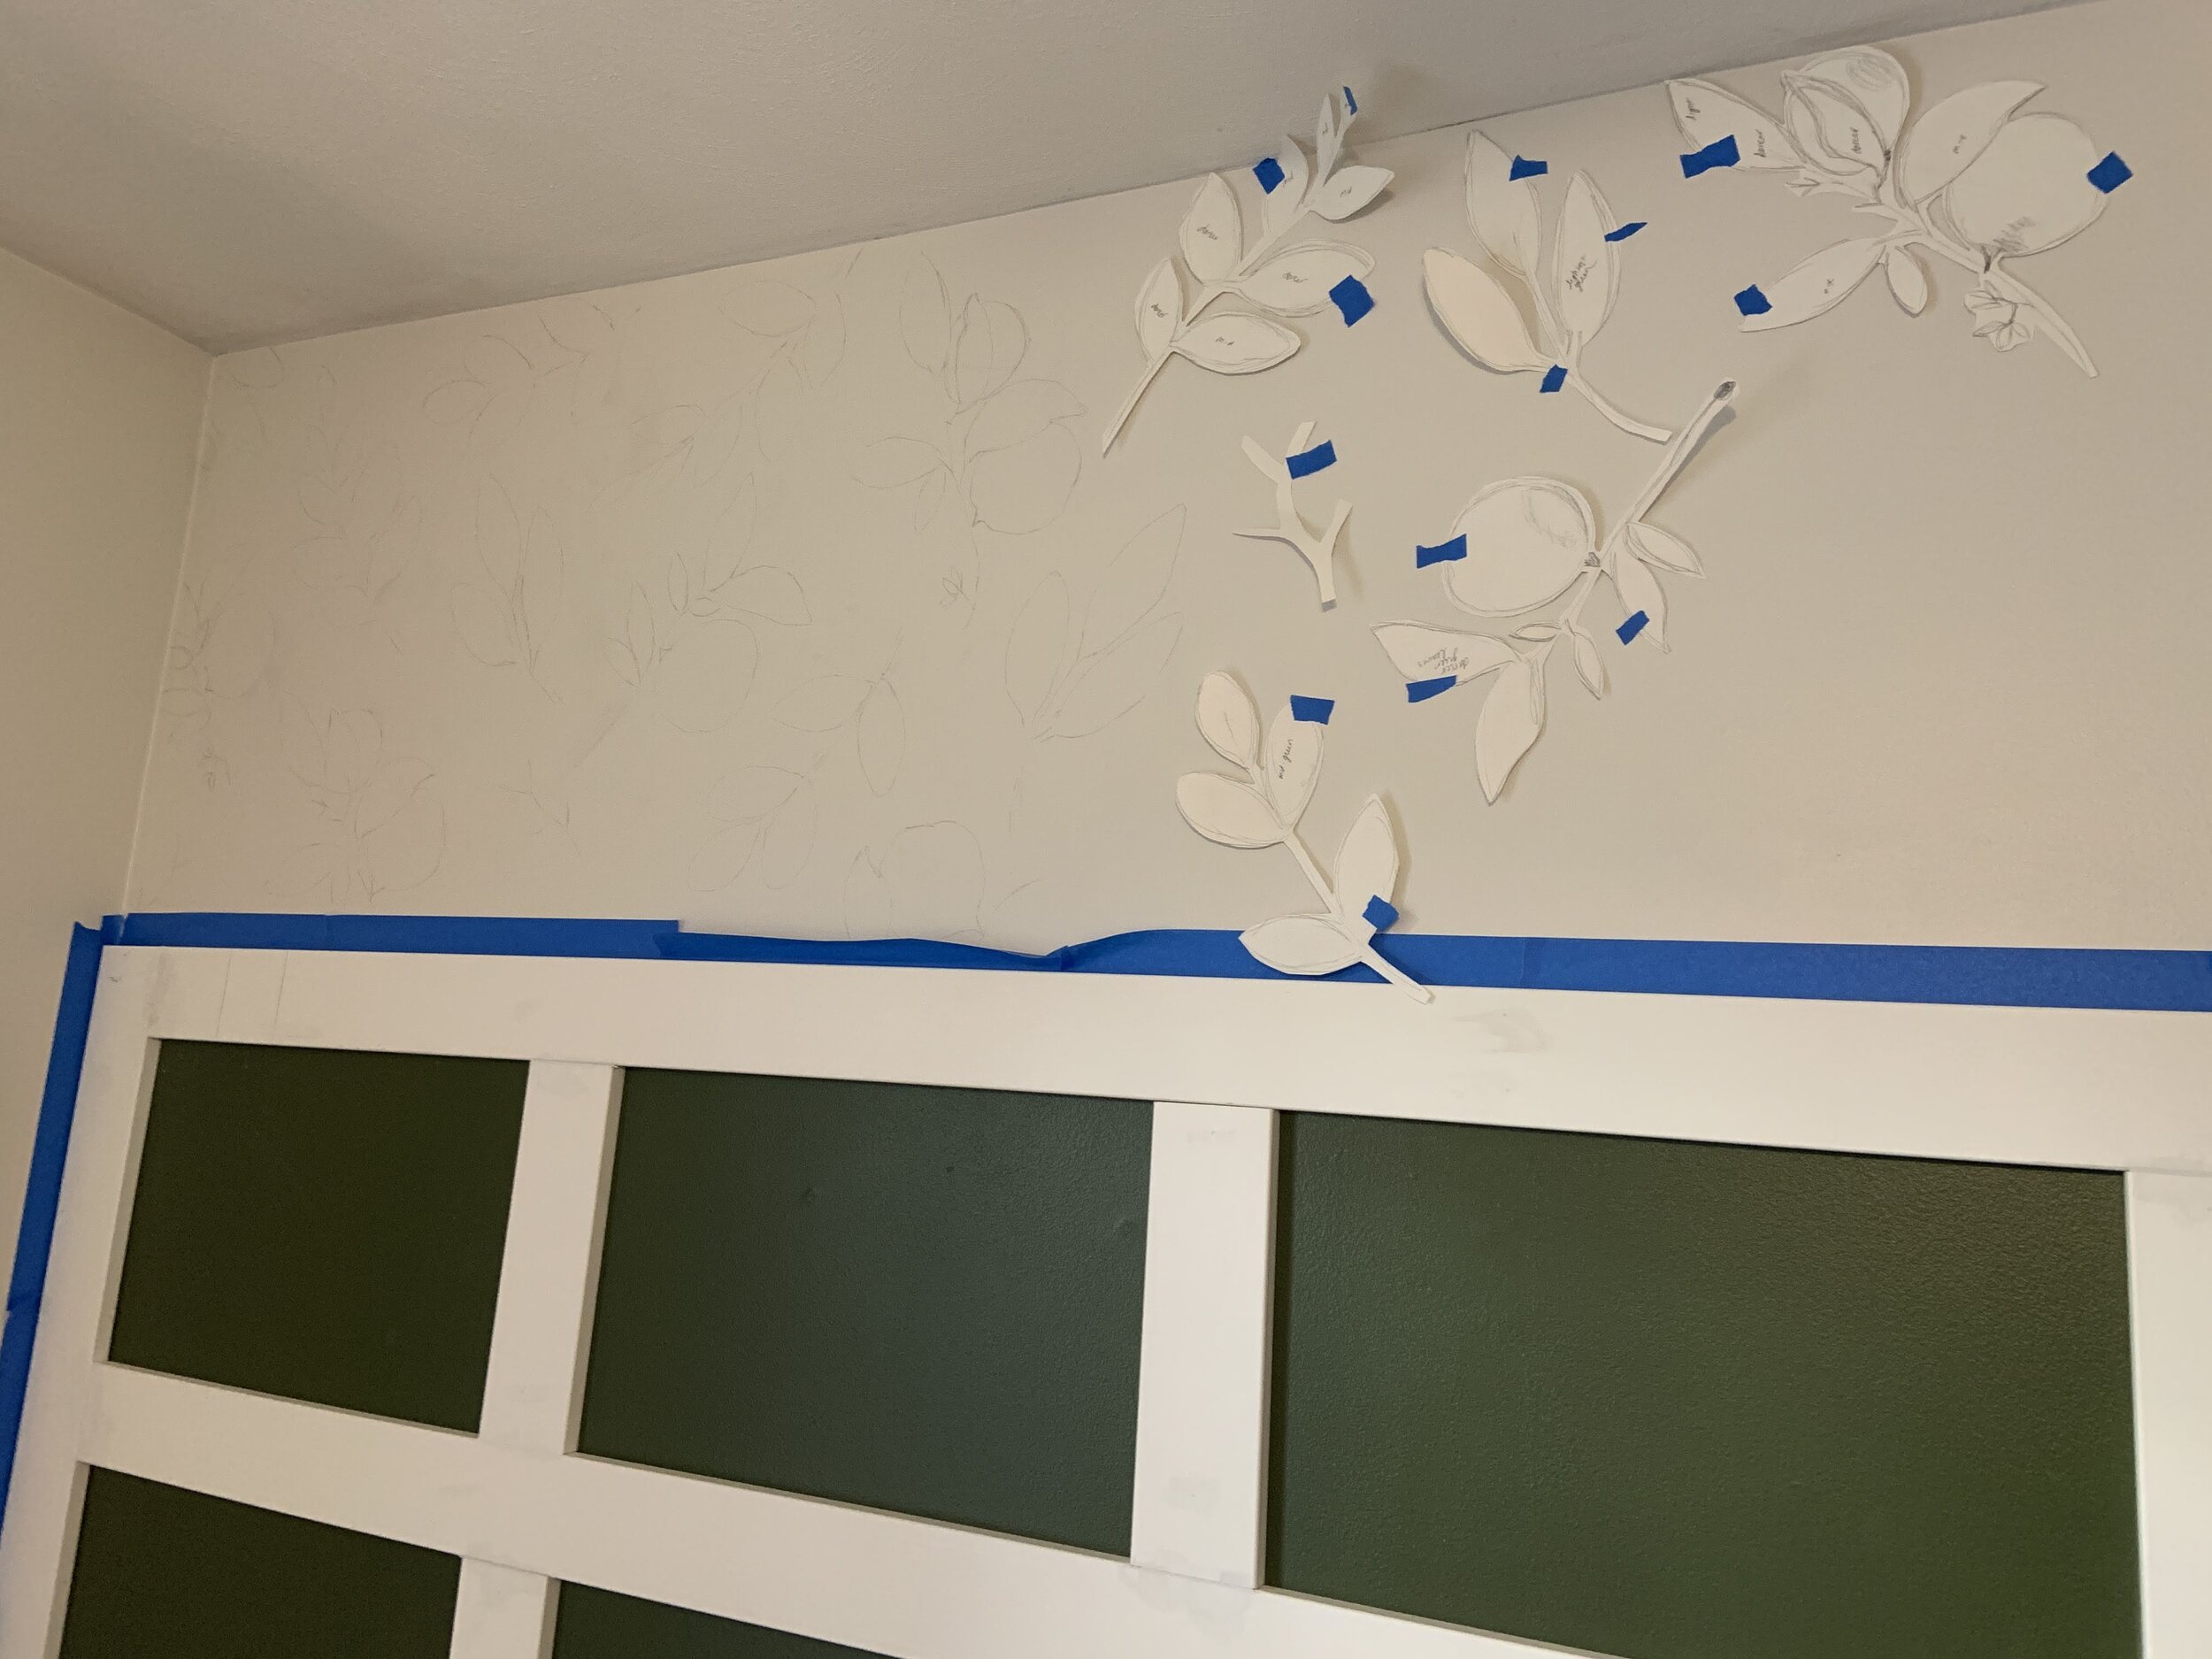
Tape all of the stencils to the wall and trace the outline with a pencil. I did this in sections.
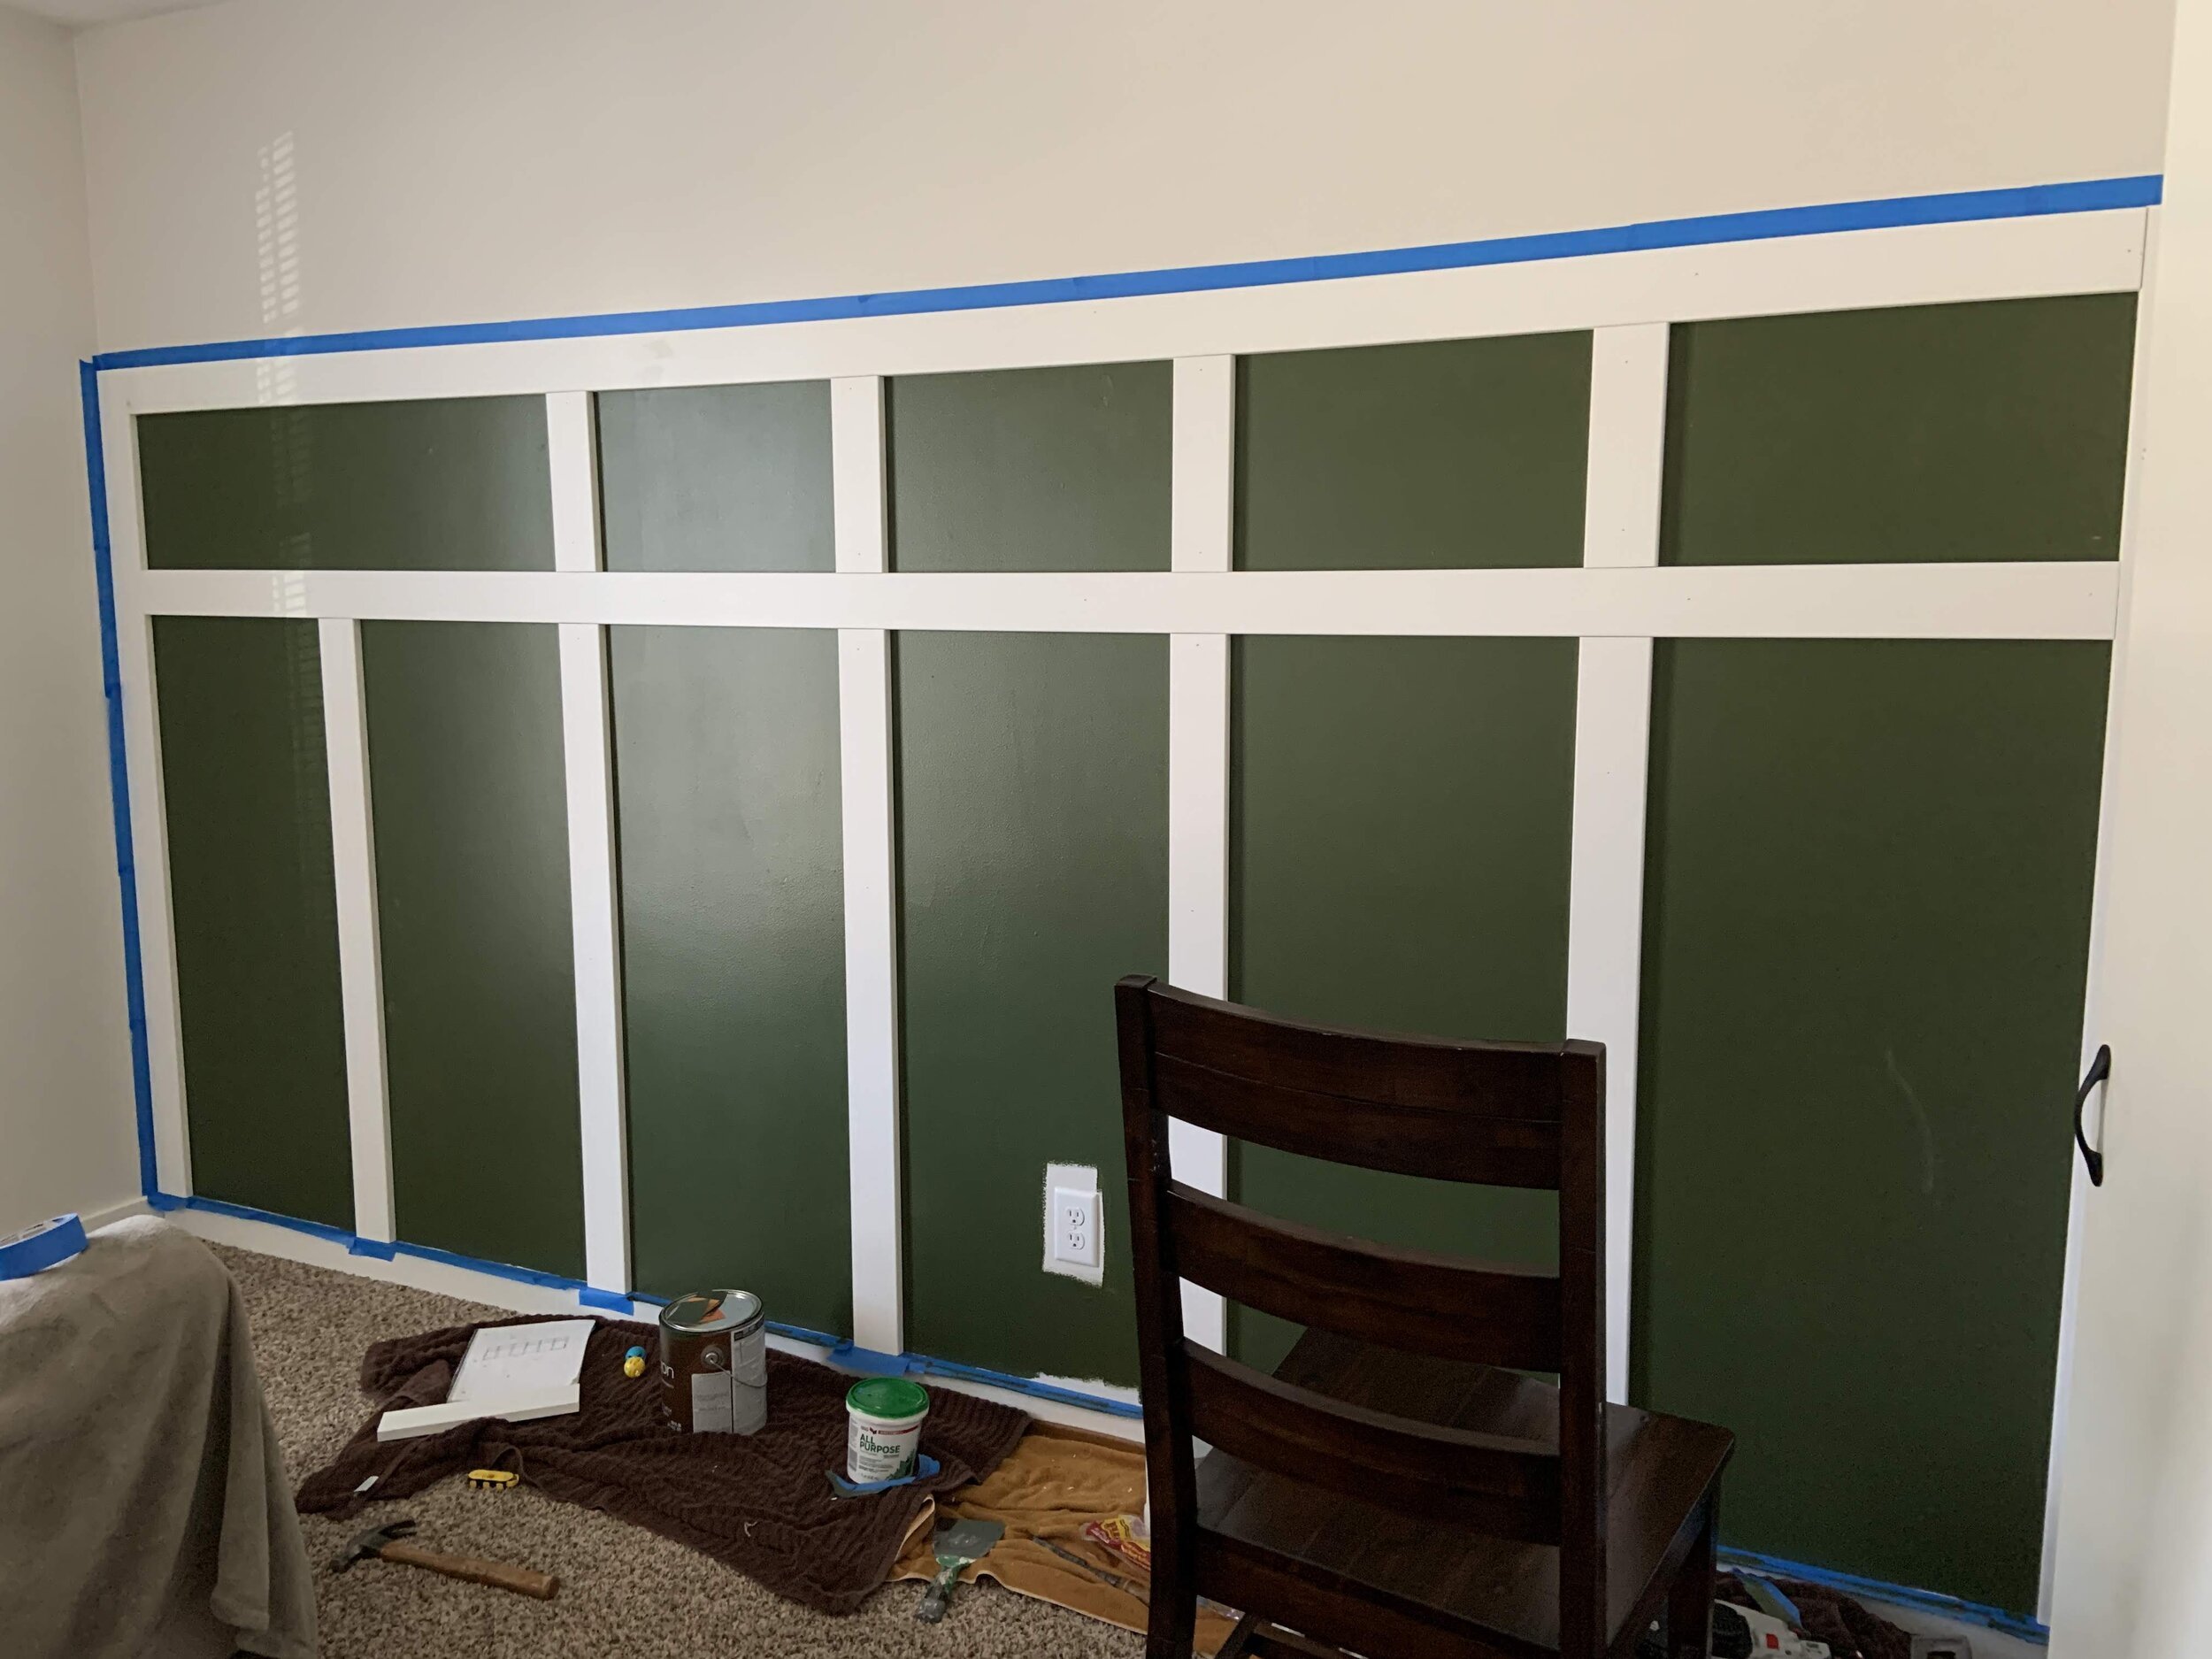
You can see the board and batten wall was in progress at this point, too.
STEP FOUR
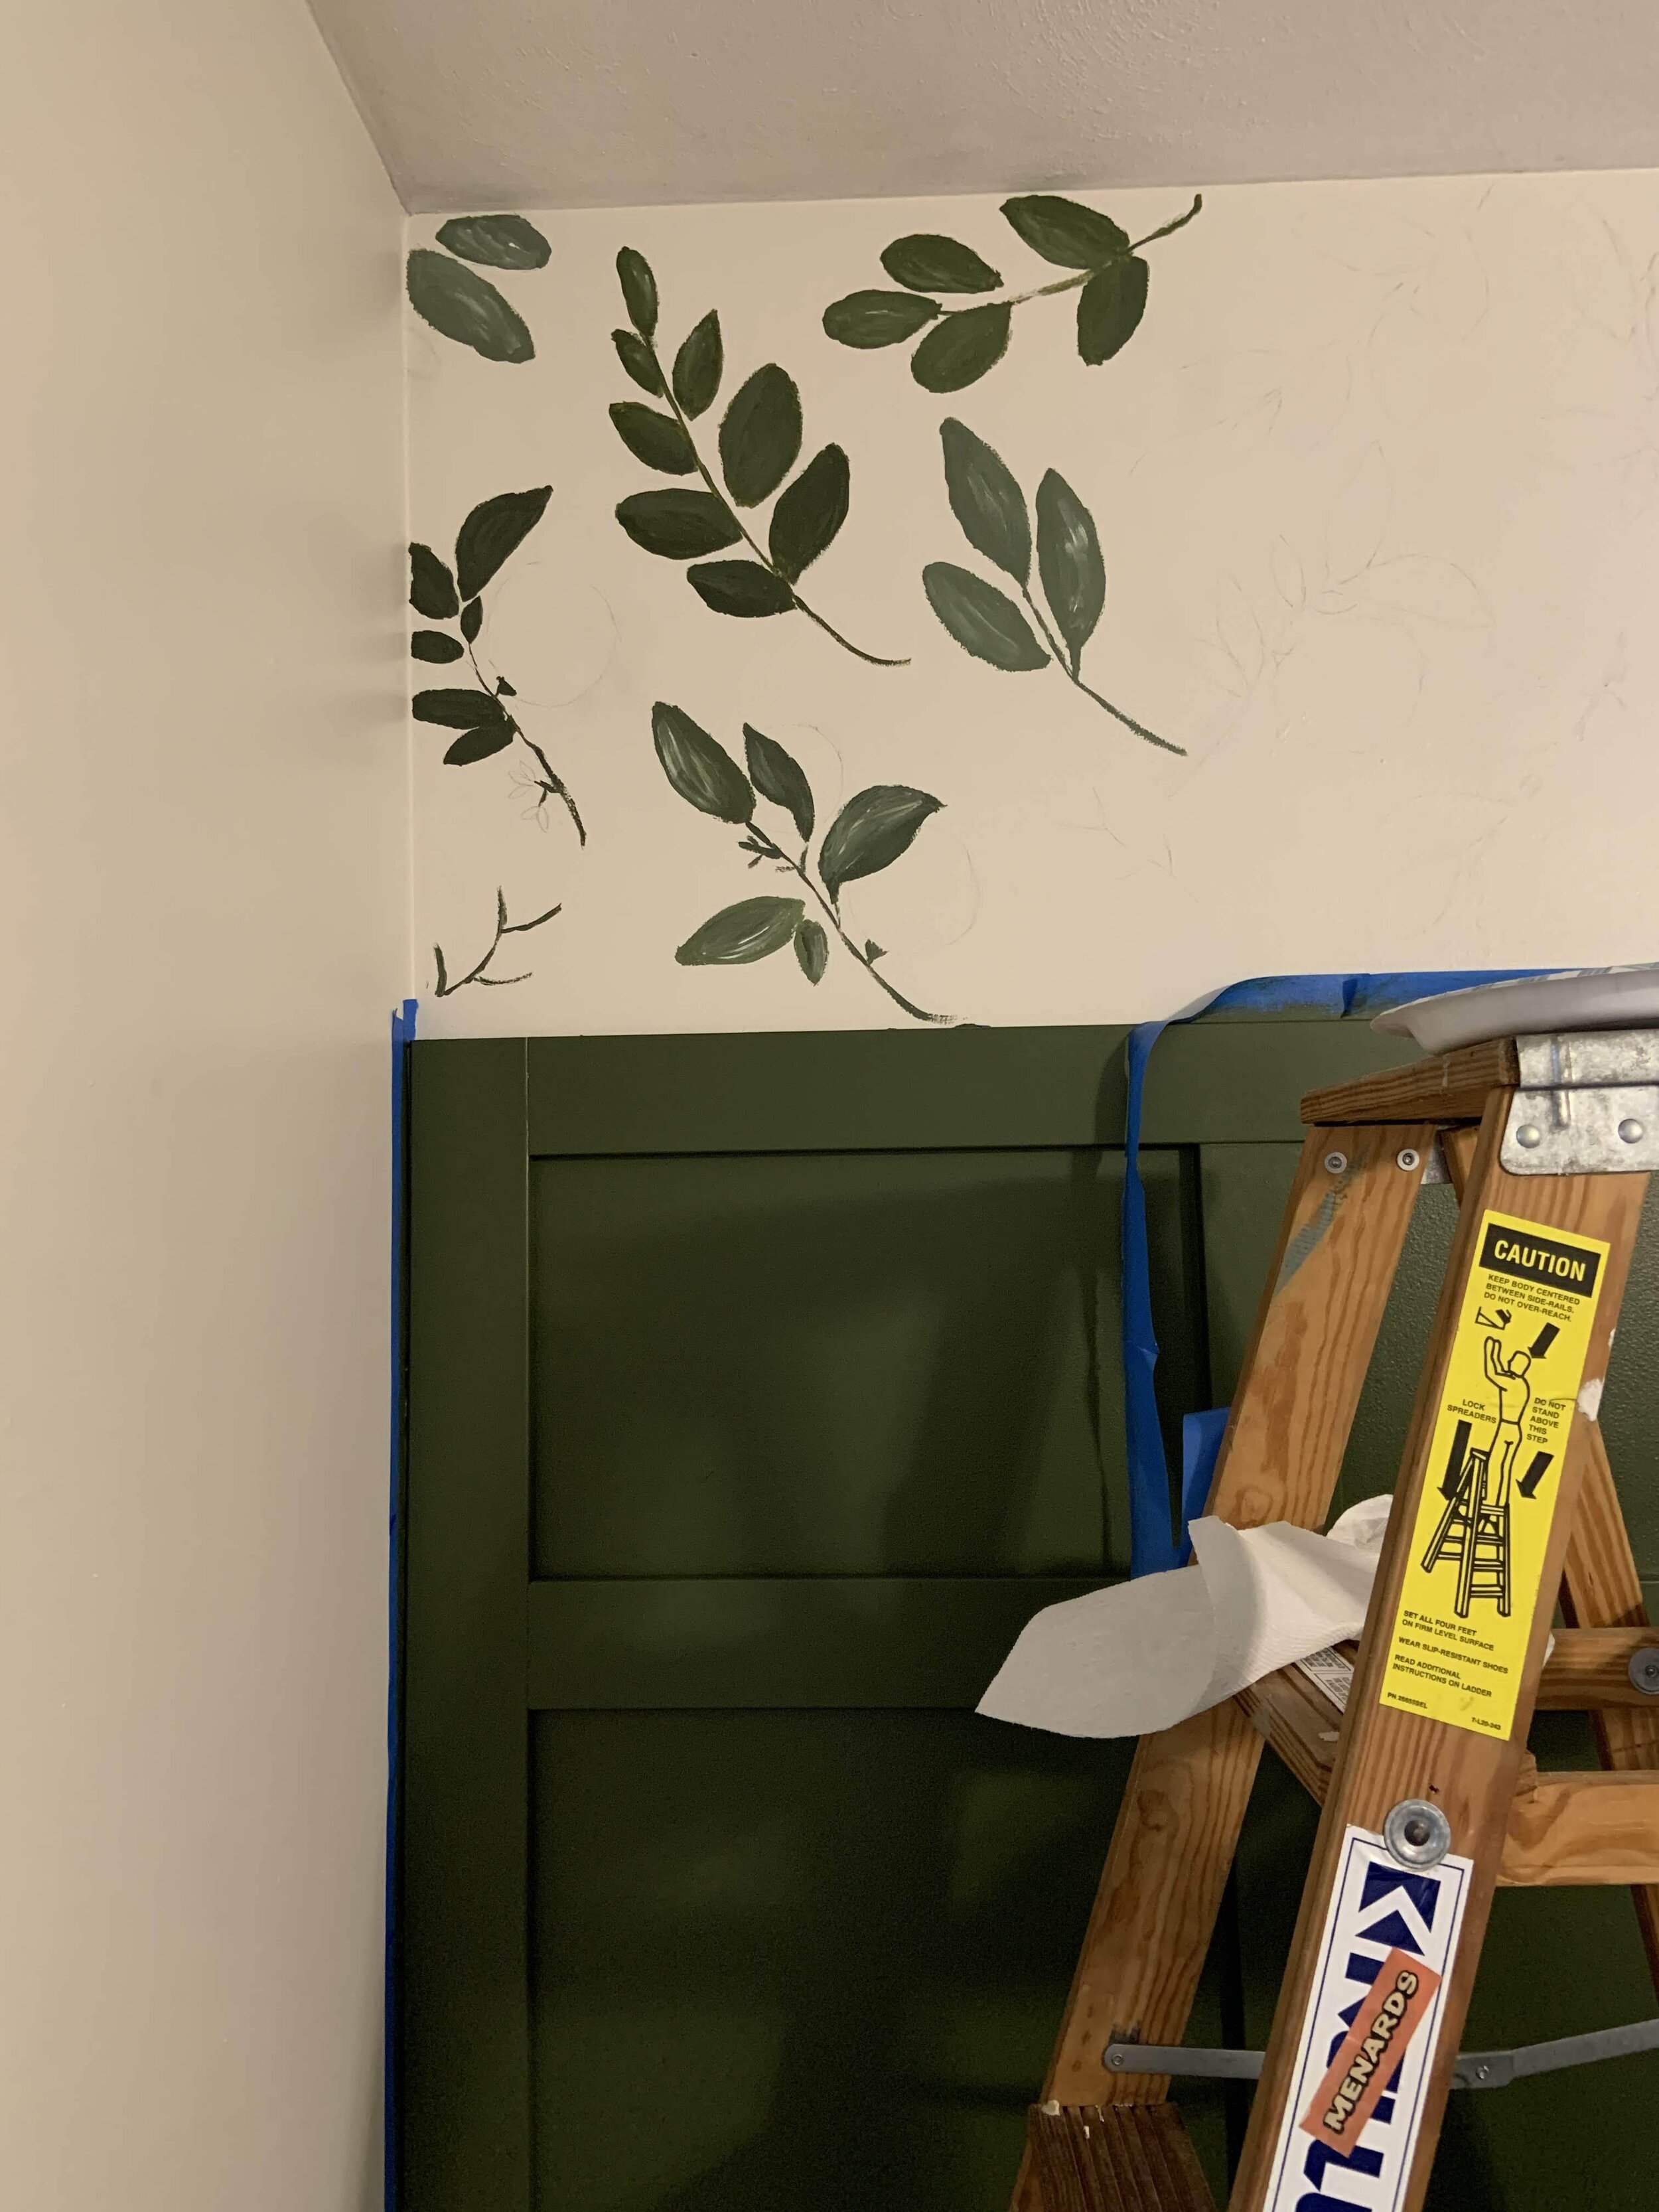
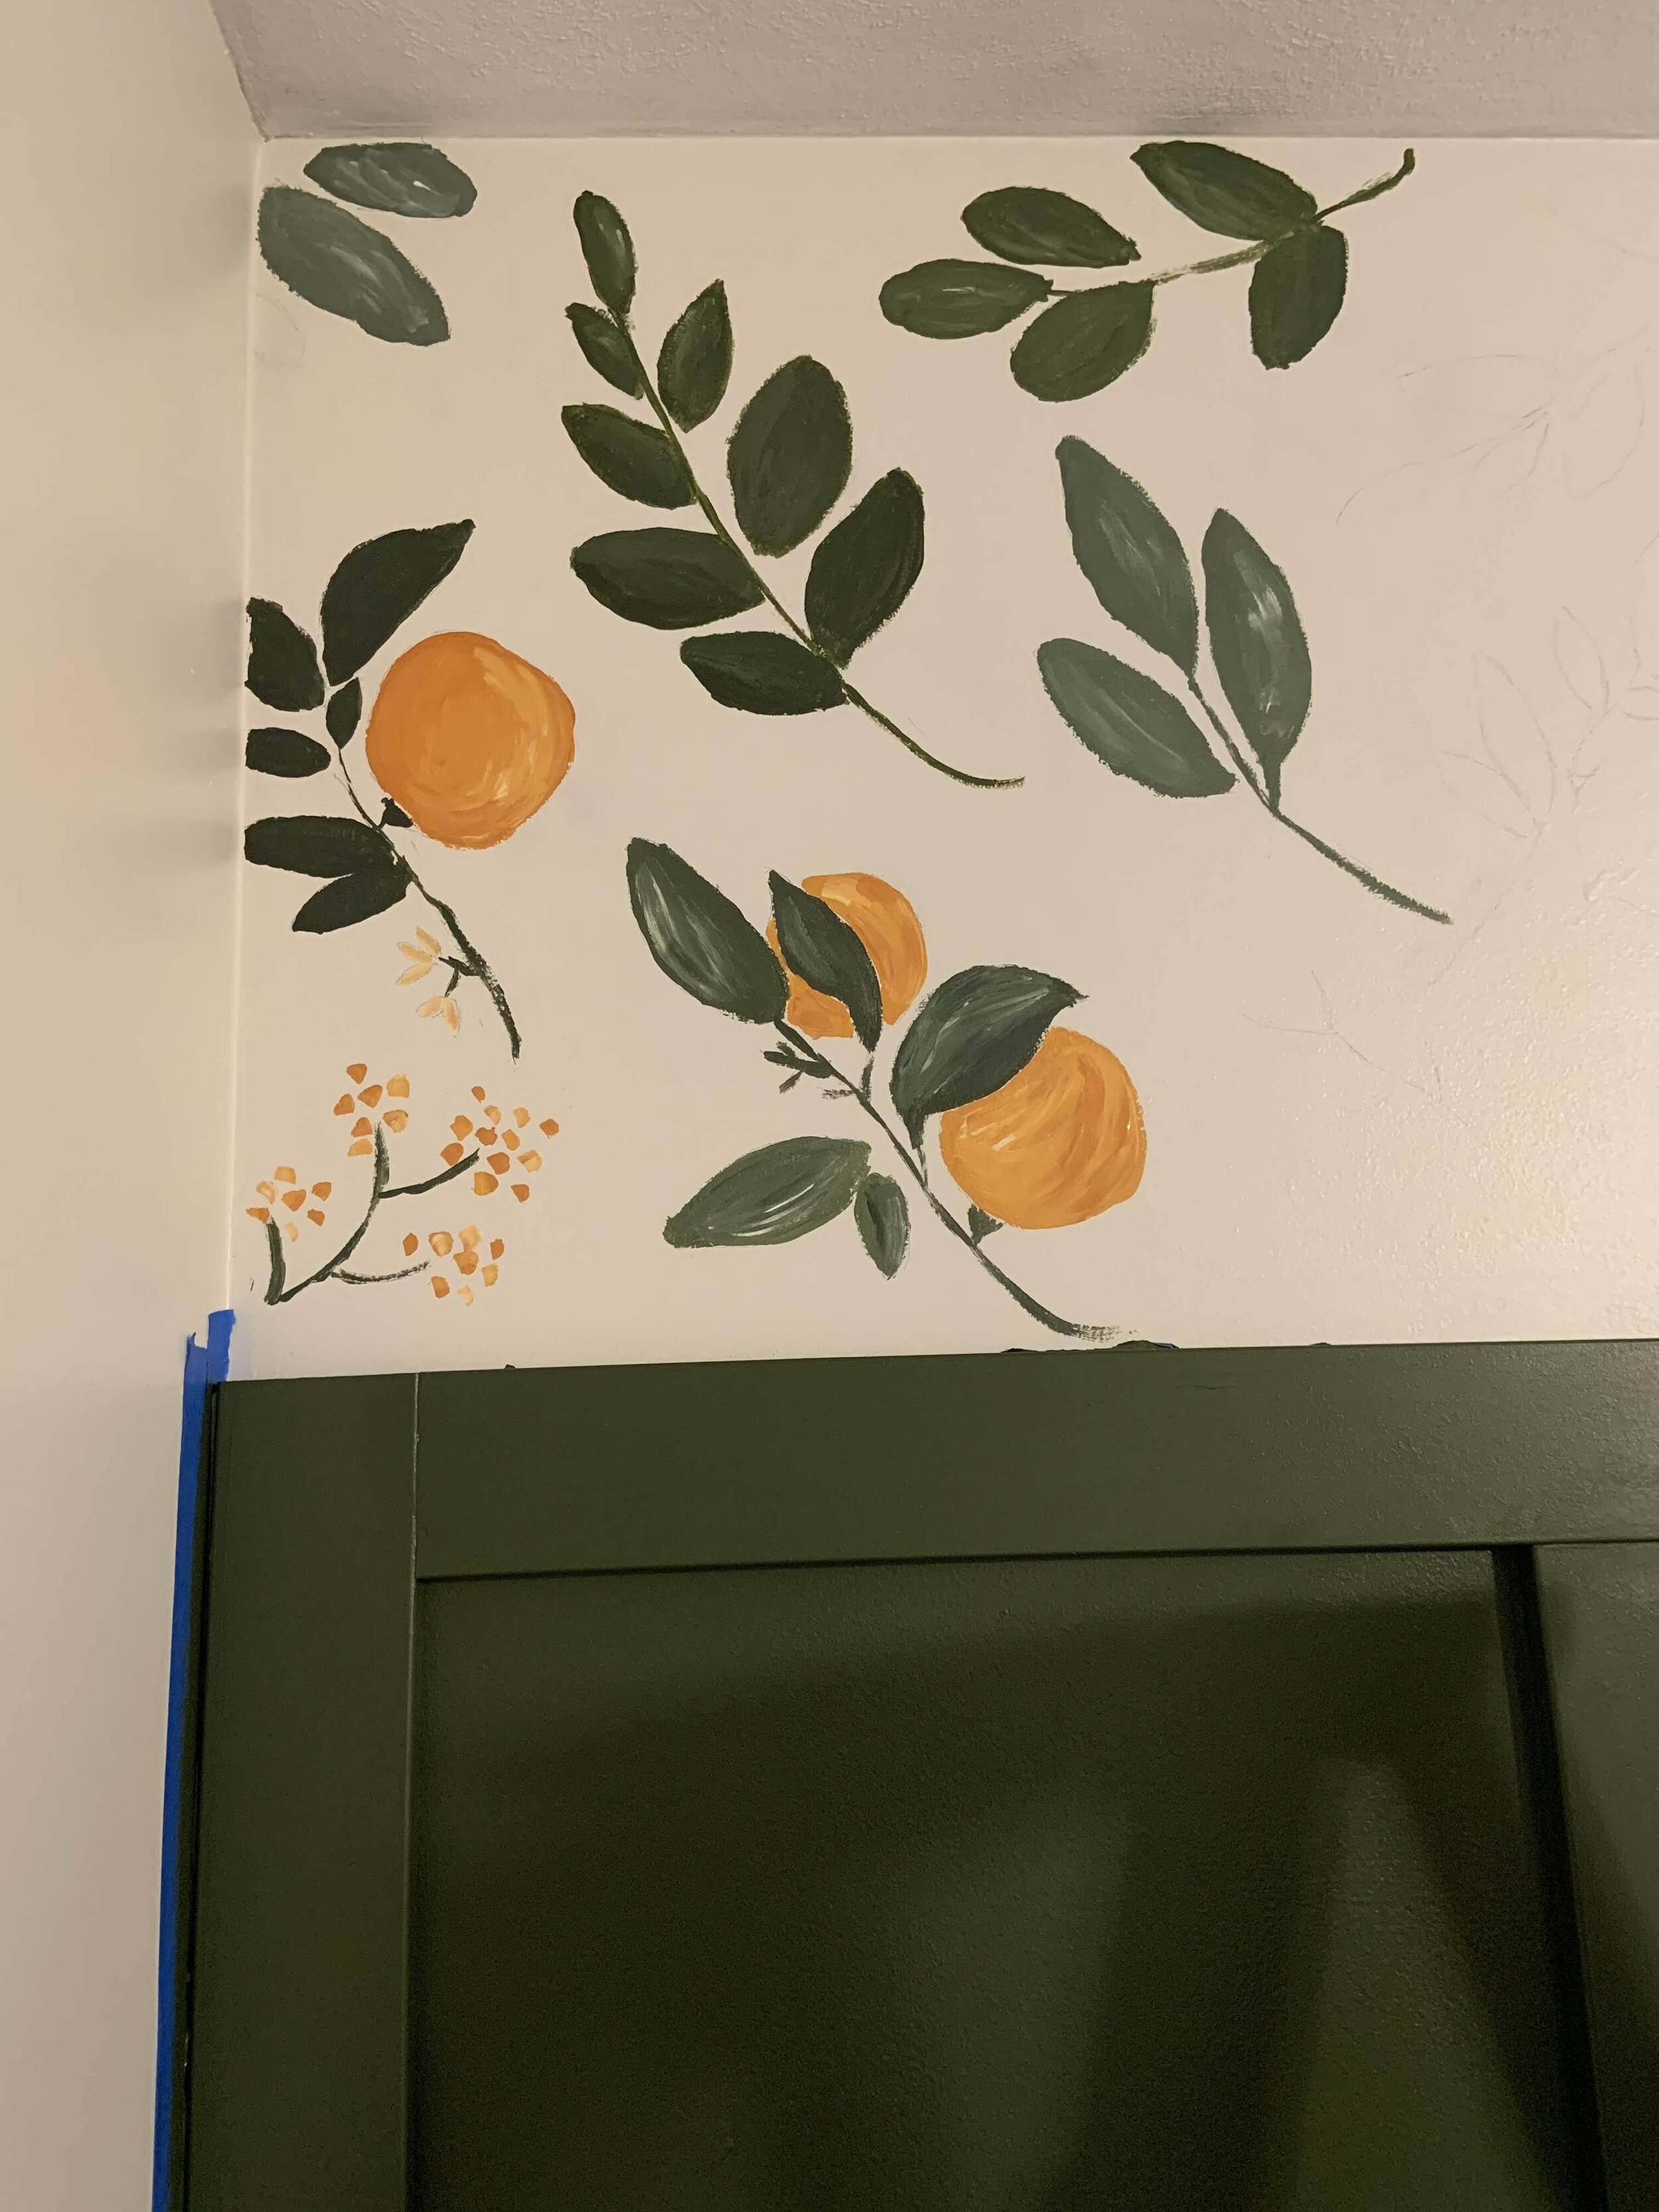
Paint! I went to Sherwin Williams and bought several different sample sized paints (yellow/orange and 4 shades of green). This allowed me to mix the paints I needed to create the look of the wallpaper.
Green colors:
Rosemary
Secret Garden
Forestwood
Laurel Woods
Yellow/Orange colors:
Serape
Saffron Thread
Yam
I also used some red and white paint that I had on hand.
For each of the stencils, I made sure to do the exact same paint mixture (or as close as I could) each time so it was consistent on the wall.
The key to making it look as real as possible it mixing the paints (like you would if you were making a painting). If the clementine was just solid yellow or orange, it wouldn’t look as real.
I tried to make the pattern look as close to the wallpaper as I could. I also wanted each stencil to be going a different direction, with some only half way on the wall, etc.
Overall, it took me roughly 12 hours to complete. It started out slow, but once I had my process down it went a lot faster!
BOARD AND BATTEN WALL
The other part of this accent wall is the board and batten. You can learn more about how to create that, here.
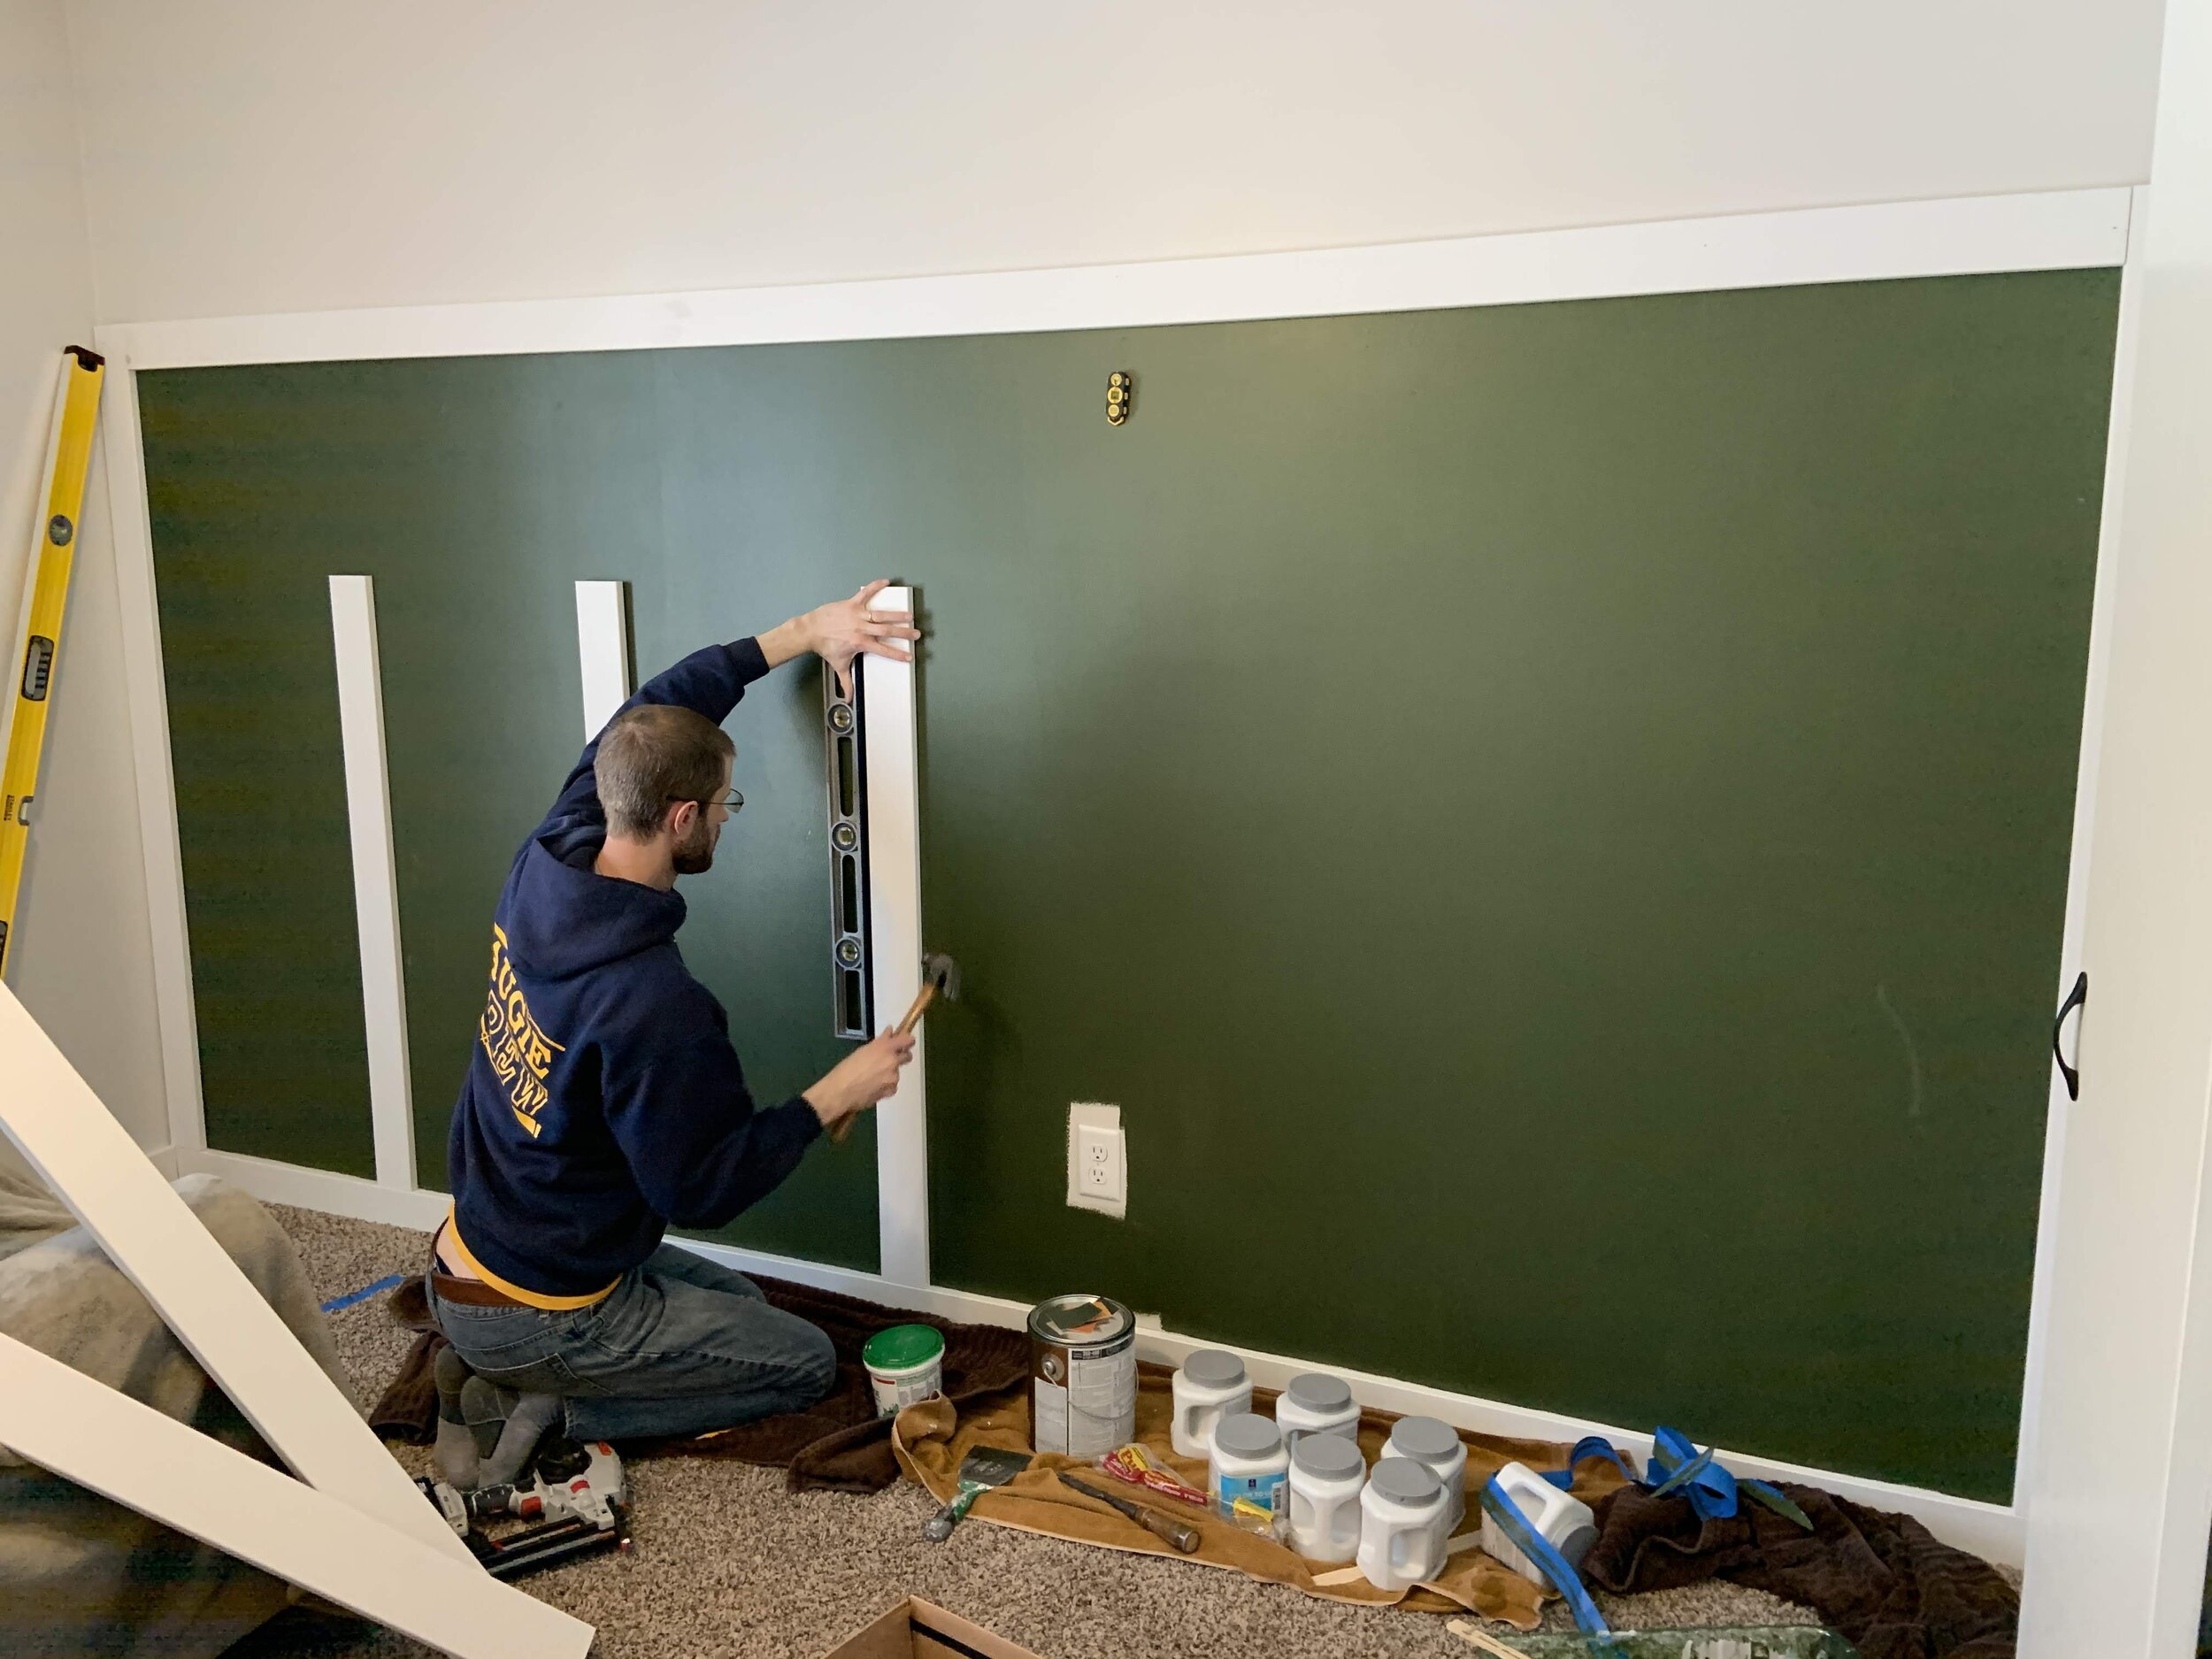
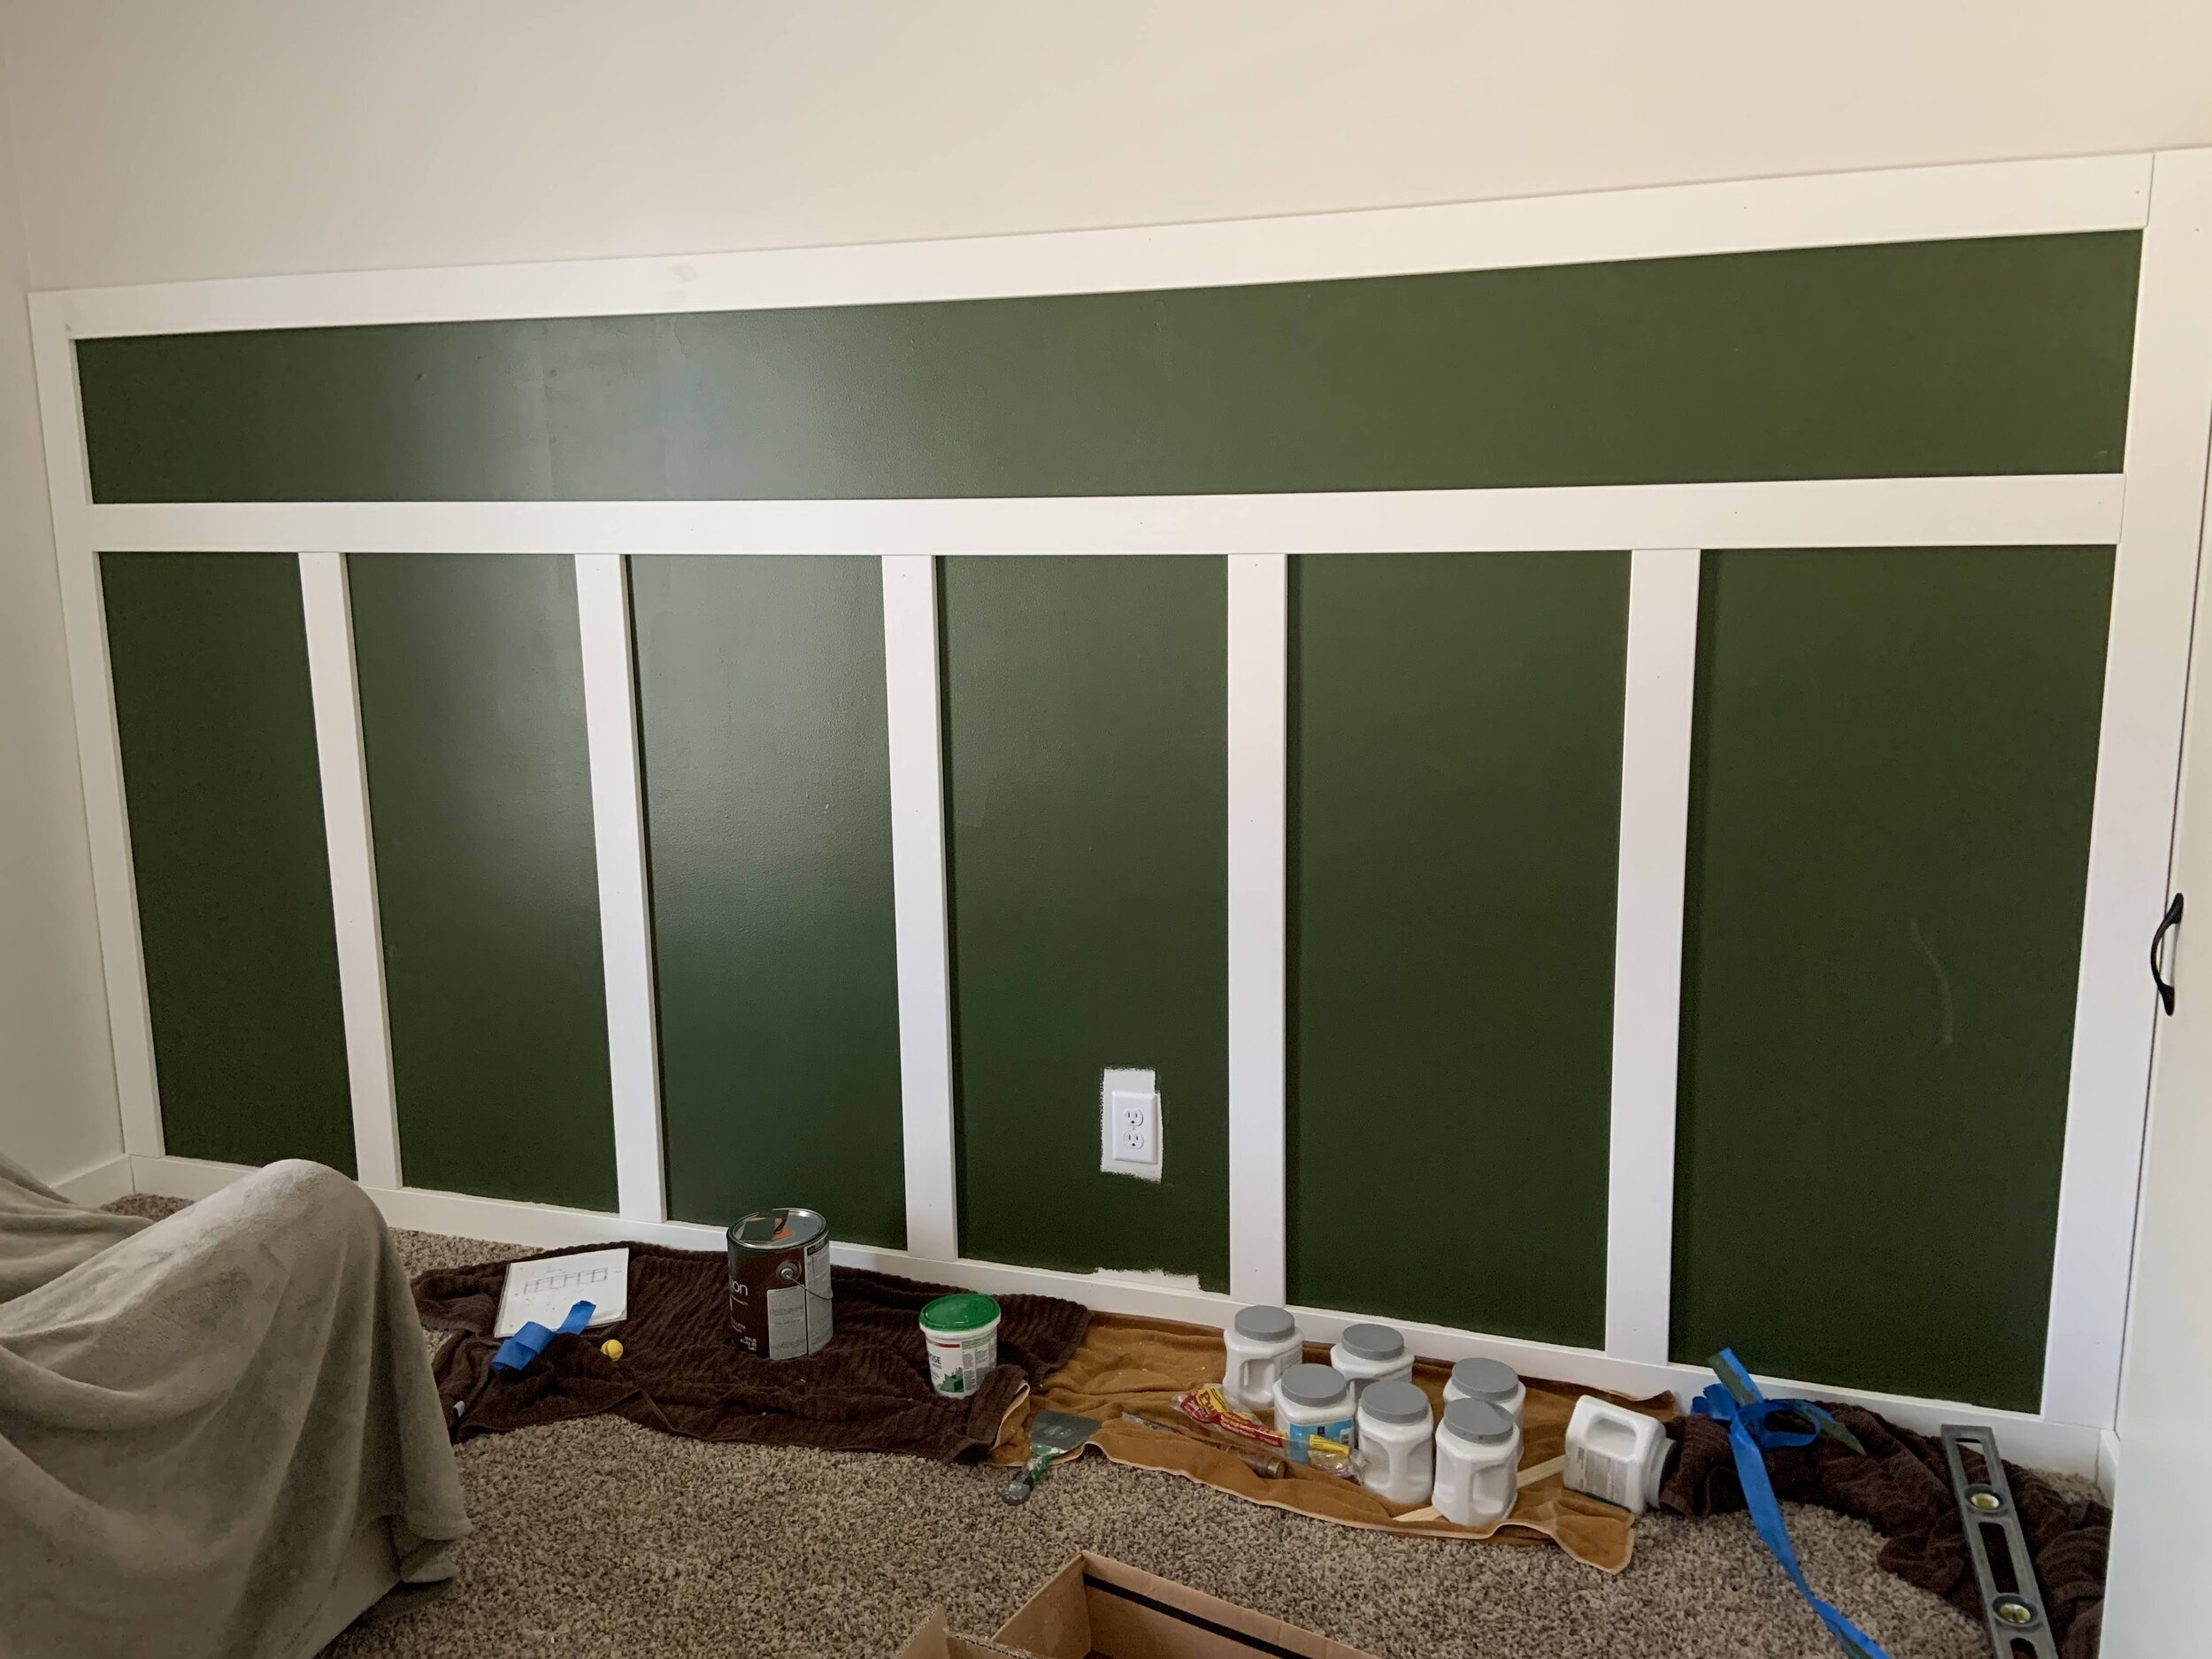
I first painted the wall the color of the board and batten. We used the trim we already had on the baseboard, then added the long trim piece to the top and sides. After that, we started adding each section based on our measurements.
We then added the long horizontal trim pieces, followed by the short vertical ones.
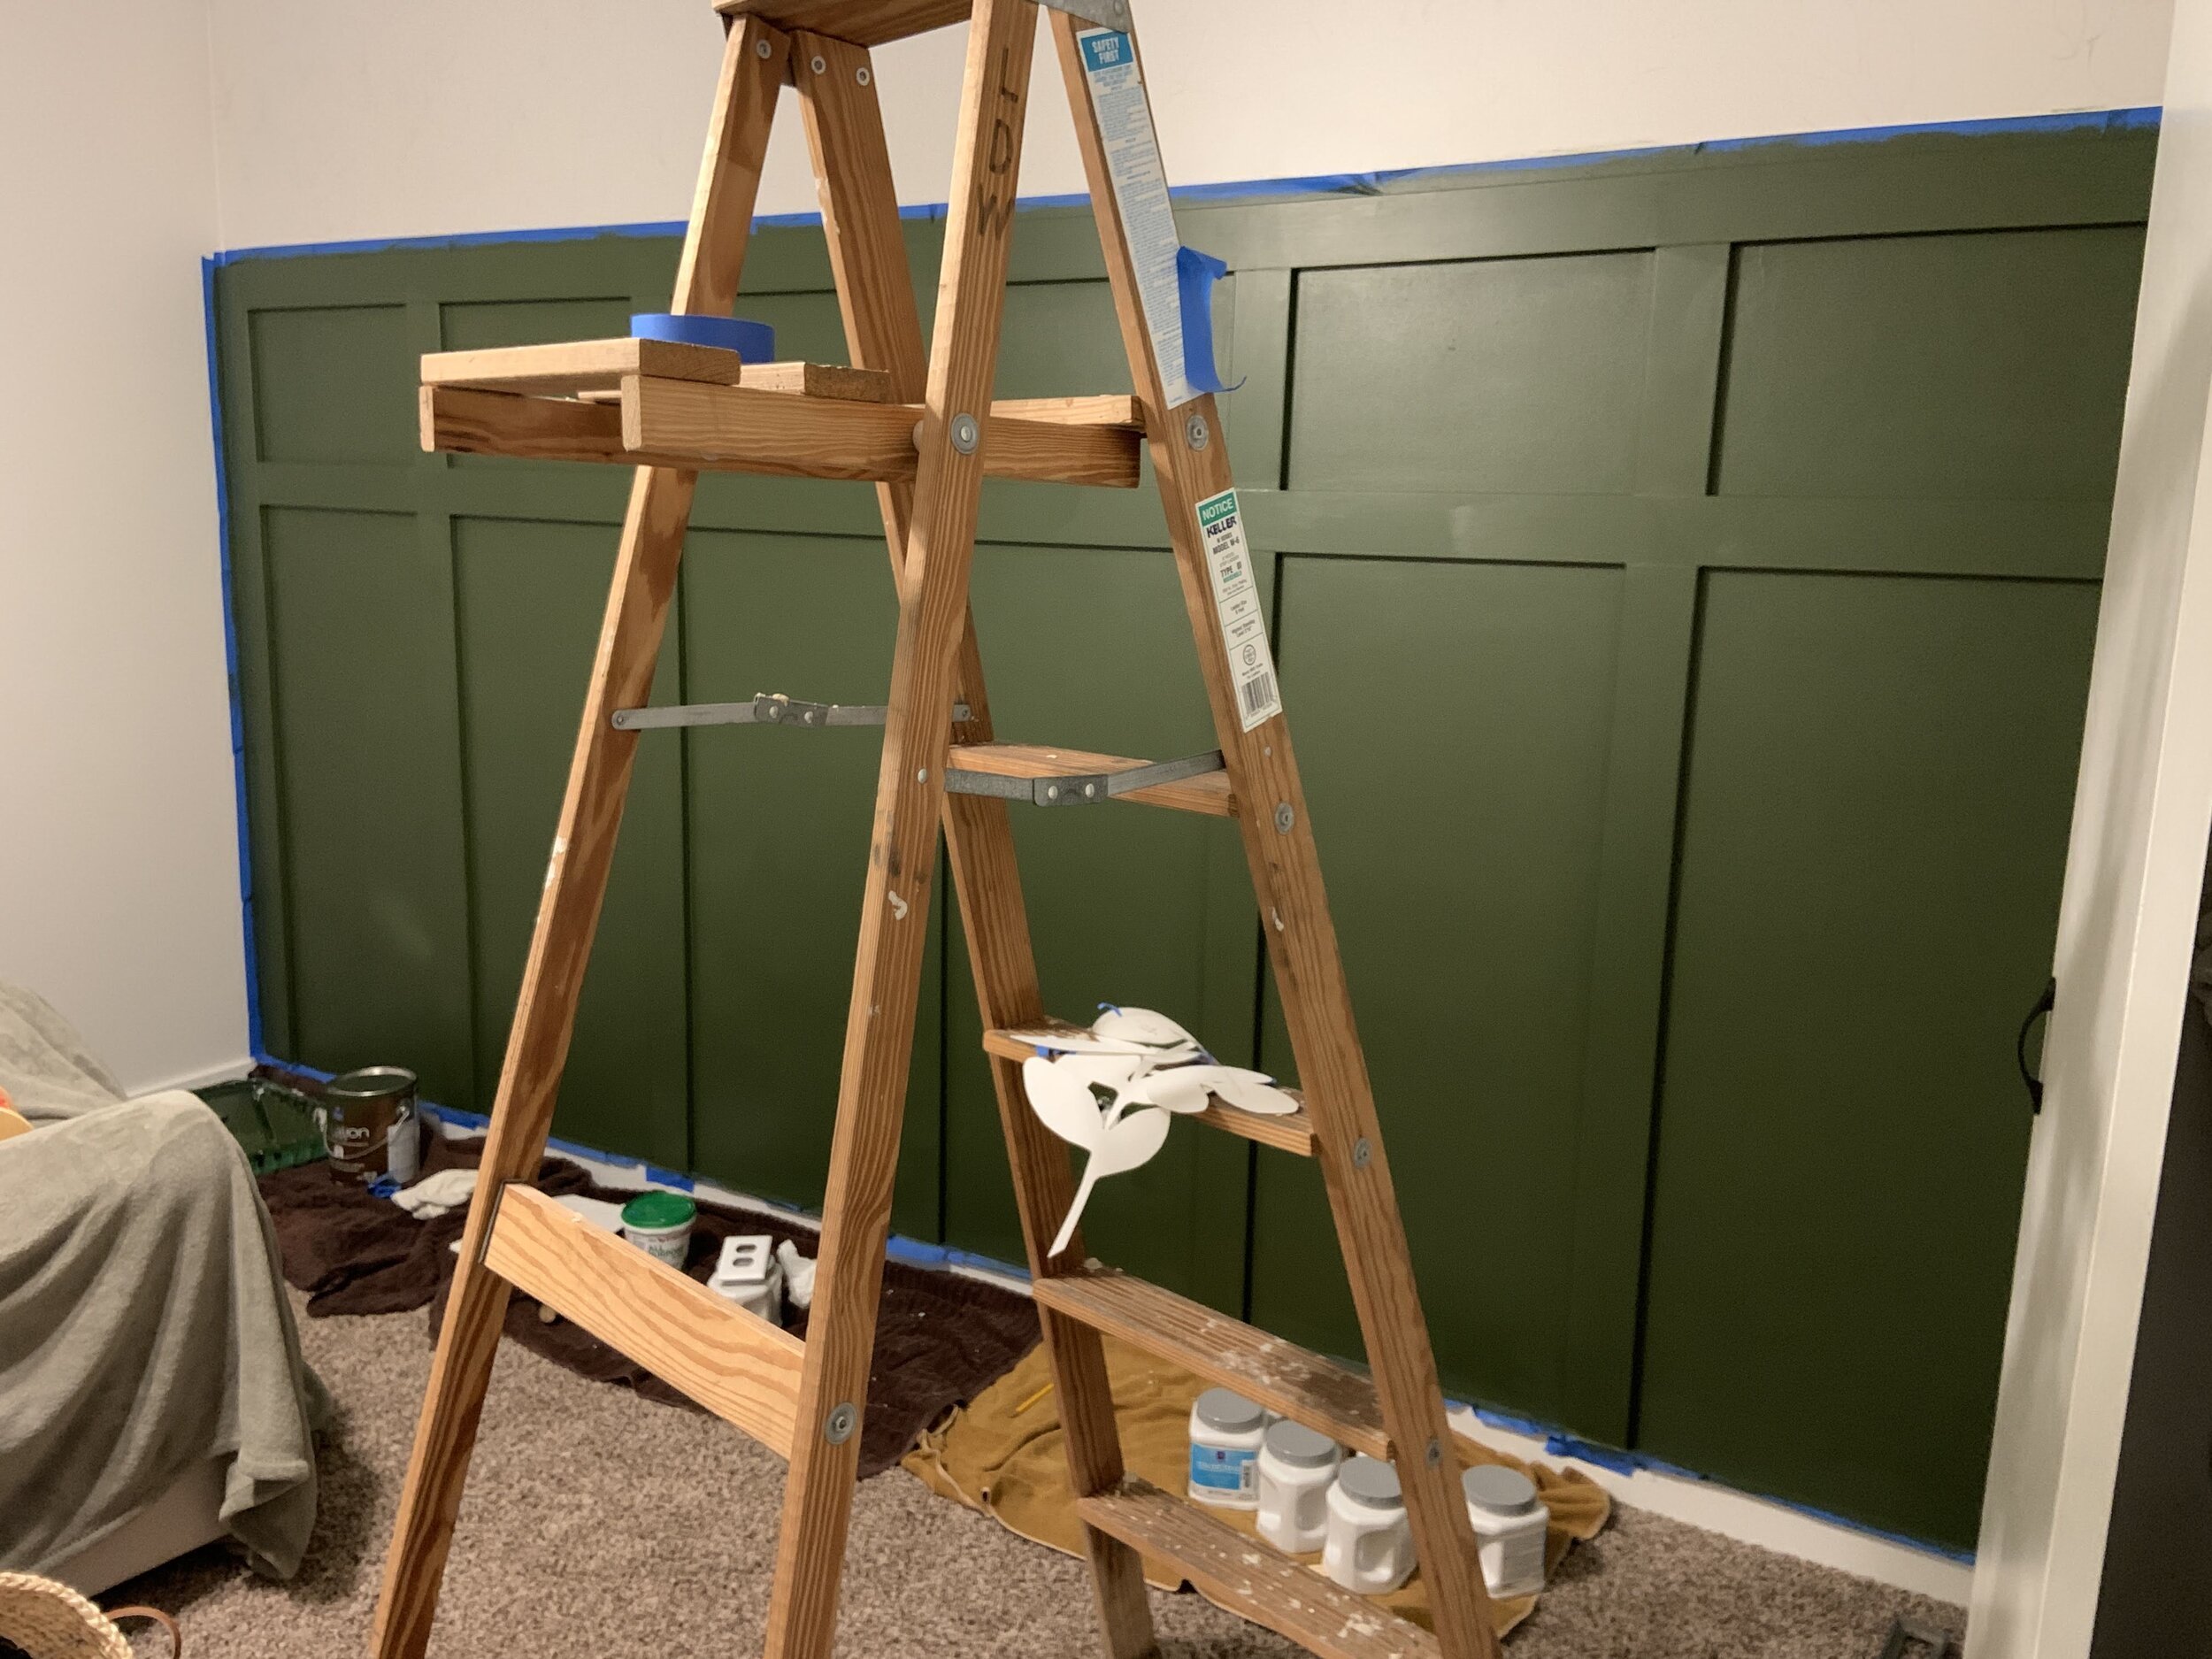
After all of the trim boards were in place, I caulked the seams and then sanded and painted them green.
It took 3 coats of green paint to get the wall to look how I wanted it. I used Sherwin Williams Secret Garden for the green board and batten.
I love how it turned out! The hardest part of the entire project was finding/deciding on the right shade of green. As always, it looks different in photos than it does in real life - but I am very happy with it!


