DIY Floating Shelves
Floating shelves are the perfect way to add some beautiful and functional decor to a wall in your home. Here are SIX steps on how to make your own!
STEP ONE Cut your wood to size.
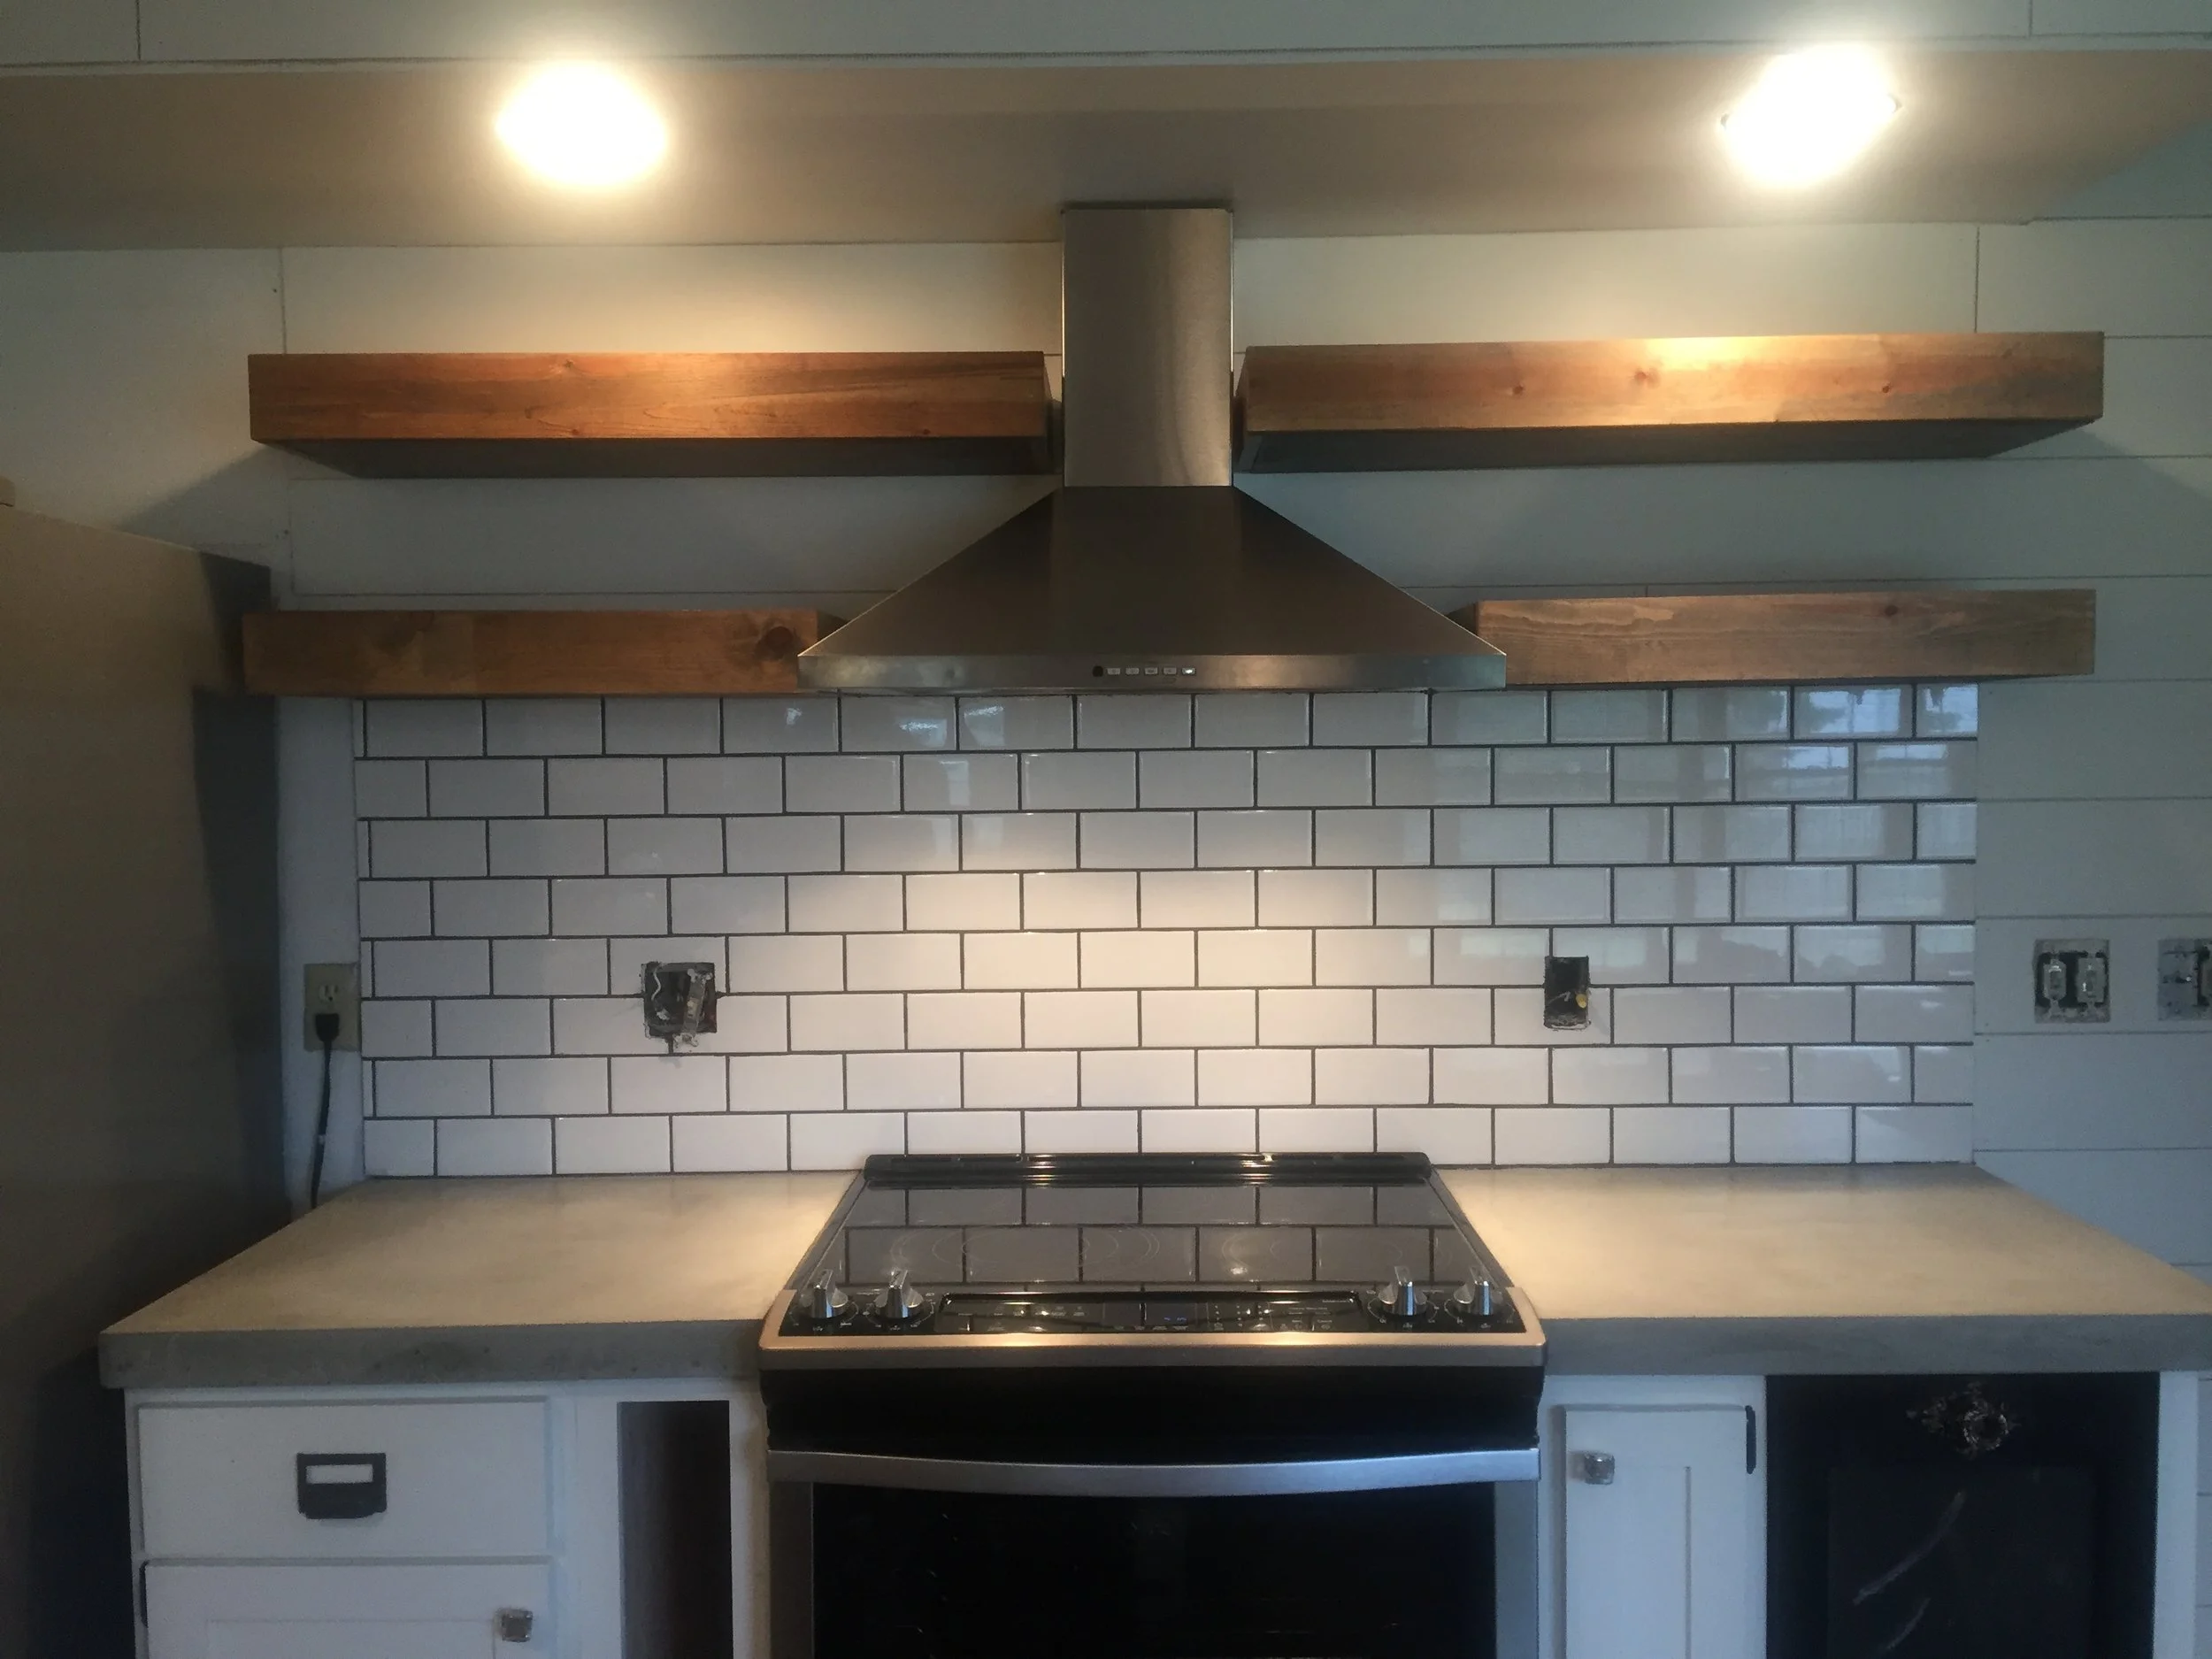
Since we have a specific space for these shelves, we had to be exact with our measurements (width of shelving above). If you are making these shelves for a living room or somewhere with an open area, you can just make them all the exact same size. (And it will be less of a headache!)
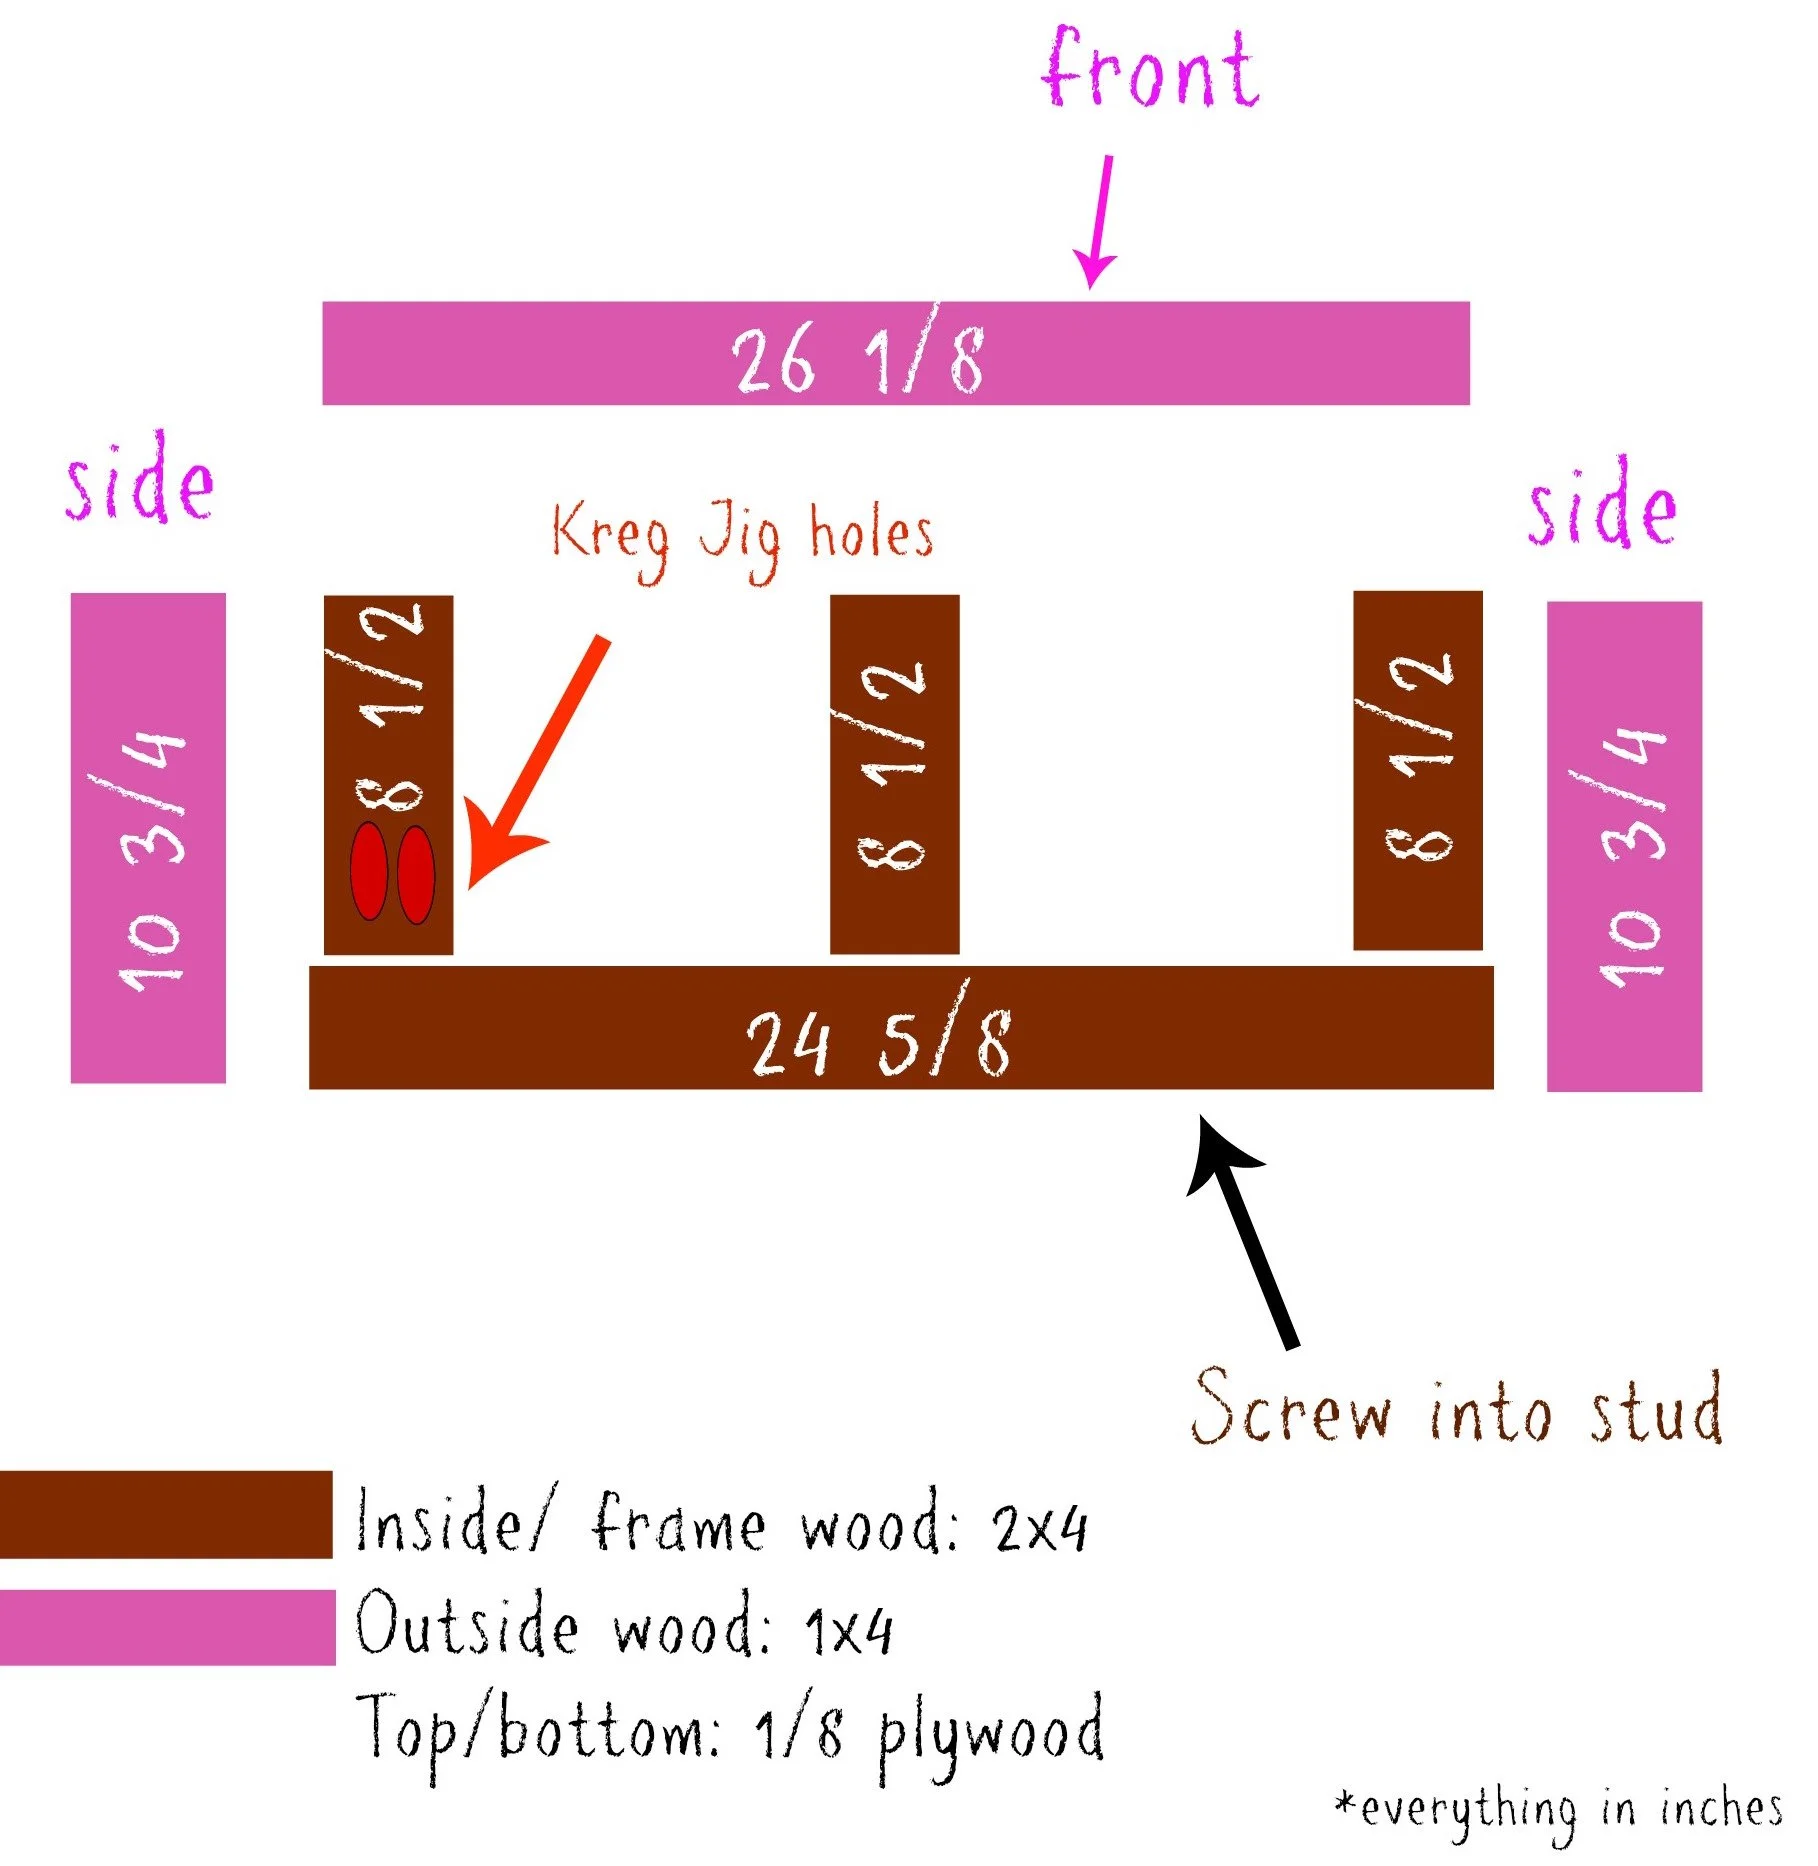
Below is a drawing of one of the shelves (and the measurements).
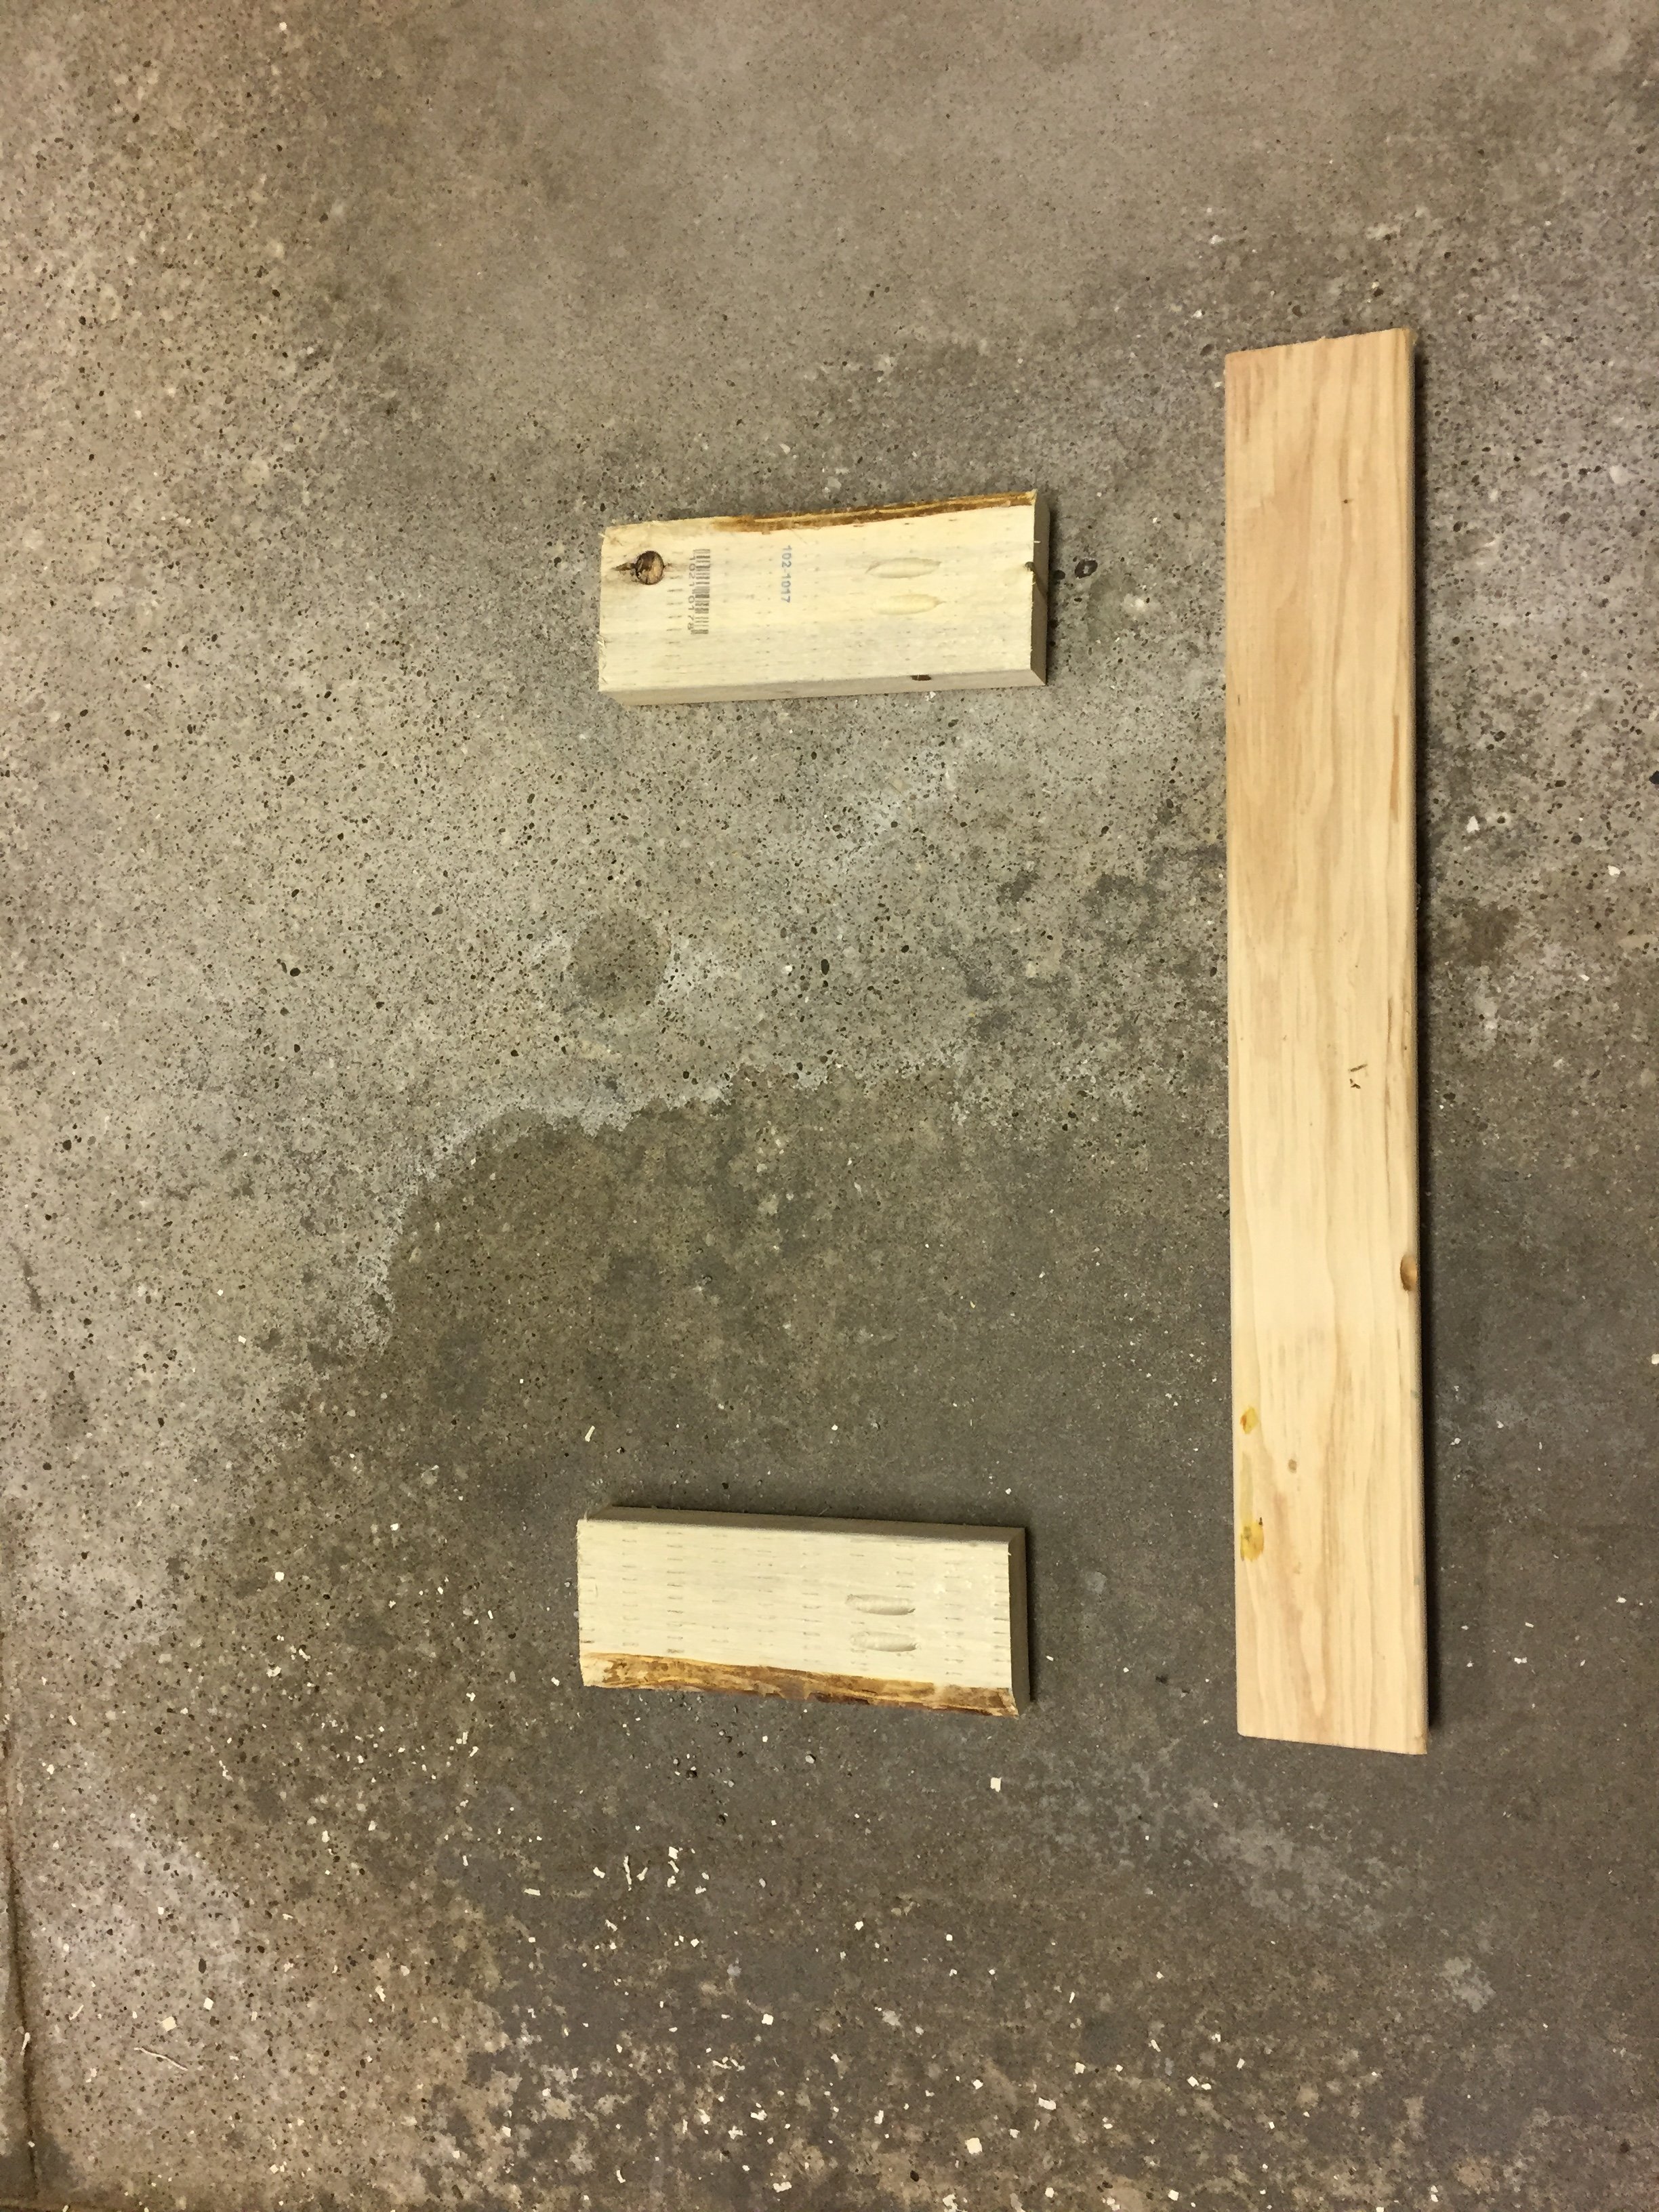
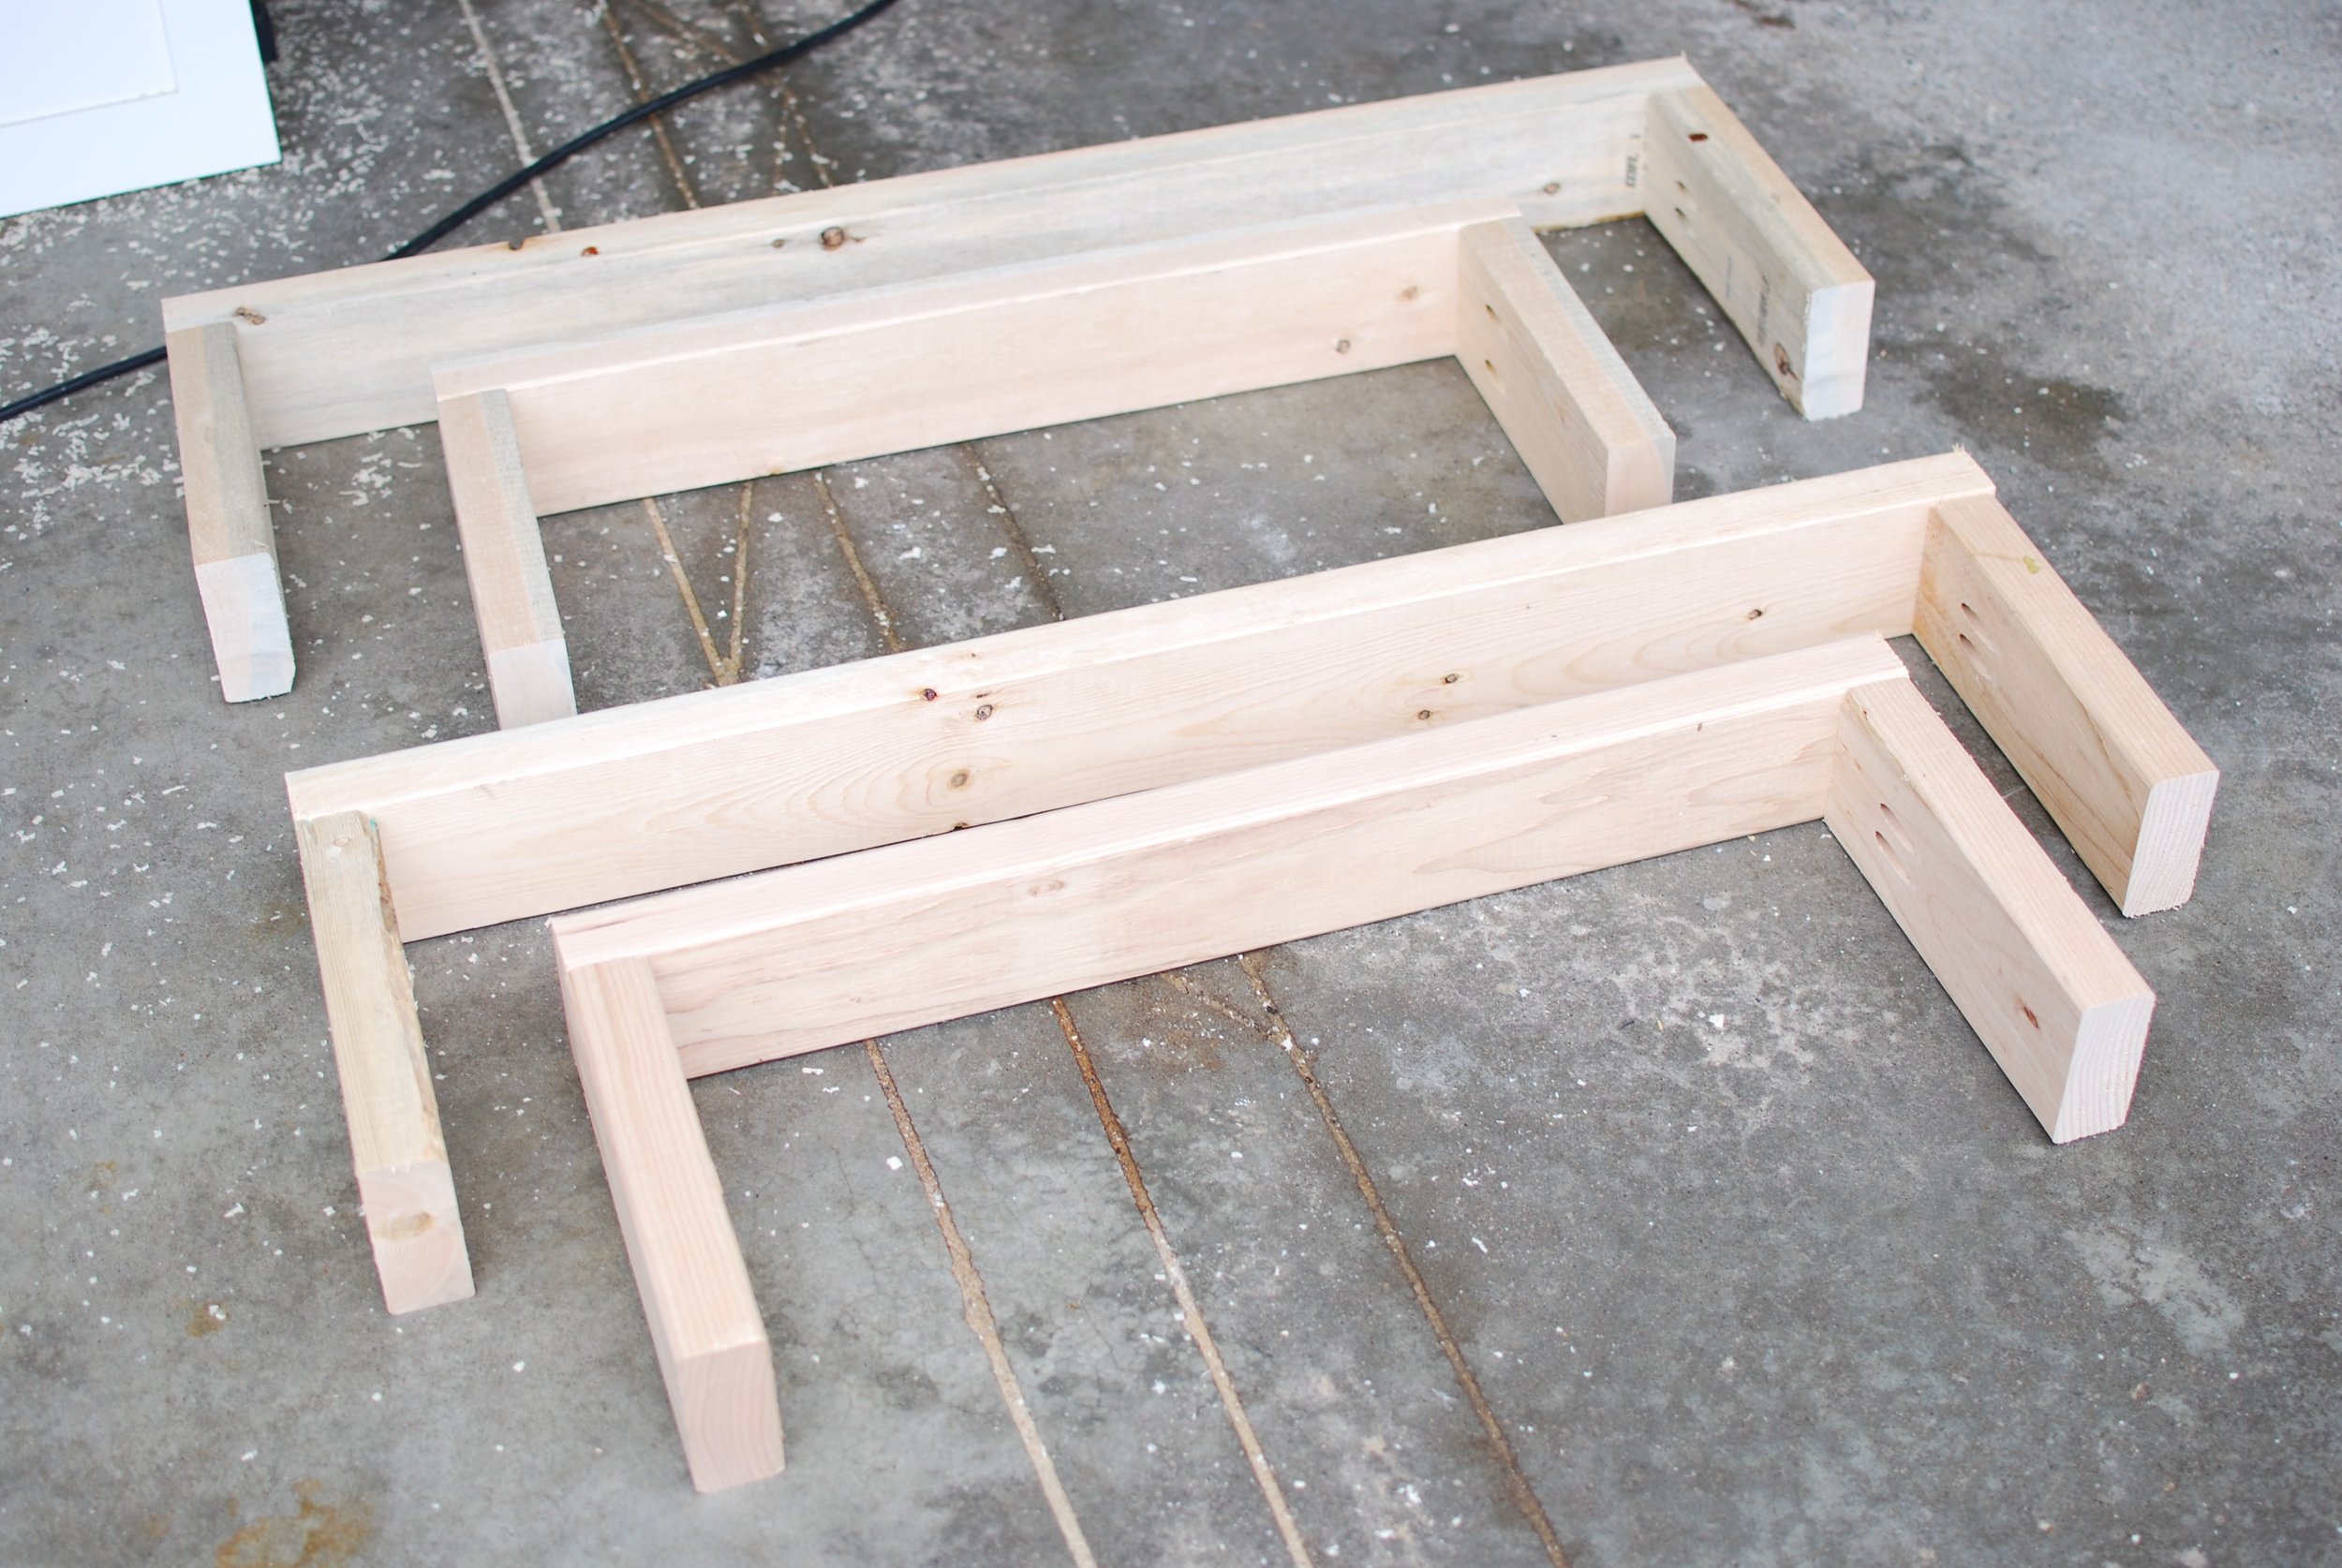
Once we had our measurements, it was quick and easy to cut all the frame pieces to size (we cut the outer pieces during a later step).
STEP TWO Build the frame.
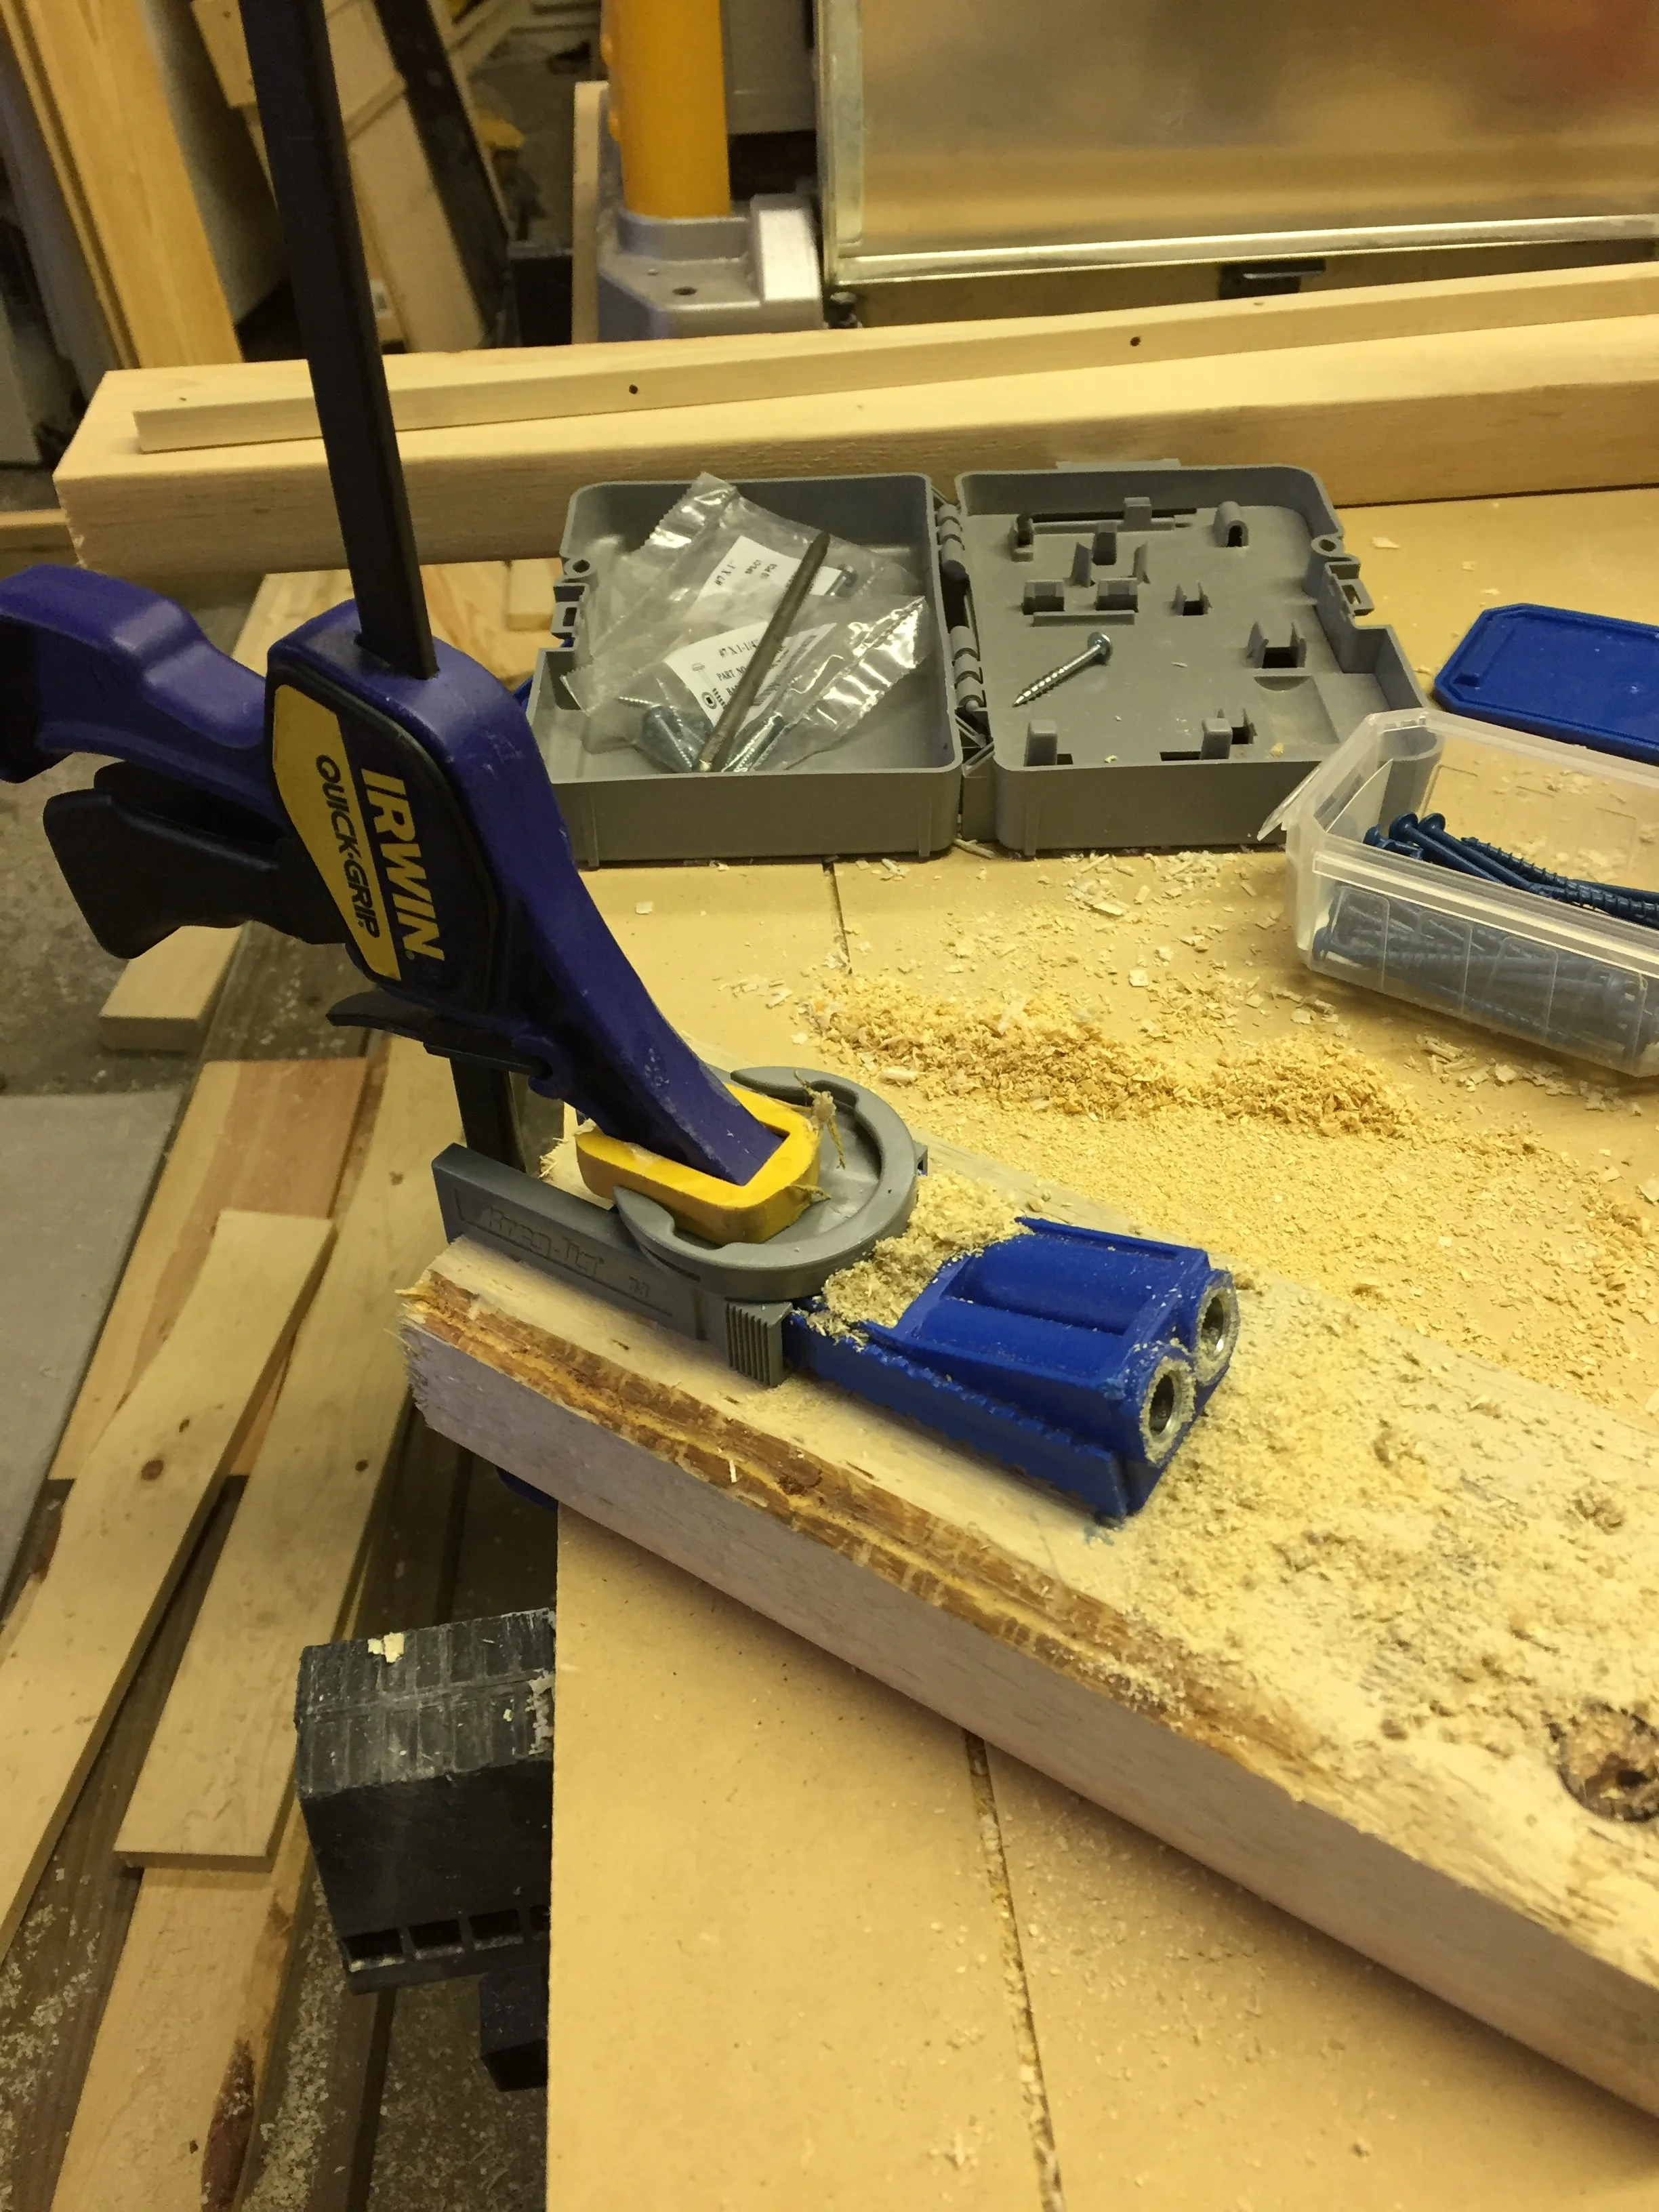
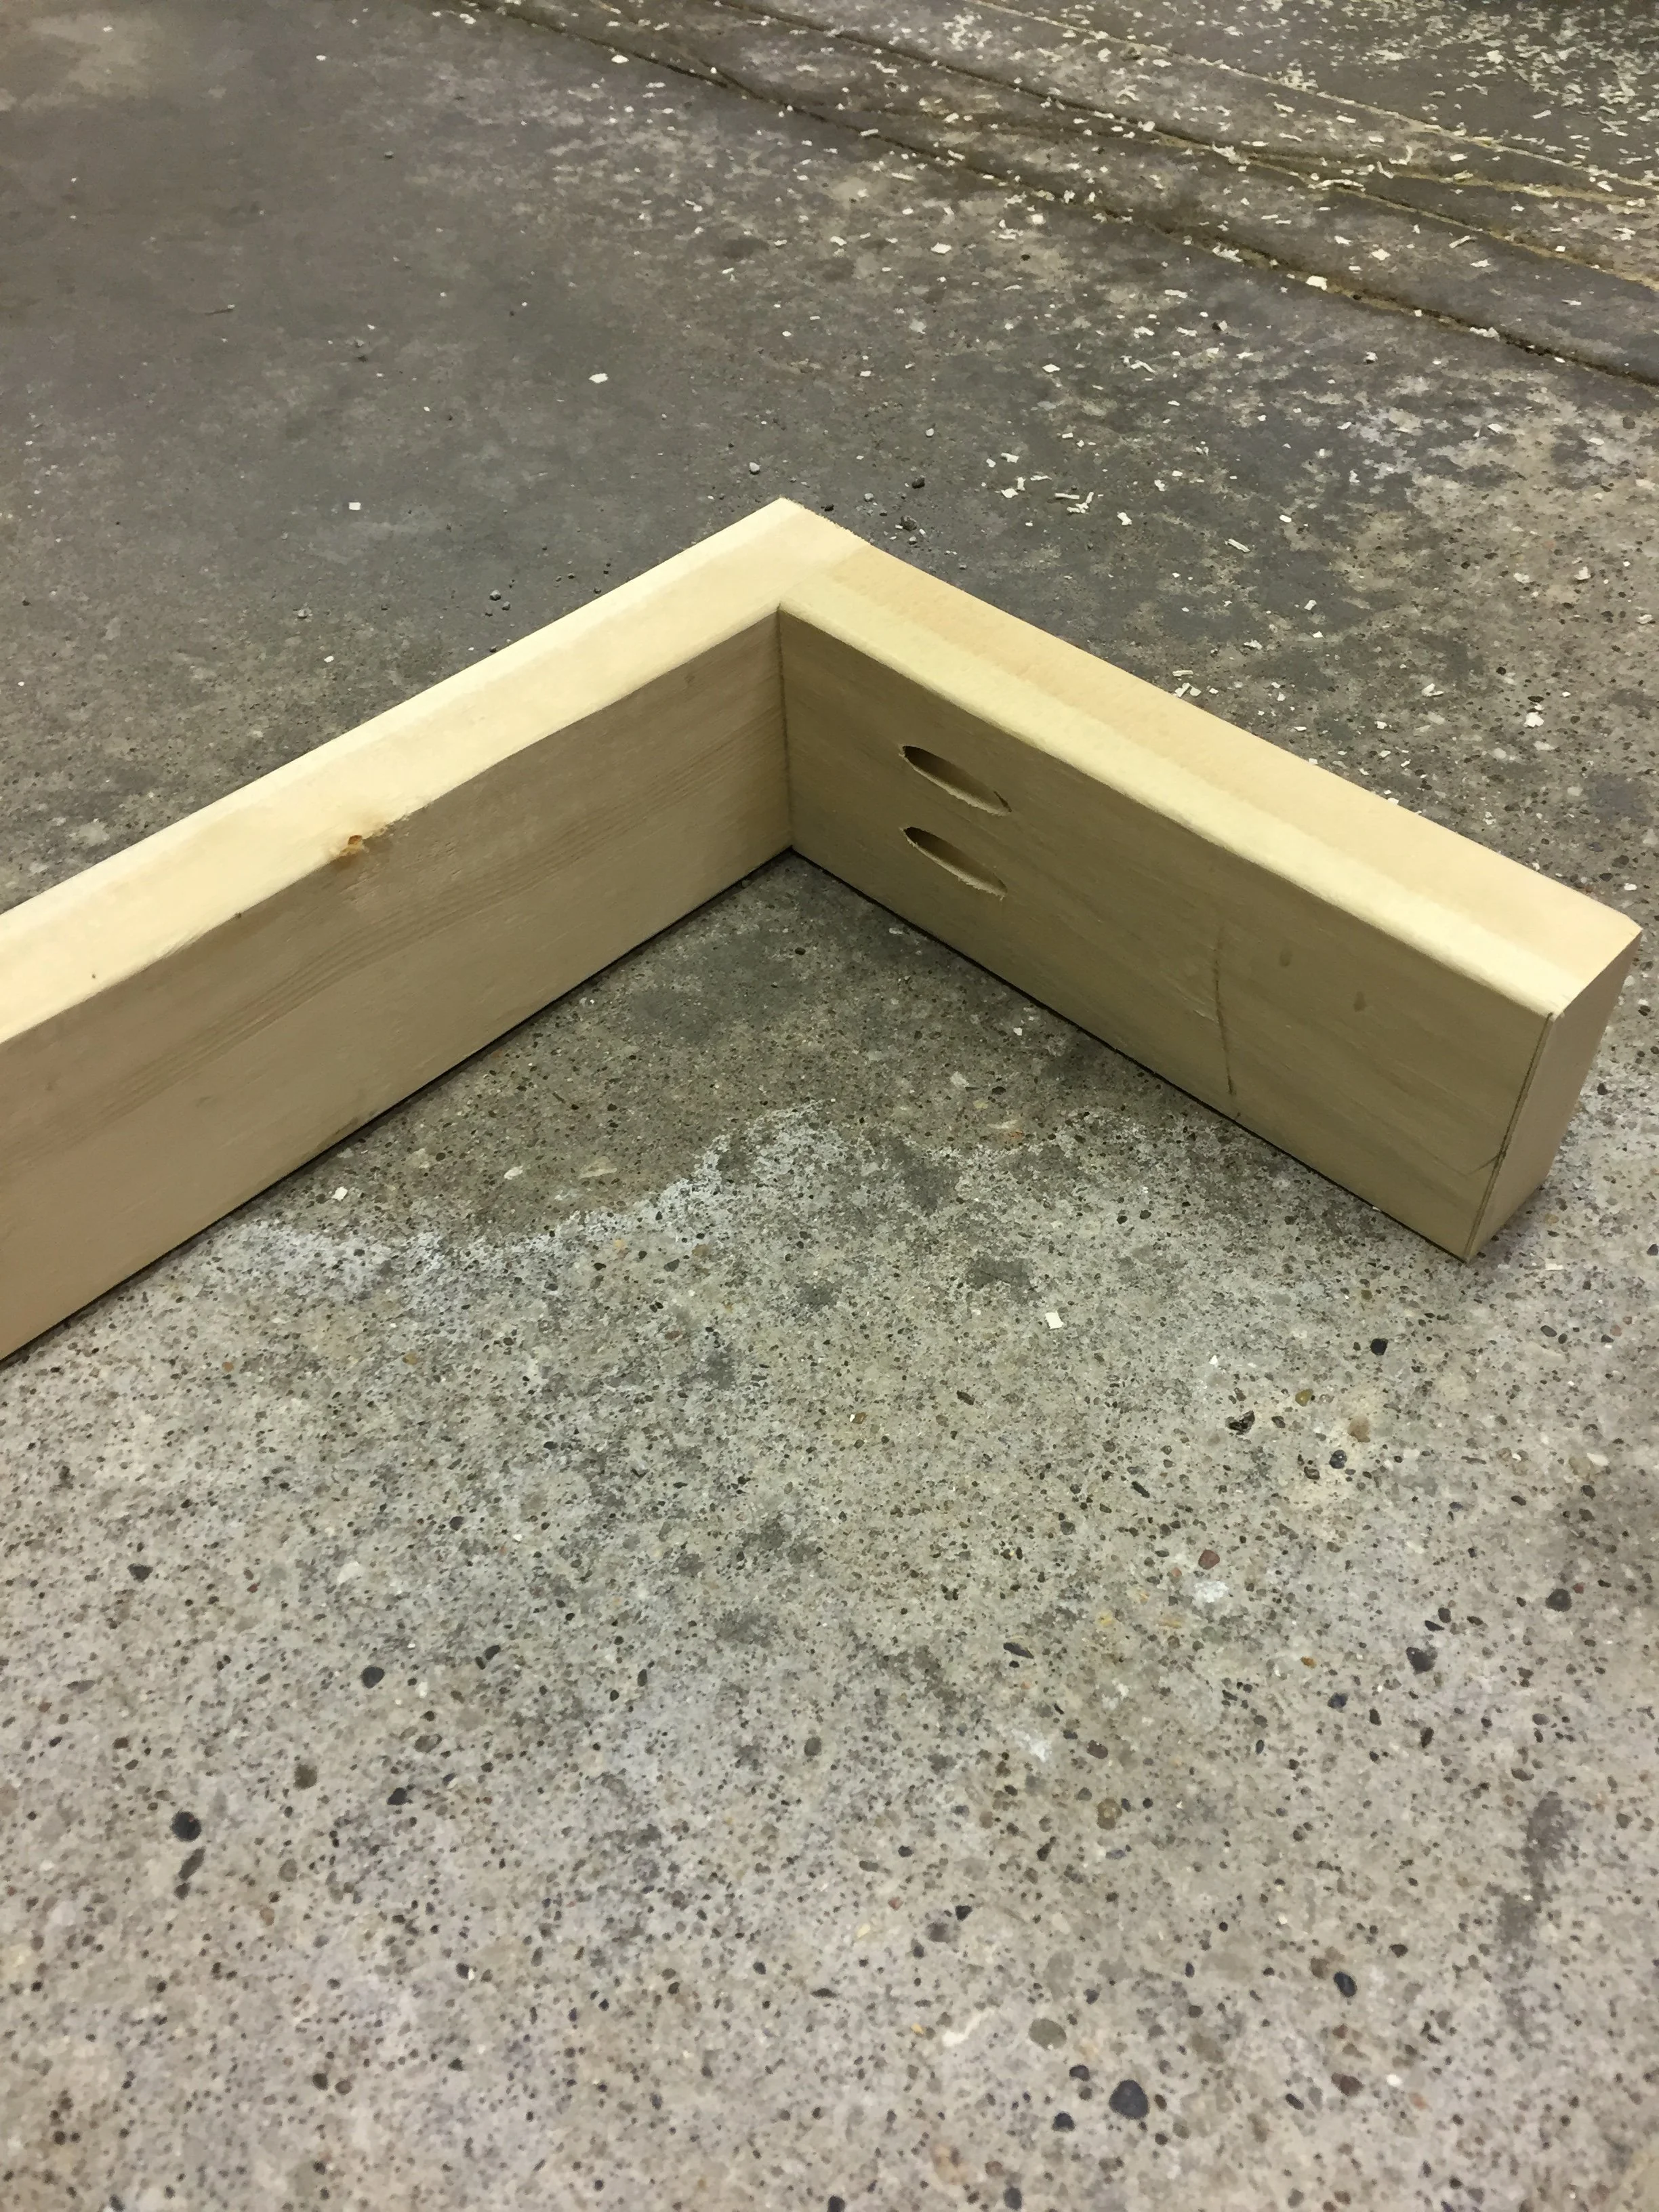
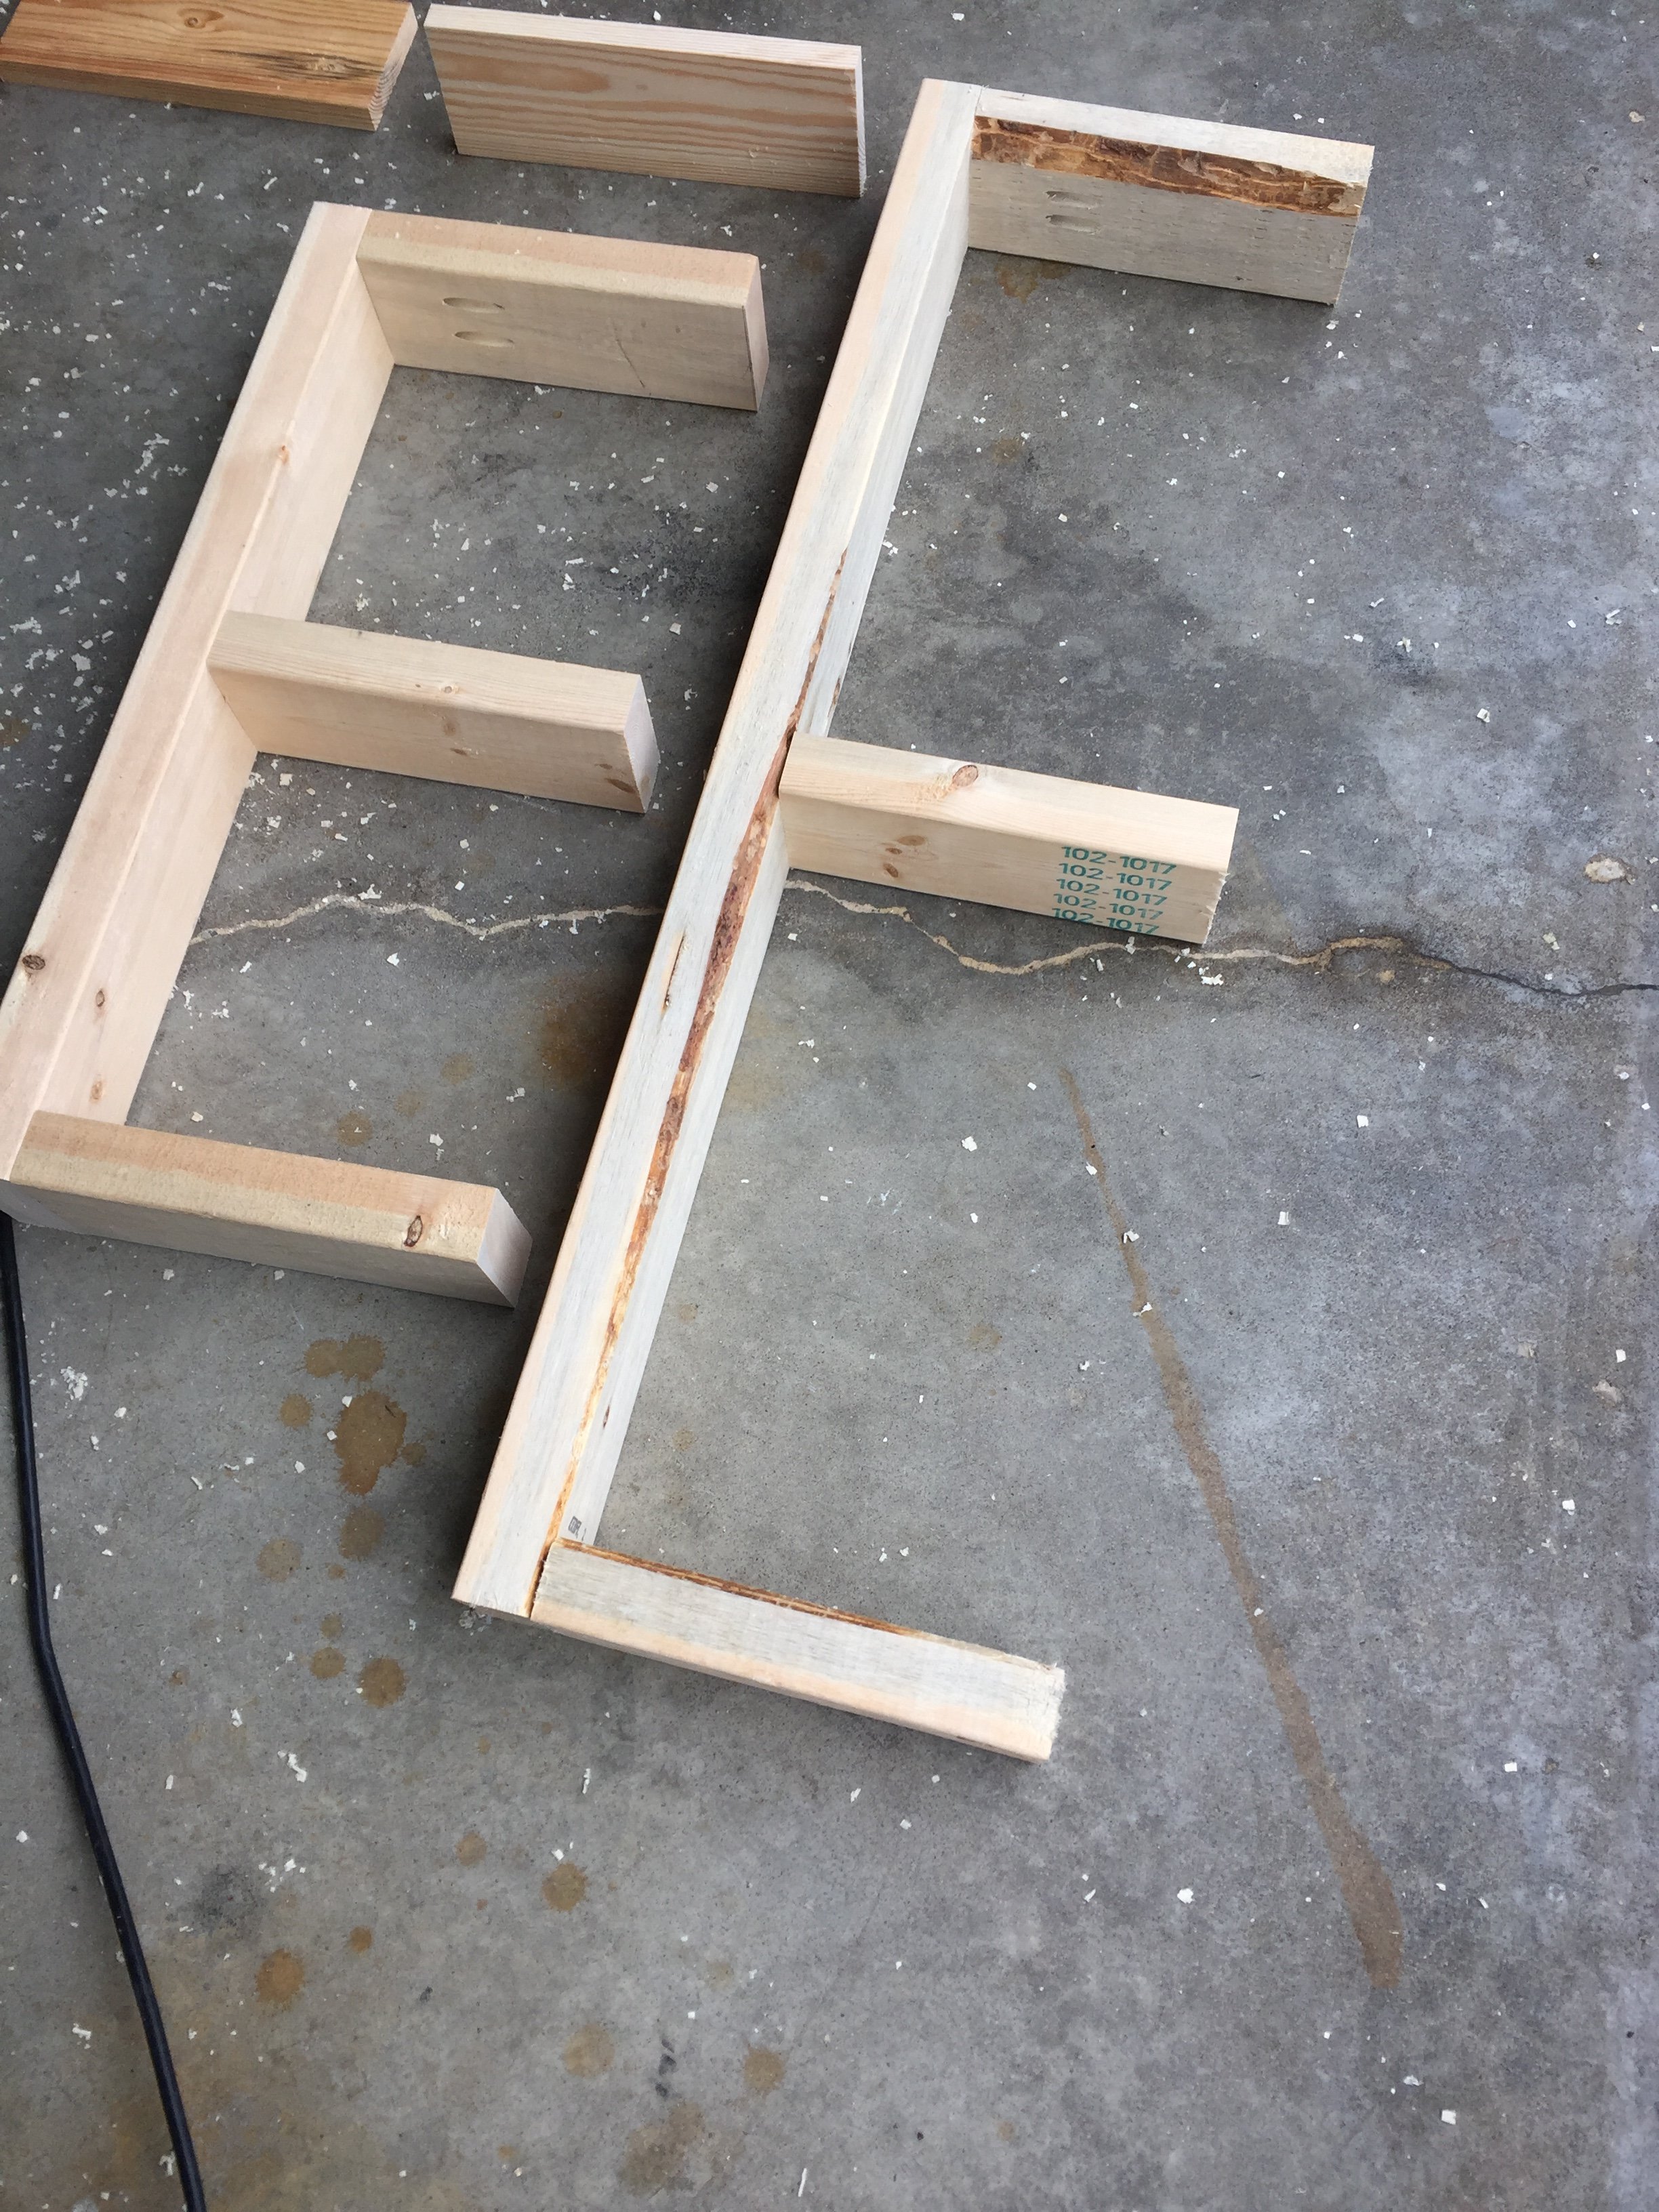
To make things go faster, Bryn was cutting the wood, and I was drilling the holes with the Kreg Jig and attaching the smaller pieces to the larger pieces.
We added an extra ‘leg’ in the middle of the frame for more support.
STEP THREE Attach the outer pieces to the frame.
We decided to attach the two side pieces and the bottom piece of plywood to the frames before installing the shelves to the wall. (Mainly because of the positioning on the wall in the kitchen next to the range hood.)
After the frames were built we were able to get exact measurements for the outer pieces. So, we cut the pieces to fit the frame and attached them with a nail gun.
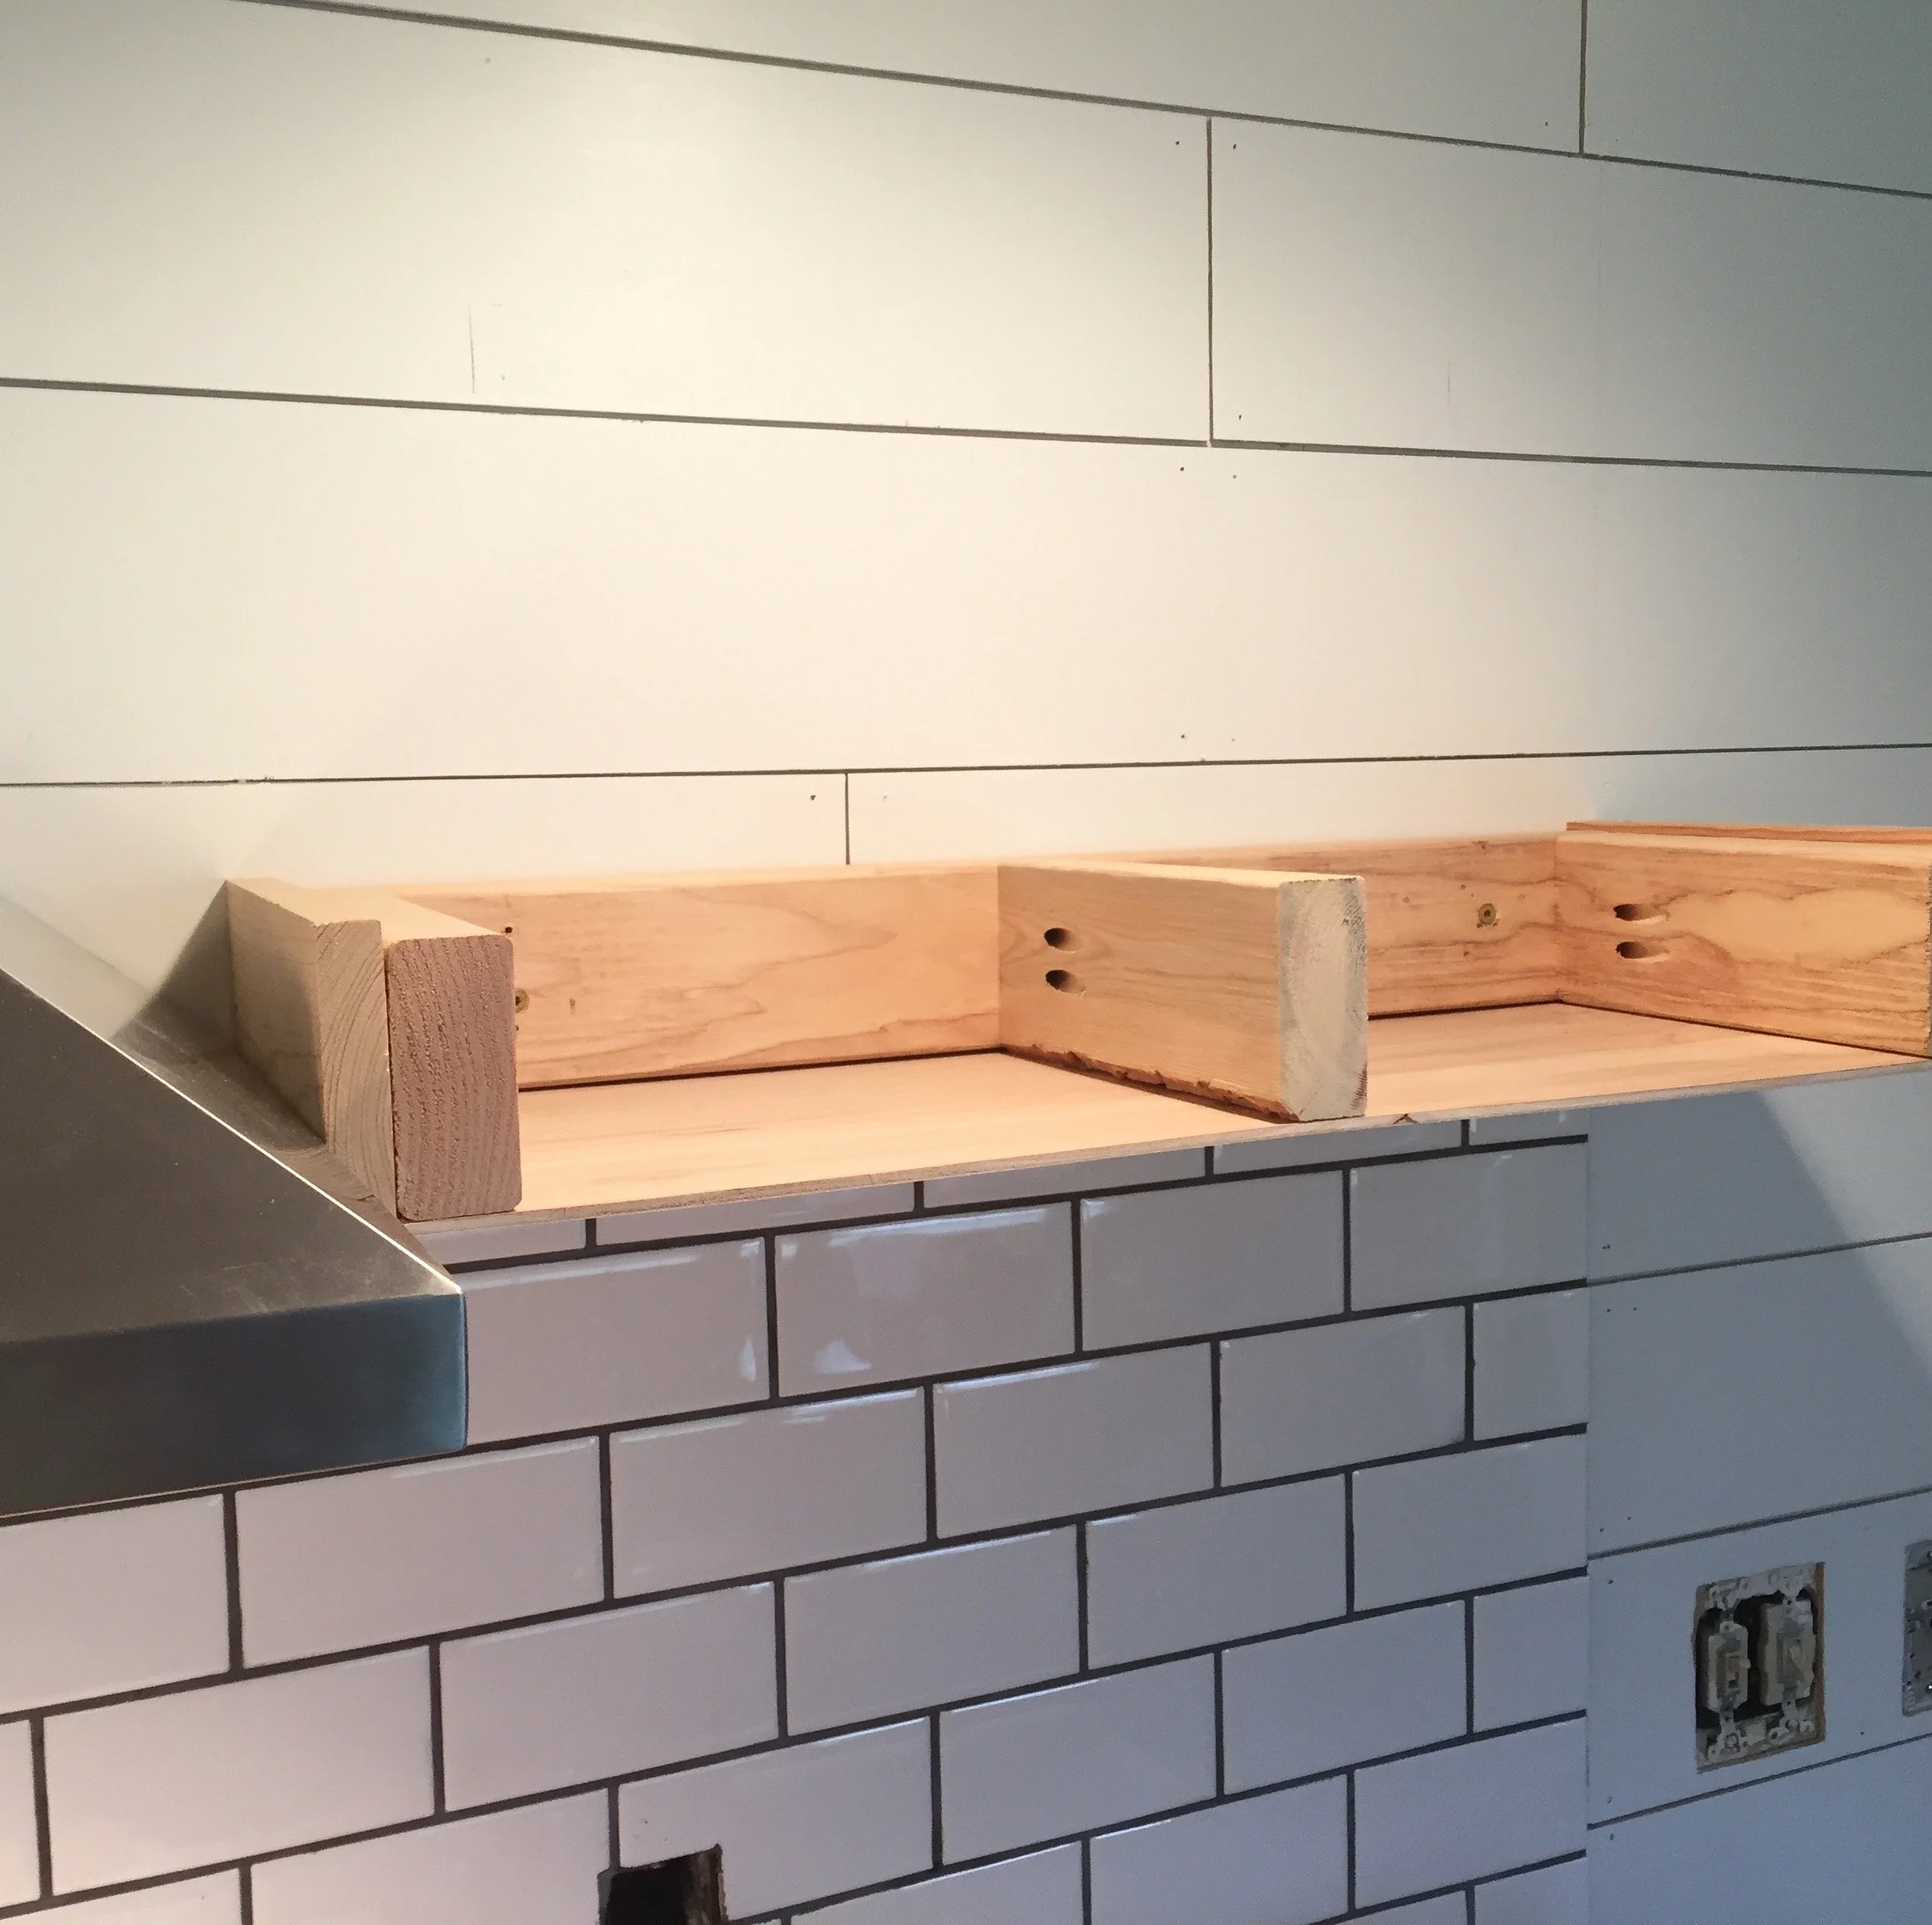
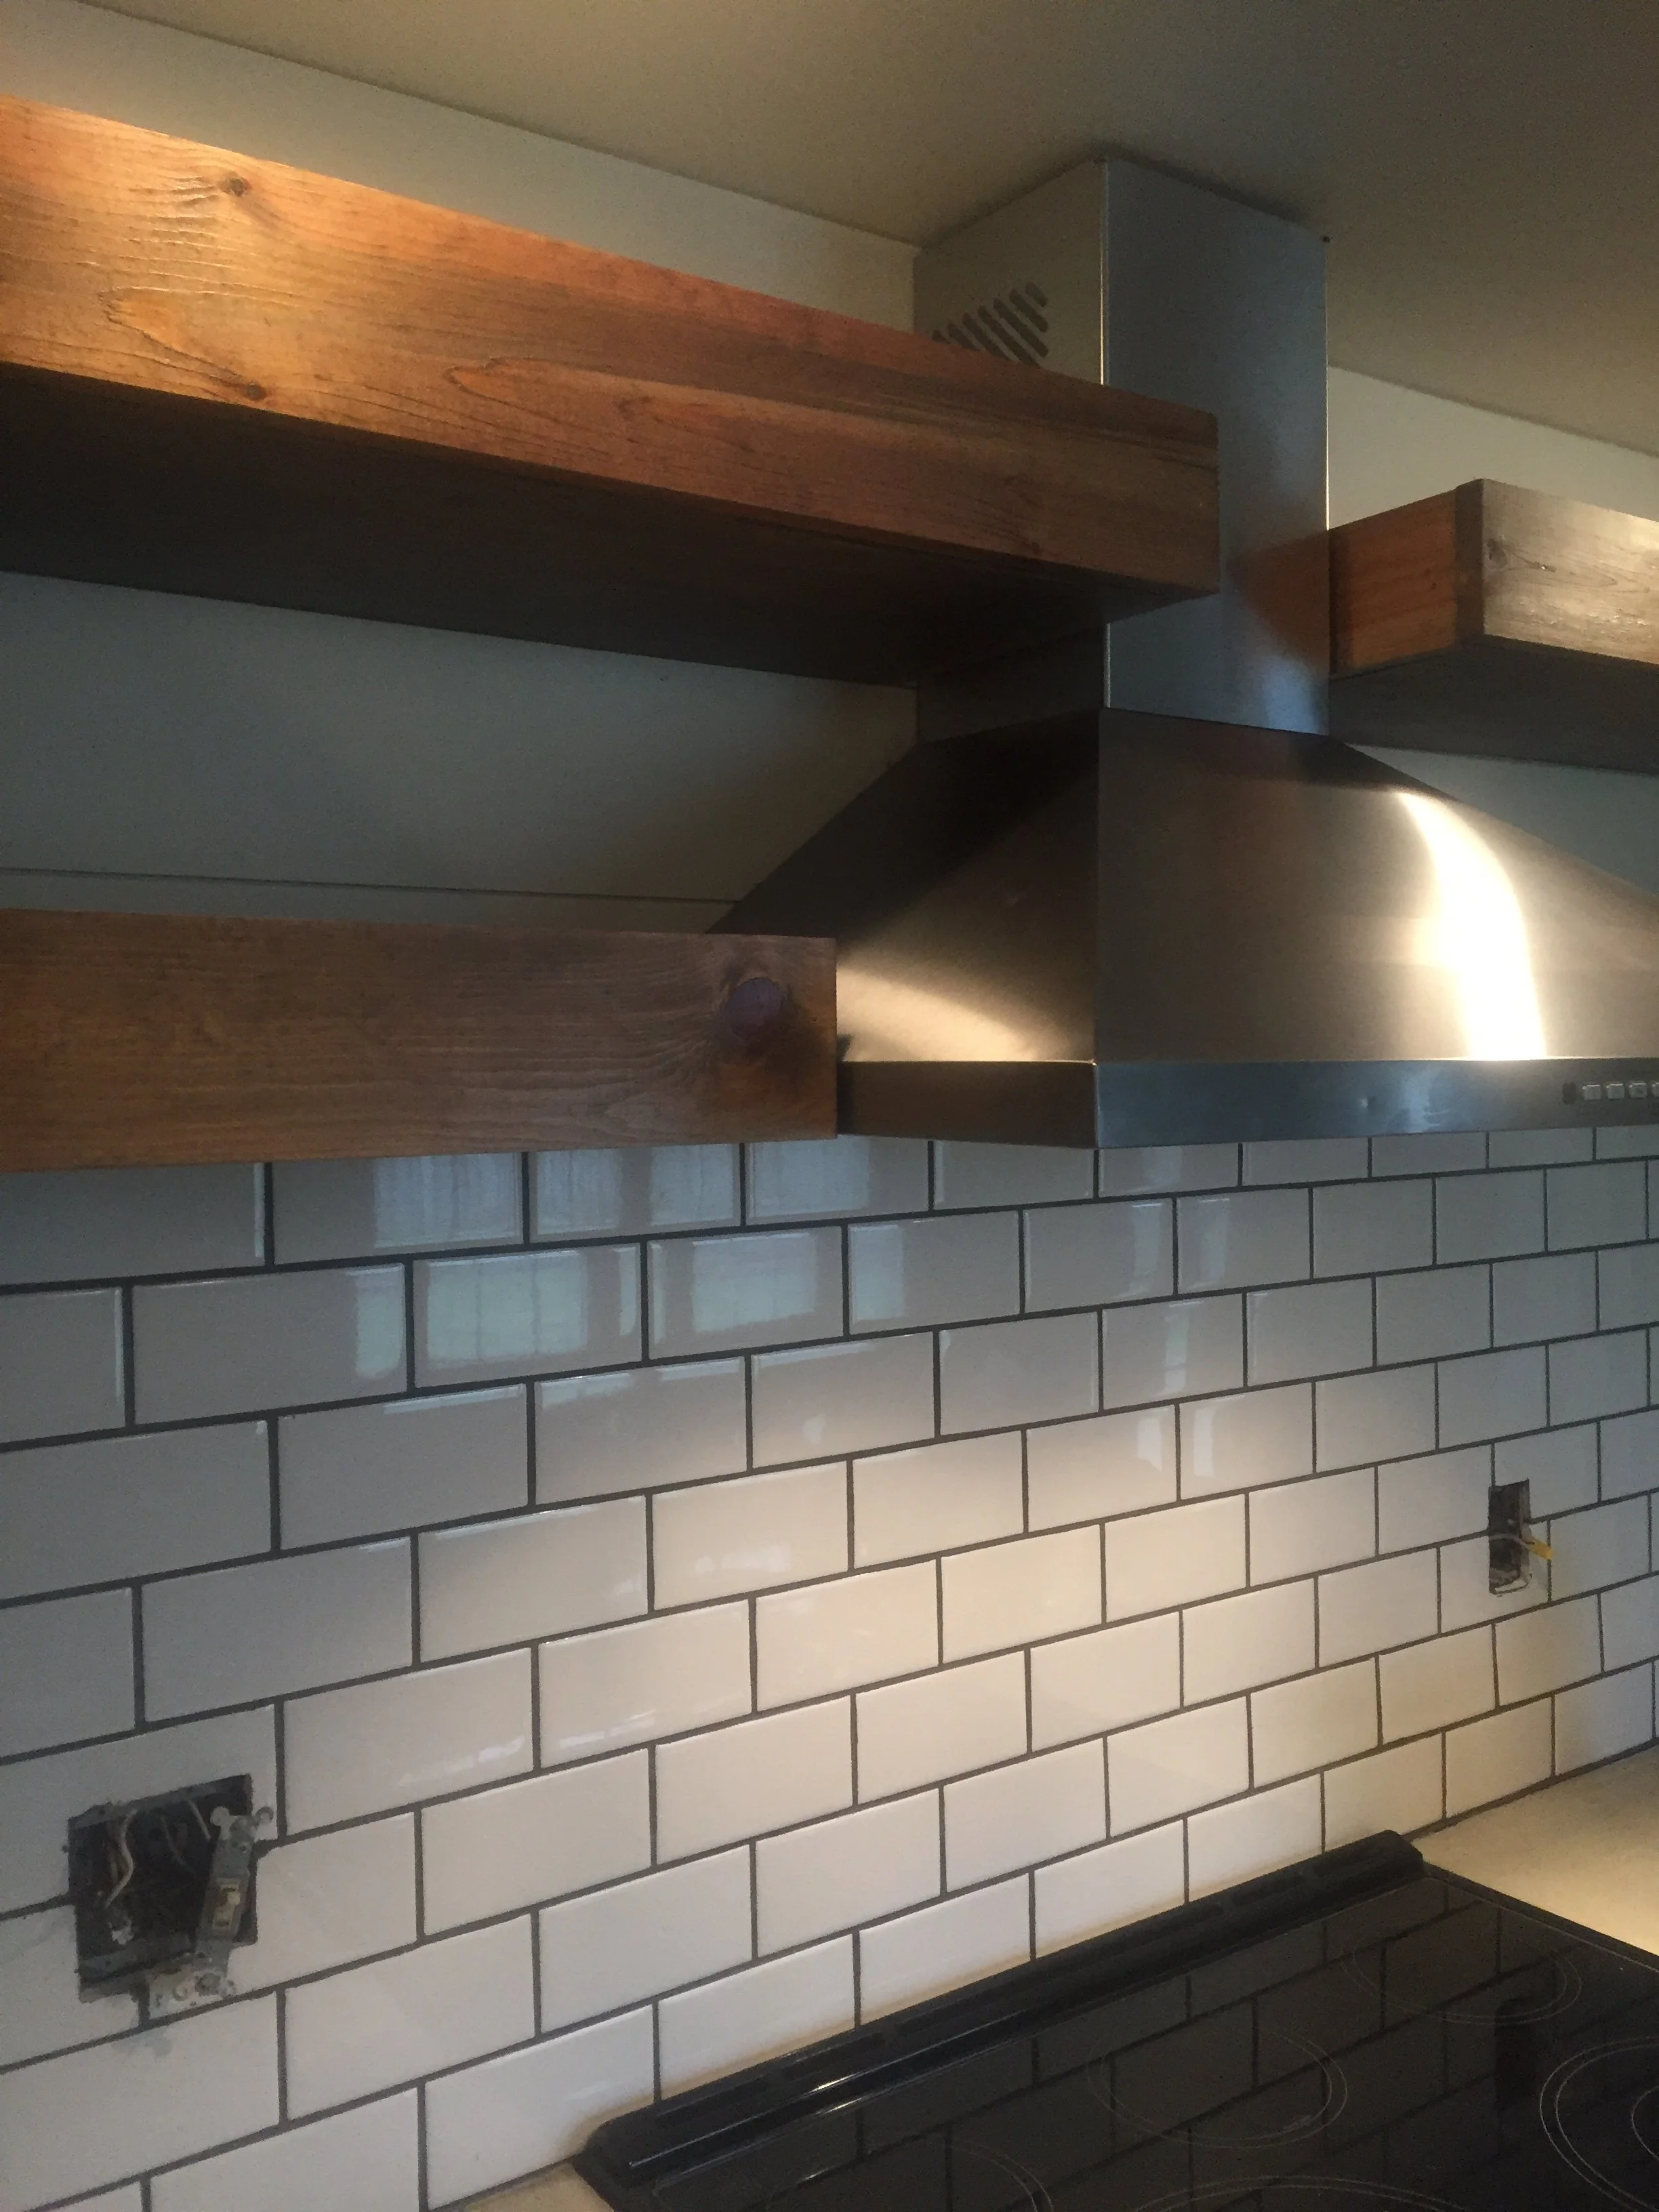
We used this opportunity to test fit our shelves in the space.
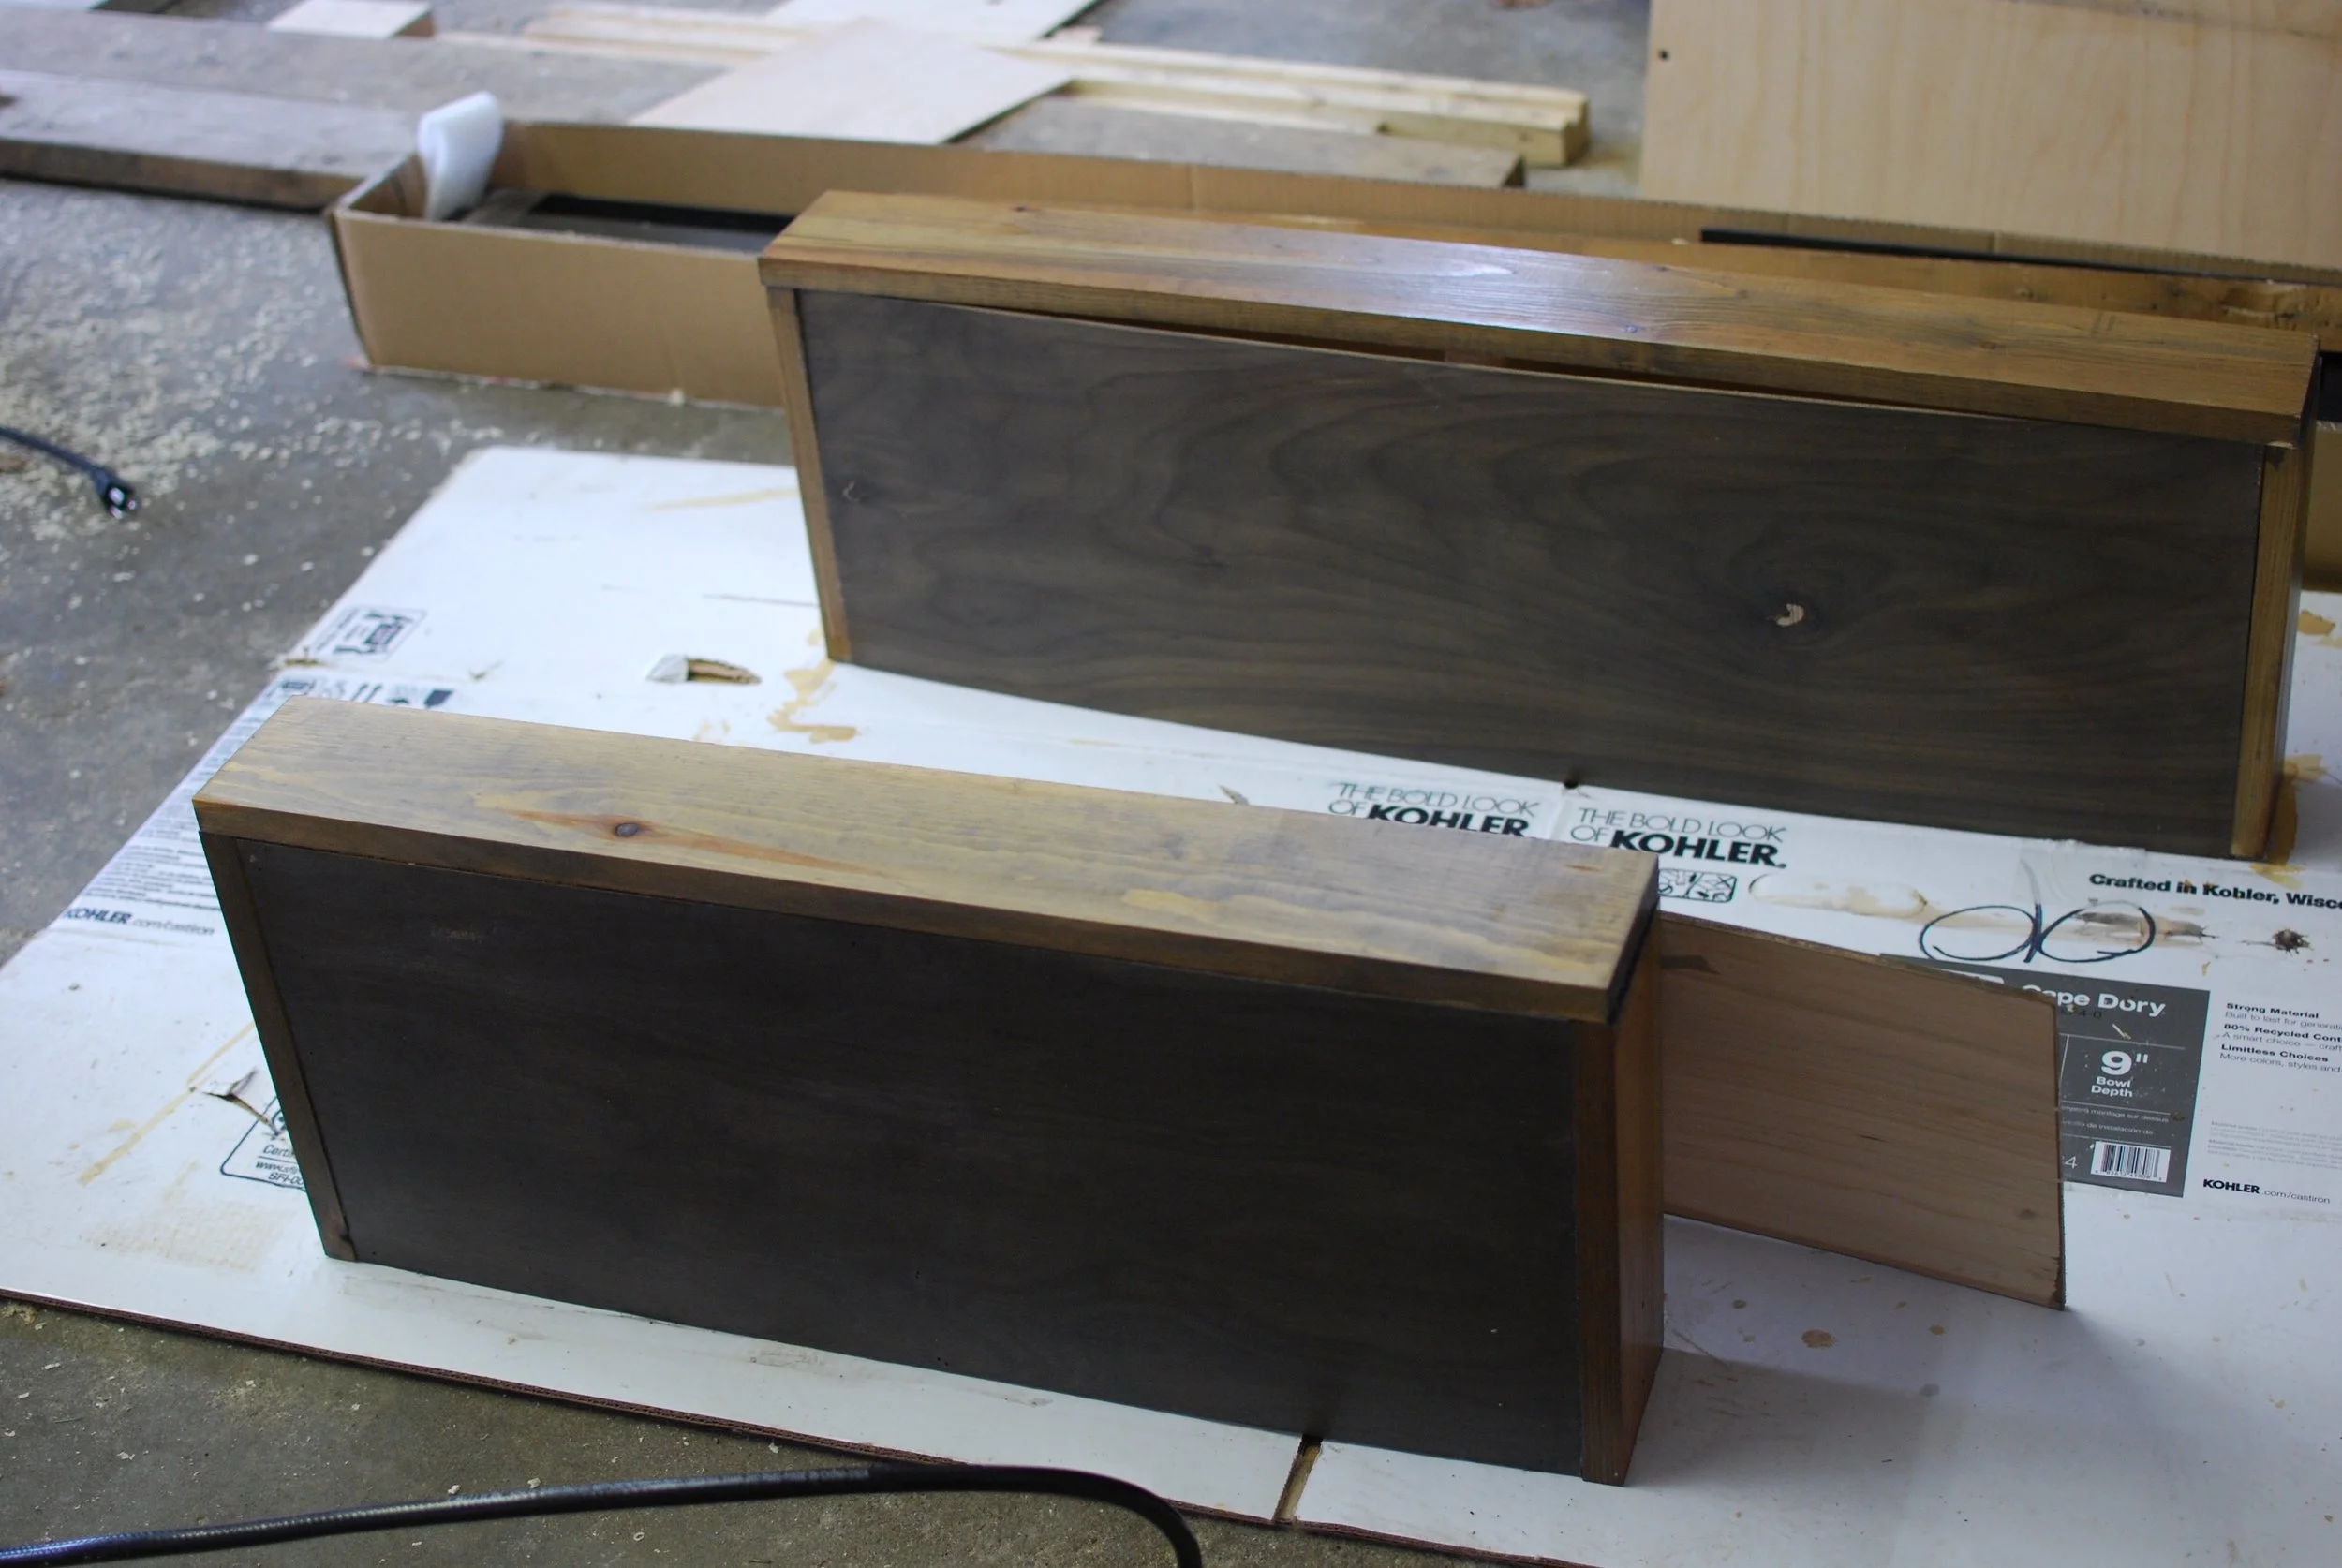
STEP FOUR Stain and finish all of the wood (on the outside).
There is no need to stain the frame pieces because no one will ever see them. So I stained all of the outer pieces of the shelves (both sides, the front piece and the top and bottom plywood pieces).
Once the stain dried, I finished them with a few coats of polycrylic. We have used this on all of our furniture and it has worked wonders.
STEP FIVE Screw the frame into the studs on the wall.
We made sure the shelves were level, marked where the studs are located on the wall and then screwed everything in place.
**Tip** Be sure your screws are long enough. We thought we had long enough screws, but since we have a lot of wood in between (the 2x4, the shiplap, the drywall, and the stud) we actually were not drilling all the way into the stud and it wasn’t very sturdy (at first).
STEP SIX Attach the remaining pieces.
Once the shelves are in place, the remaining pieces (front and top) can be attached using a nail gun.
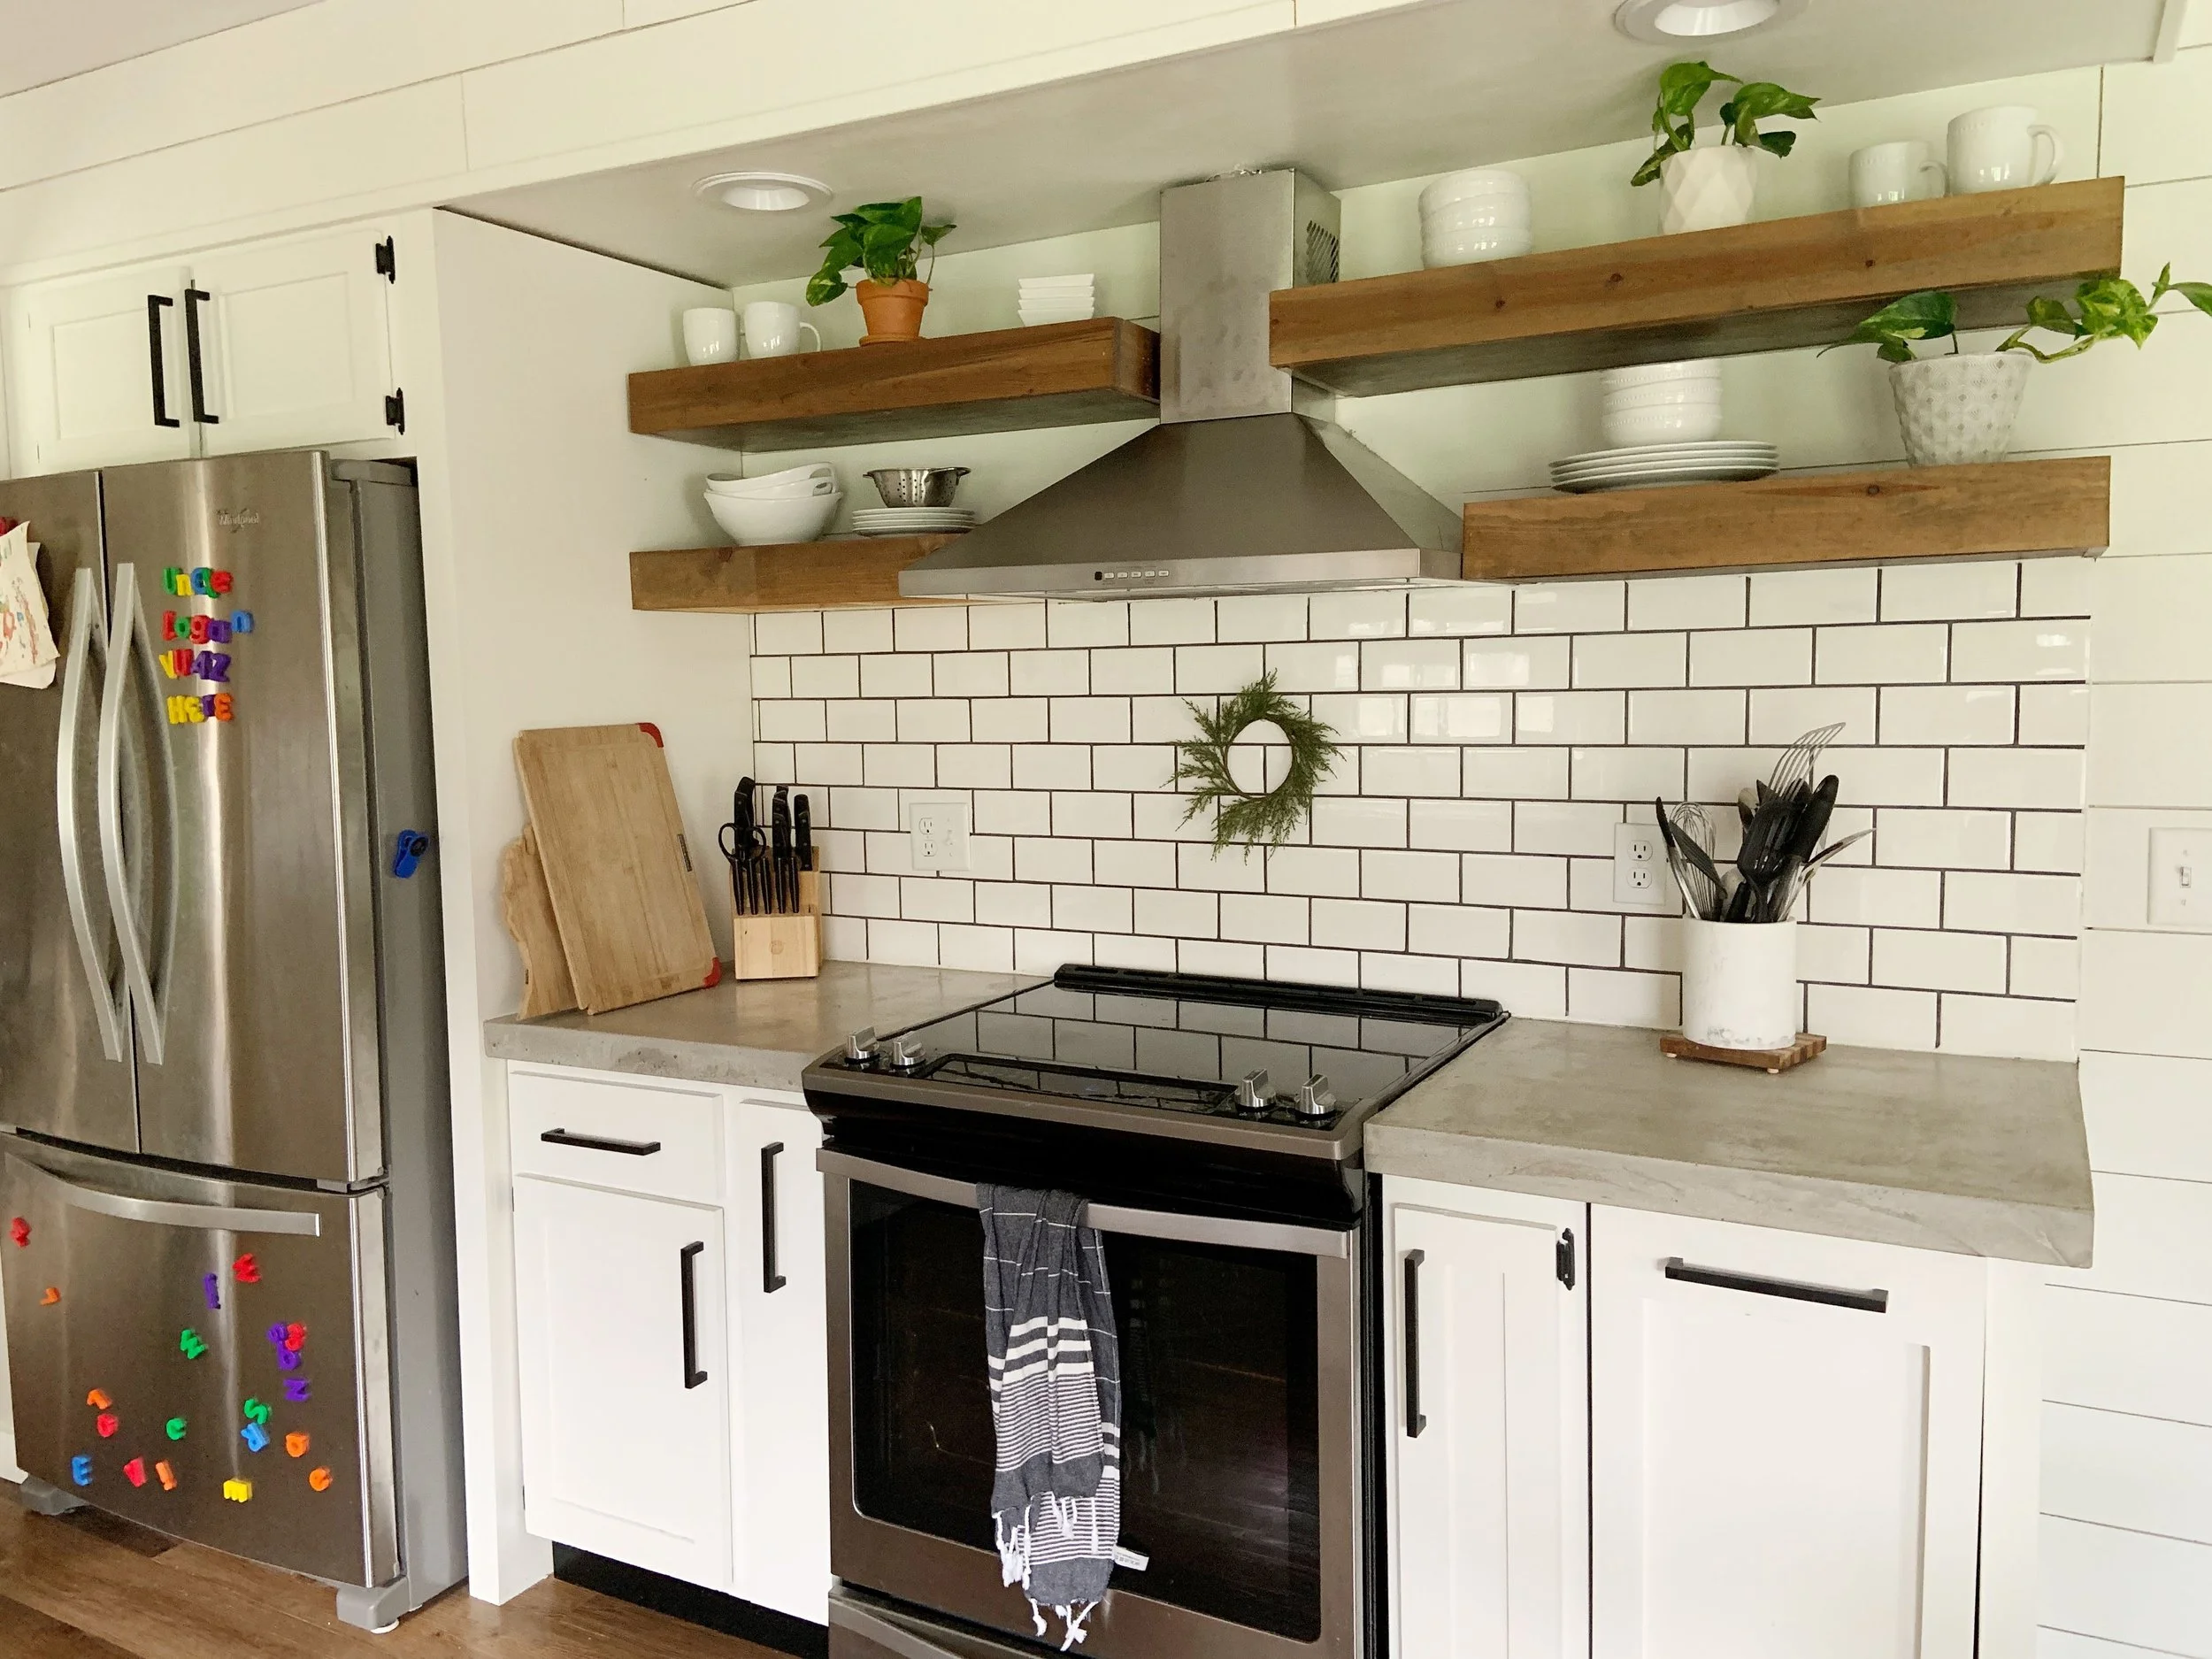
And just like that the kitchen has beautiful and functional shelves!
Designing a room can be hard! The entire makeover process can be a lot easier with a plan and a room design.
Let’s work together on your next project!


